
Server-Side Tagging (sGTM)
Server-side tagging routes your GA4 hits through a GTM Server container that you host, instead of sending them straight from the browser to Google. This gives you first-party data collection, better control over what leaves your infrastructure, and improved resilience against ad blockers.
The extension supports sGTM through a single field plus a server-container export — you do not have to hand-edit tags.
Optional
Server-side tagging is entirely optional. Leave the GTM Server Container URL blank for standard client-side tracking; everything still works.
How it fits together
The web container sends the GA4 hit to your server endpoint; your sGTM server forwards it to GA4 (and optionally other destinations) from server-side.
Step 1 — stand up an sGTM server
Set up a server-side GTM server first. Use your storefront's root domain so cookies are first-party — for example https://sgtm.yourstore.com or a path like https://yourstore.com/sgtm.
Google's guides:
The extension supports a self-hosted sGTM at /sgtm on your storefront domain, which keeps everything first-party without a separate subdomain.
Step 2 — enter the server URL
In Stores → Configuration → Webkul → Google Tag Manager Configuration → Destinations, fill in GTM Server Container URL with your sGTM endpoint.
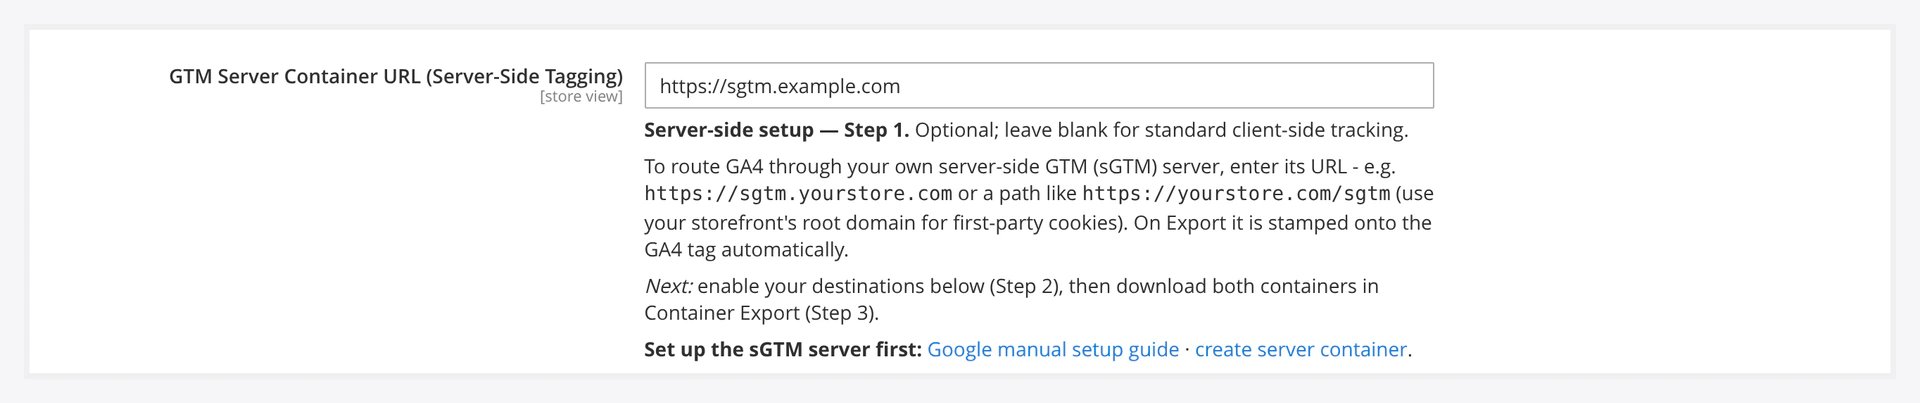
On export, this URL is stamped onto the GA4 tag automatically, so the web container knows to send hits to your server rather than to Google directly.
Step 3 — export both containers
Enable your destinations, then use Container Export. With a server URL set, the export provides both a web container and a server container:
- Import the web container into your normal (web) GTM container — Merge.
- Import the server container into your server GTM container.
- Publish both.
Step 4 — verify
Use GTM Preview mode for the web container and your server container's Preview to confirm the GA4 hit arrives at your server and is forwarded to GA4. Confirm live traffic in GA4 → DebugView / Realtime.
First-party domain matters
Point the server URL at your storefront's own domain (or a subdomain of it). A third-party domain loses the first-party cookie benefit that is the main reason to run sGTM.