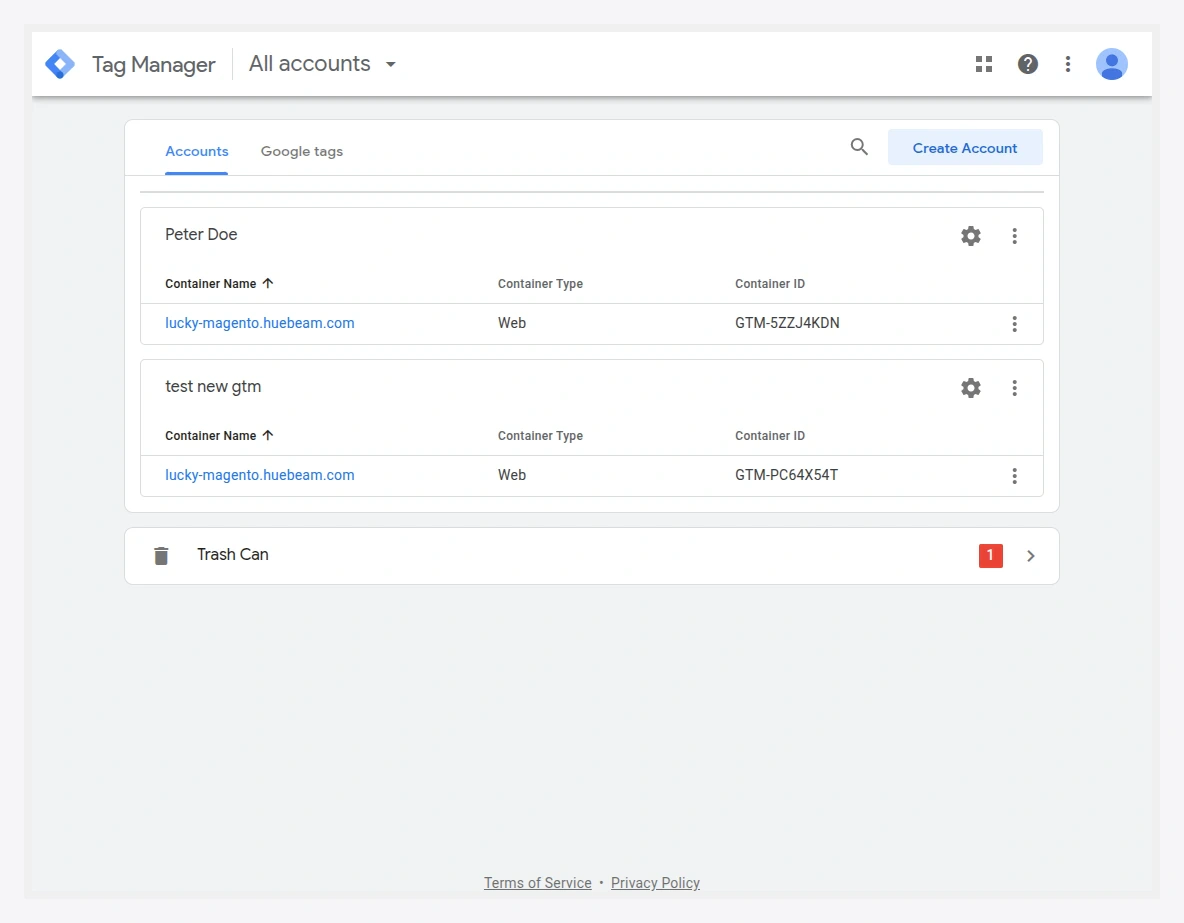
How to create a GTM account & find your Container ID
Your GTM Container ID looks like GTM-XXXXXXX and is required in General Settings for both the Do-It-Yourself and Guided Setup paths. If you do not have a Google Tag Manager account yet, create one first — the steps below walk through the whole flow, then show where the Container ID lives.
Create a Google Tag Manager account & container
- Go to tagmanager.google.com and sign in with your Google account, then click Create Account.
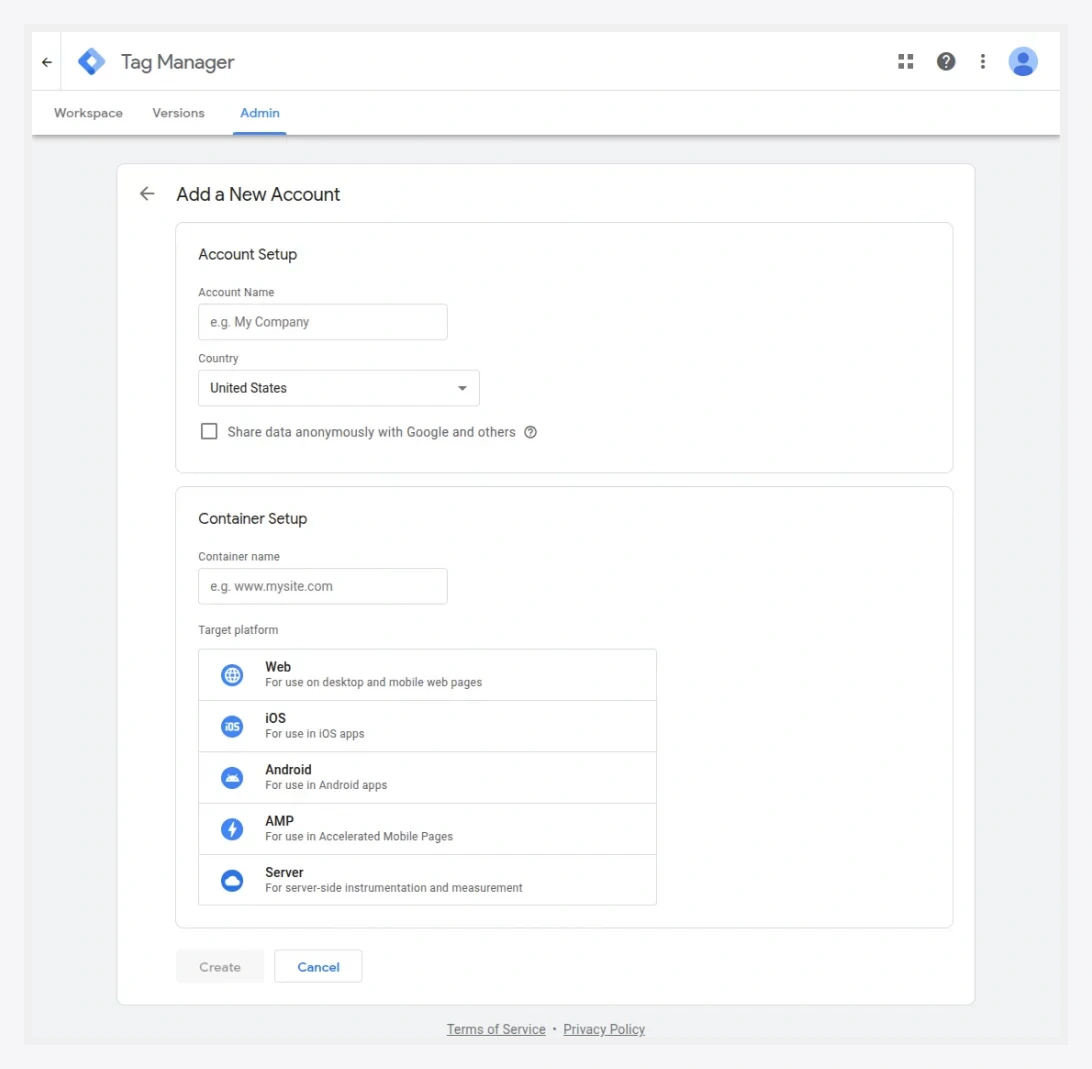
- Enter an Account Name (your business/store name), pick your Country, enter a Container Name (your website domain), and set the Target Platform to Web. Click Create.
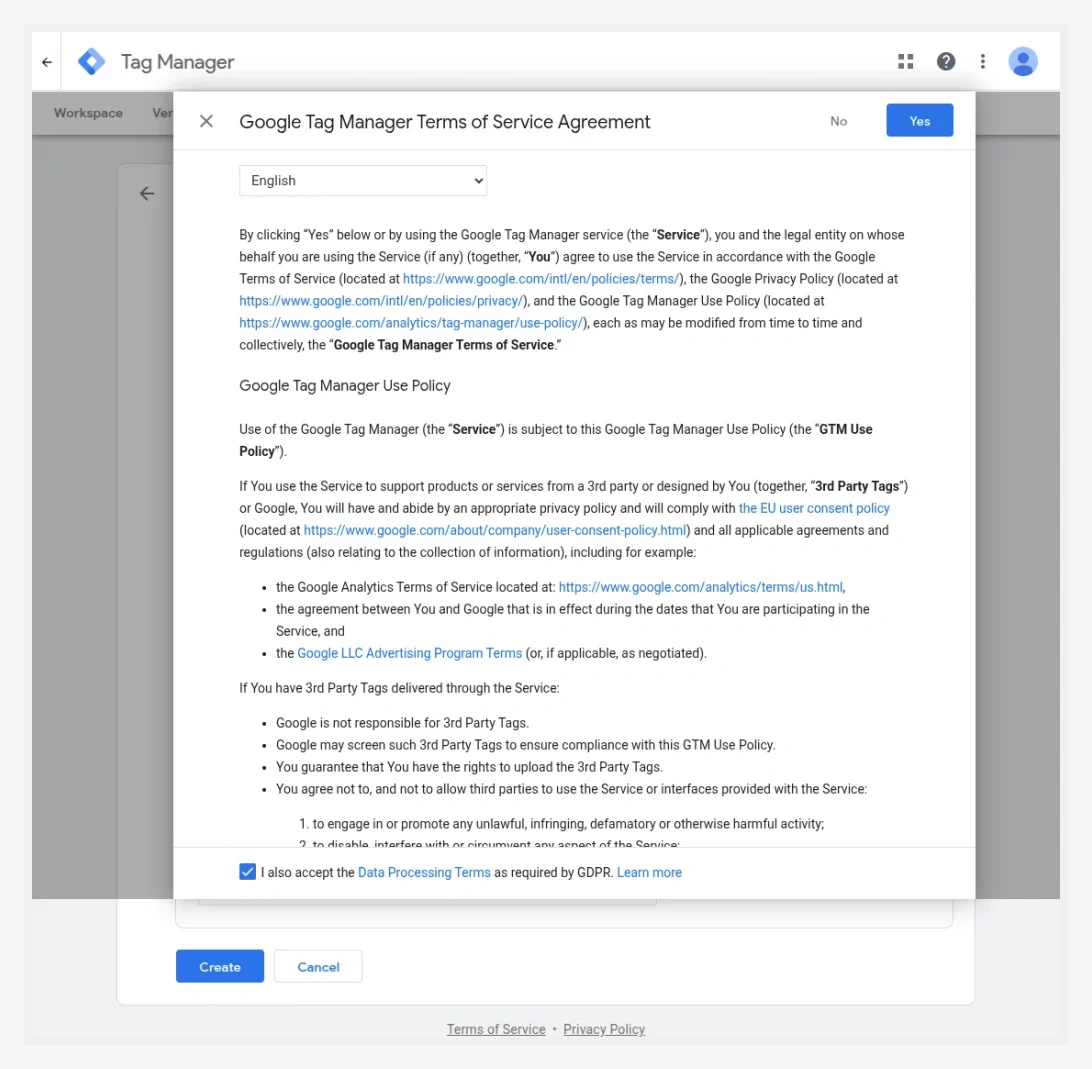
- Review the Google Tag Manager Terms of Service and click Yes (top-right) to accept.
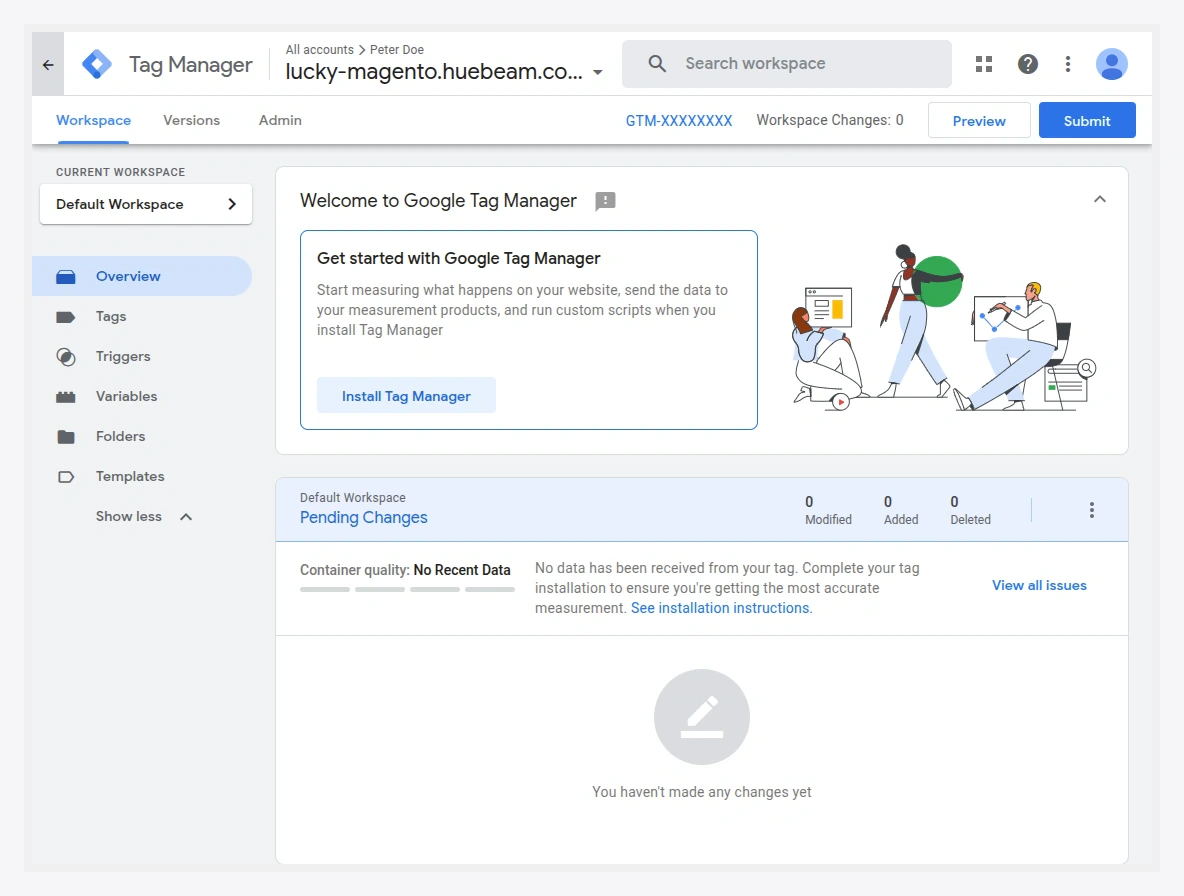
- The workspace opens and your Container ID (
GTM-XXXXXXX) is shown at the top of the page, next to the container name. Copy it — this is the value the extension needs.
Where the Container ID goes
Paste it into Stores → Configuration → Webkul → Google Tag Manager Configuration → General → GTM Container ID, then save and flush the cache. The Head and Body snippets are generated from it automatically — see General Settings.
Import the exported container (Guided Setup)
If you used Guided Setup and downloaded a container from Container Export, import it into GTM so your tags are pre-wired:
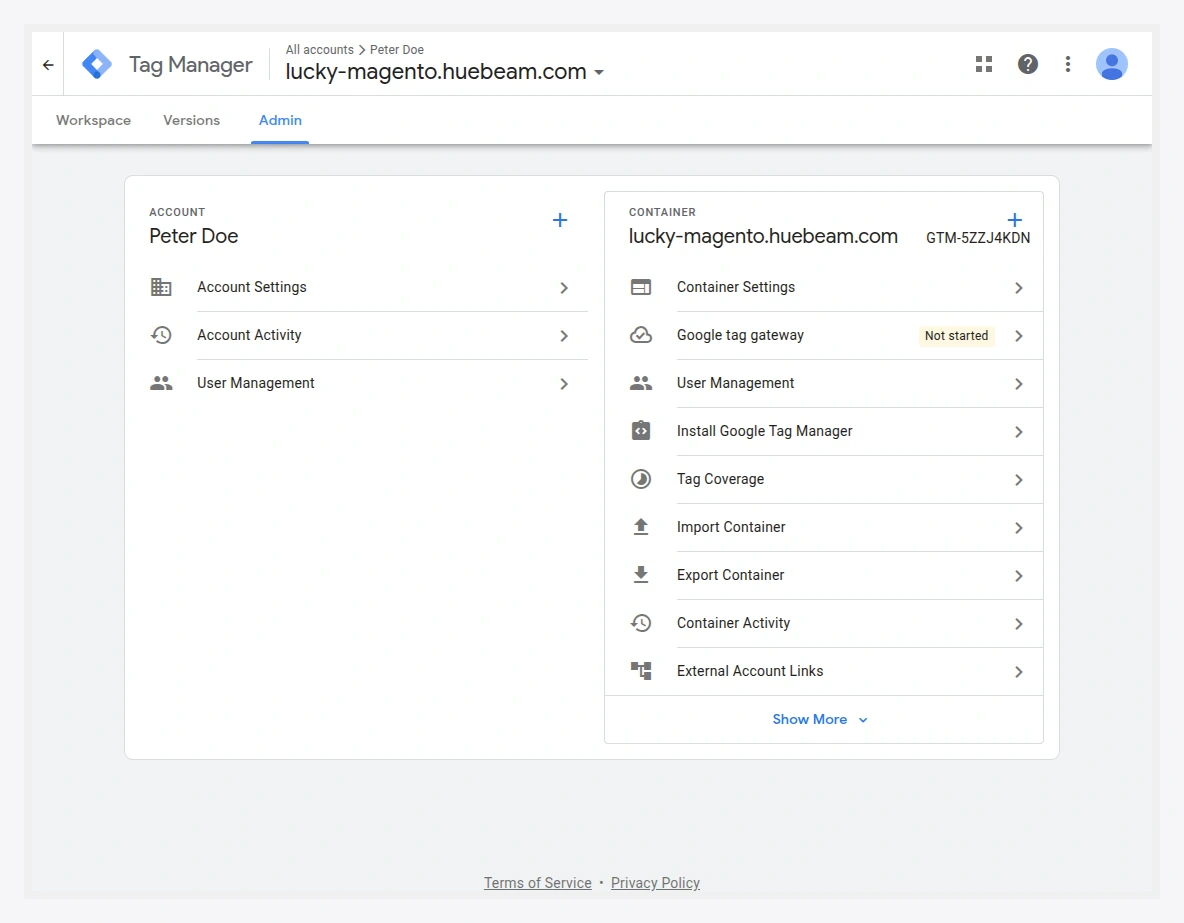
- In GTM, open the Admin tab from the top navigation and click Import Container.
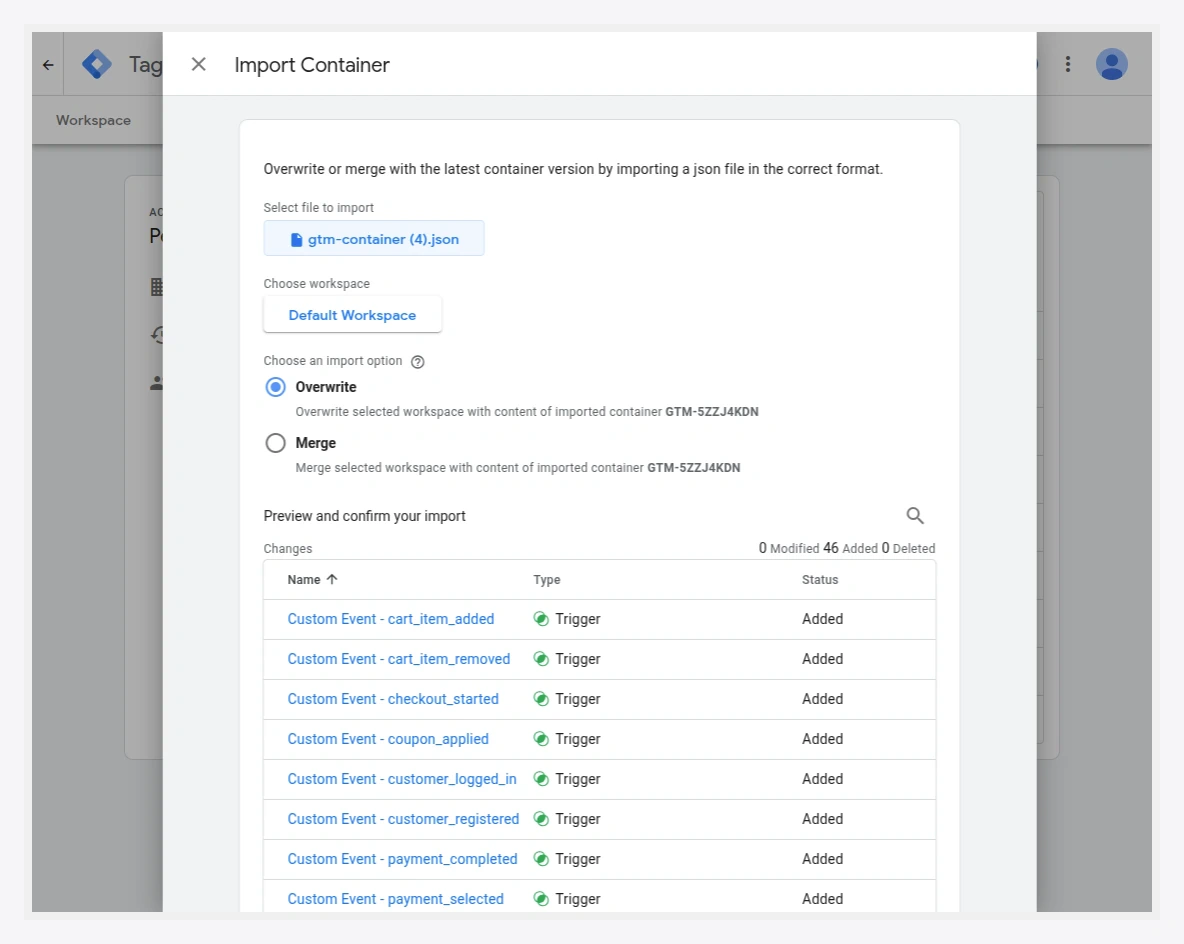
- Choose the container file you downloaded from the extension. Set Workspace to New and the Import Option to Overwrite, then click Confirm.
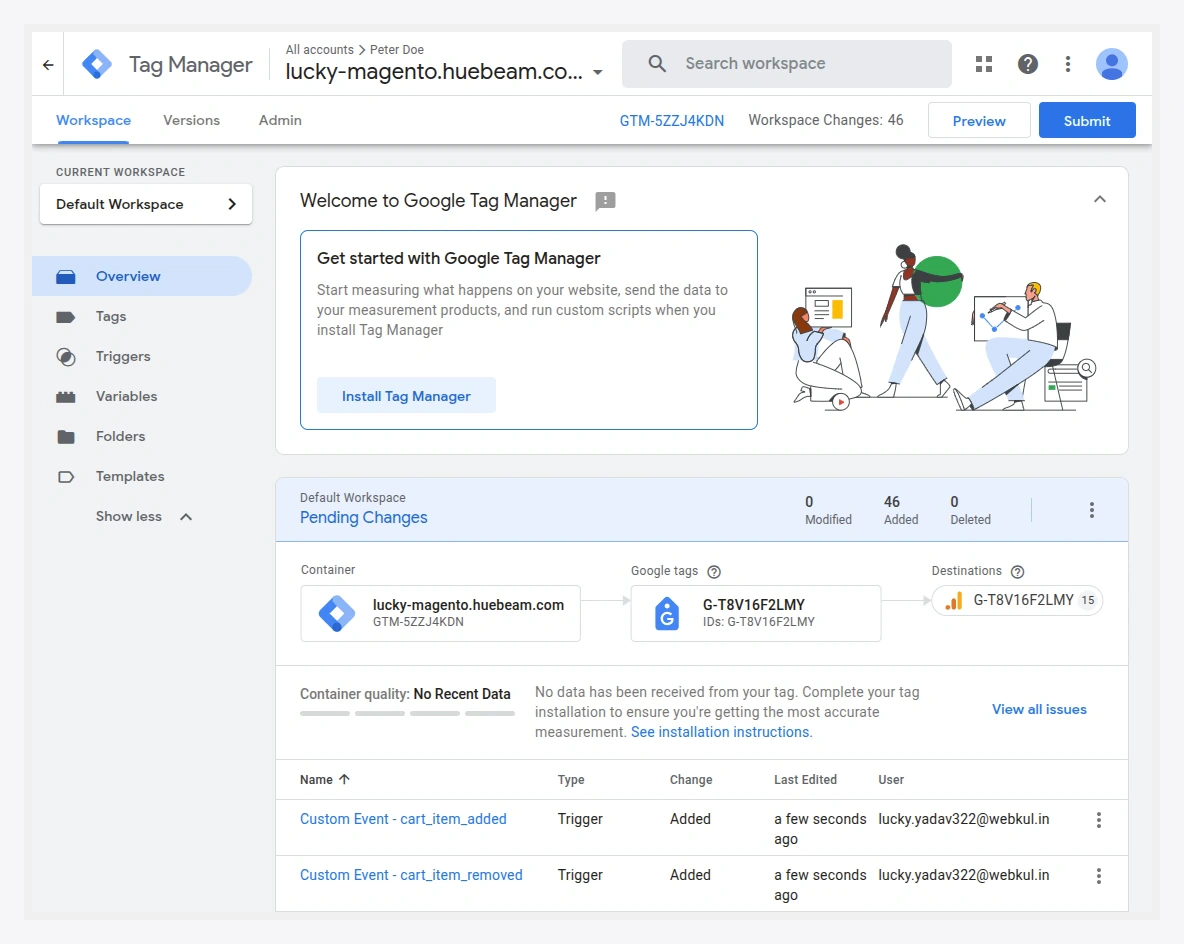
- Back in the workspace, click Submit (top-right).
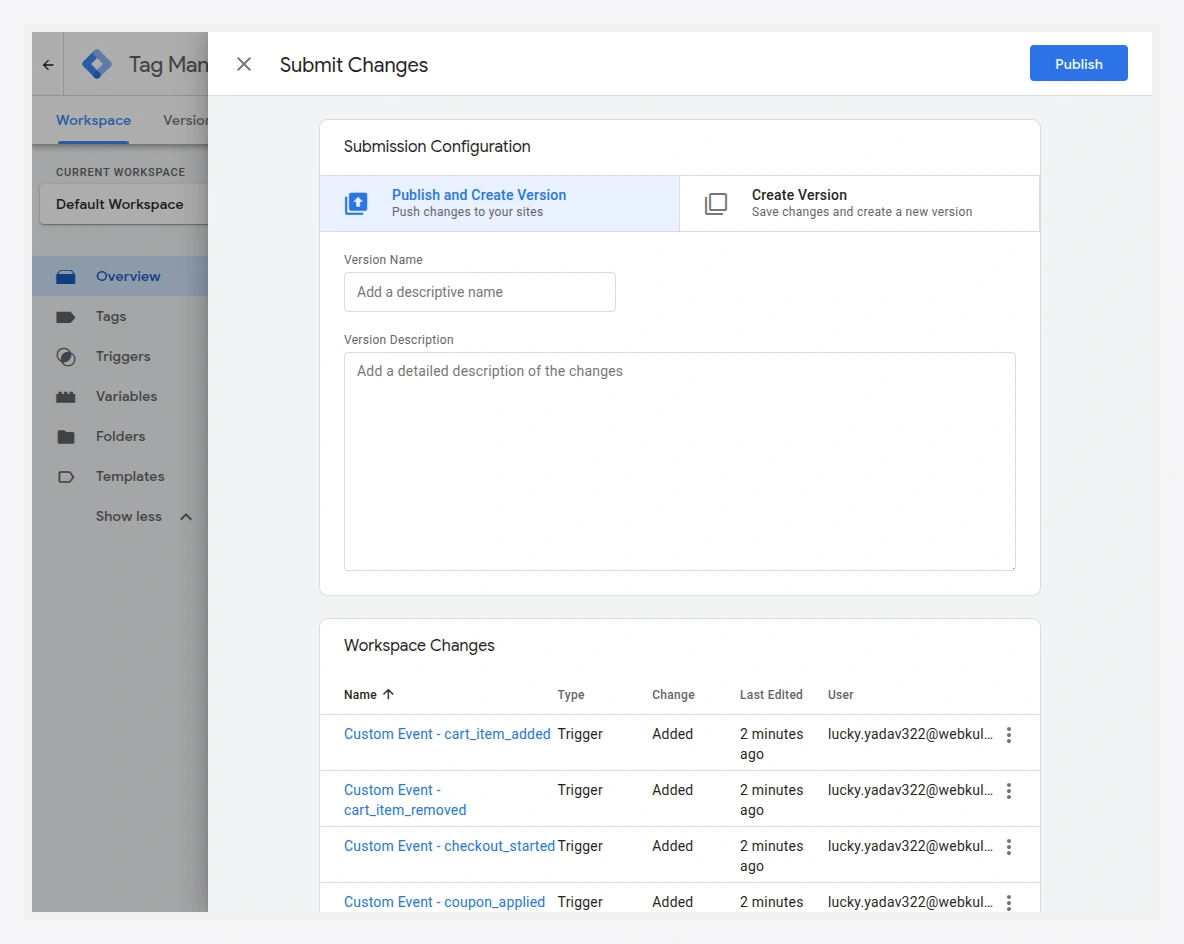
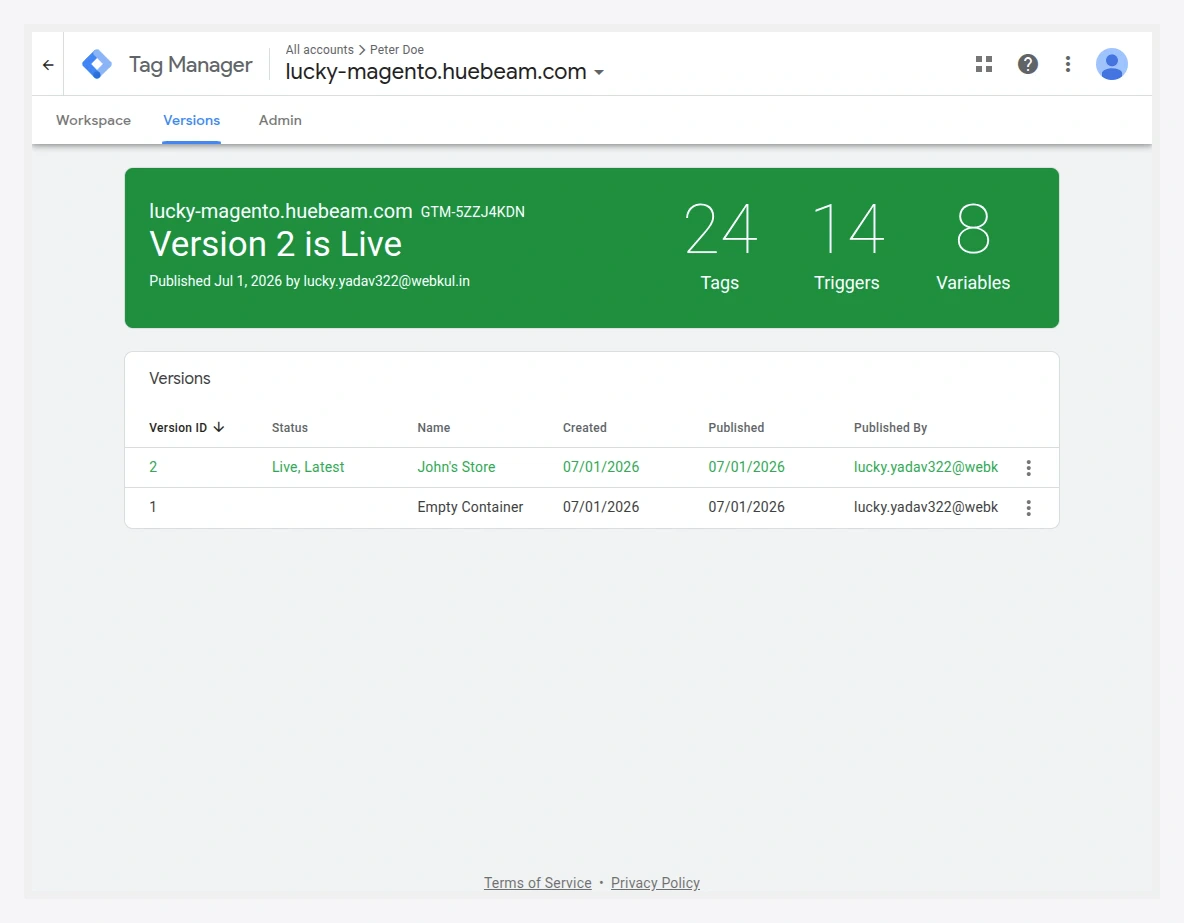
- Select Publish and Create Version, enter a Version Name (and optional description), and click Publish.
- GTM confirms the container is live. Your tags are now published.
Multiple containers?
Your account can hold several containers — the All Accounts view lists each one with its GTM-XXXXXXX ID so you can confirm you copied the right one.