
Destinations — Guided Setup
The Destinations group is the start of Guided Setup — the path where the module wires your tags for you instead of you building them by hand in Google Tag Manager.
You can skip this entire group
If you build your tags directly in Google Tag Manager (Do-It-Yourself), leave the Destinations group untouched. The storefront still pushes every event to window.dataLayer — you just build the tags yourself. Pick one path; you do not need both.
The three-step guided flow
- Step 1 — Destinations (this group). Switch on the destinations you use and enter their IDs.
- Step 2 — Container Export. Download a container pre-wired for exactly those destinations.
- Step 3 — Import. In tagmanager.google.com, go to Admin → Import Container → Merge.
Destinations you can enable
| Destination | You provide | Guide |
|---|---|---|
| Google Analytics 4 | Measurement ID (G-XXXXXXXXXX) | GA4 |
| Google Ads | Conversion ID, Conversion Label, (optional) Merchant Center ID for dynamic remarketing | Google Ads |
| Meta Pixel | Pixel ID | Meta Pixel |
Server-side tagging (optional)
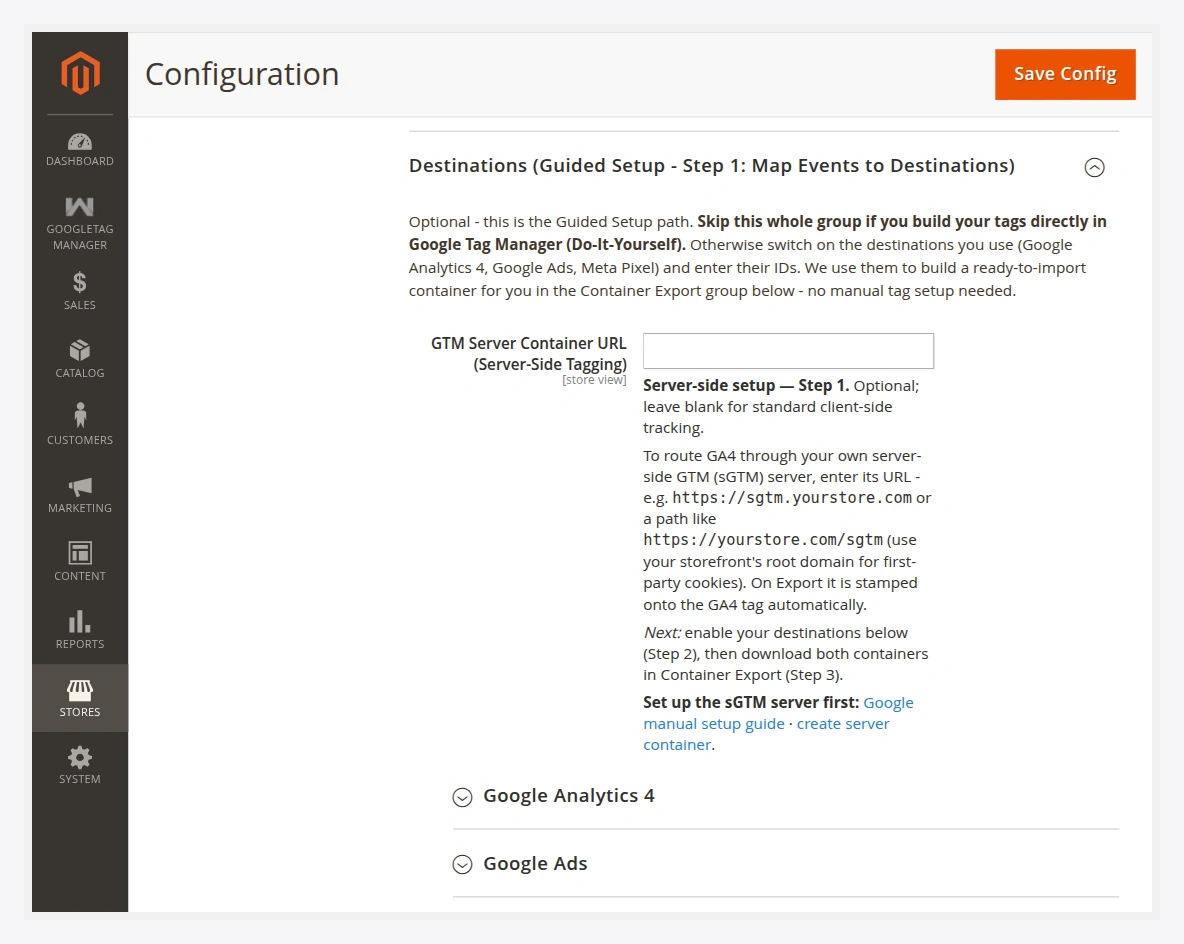
The Destinations group also holds the GTM Server Container URL field. Leave it blank for standard client-side tracking. To route GA4 through your own server-side GTM server, enter its URL here — it is stamped onto the exported GA4 tag automatically. See Server-Side Tagging.
Event name overrides
GA4 and Meta Pixel each have an Event name overrides grid. The first time you enable a destination, the grid is pre-filled with that destination's default event mappings. You can:
- Rename the vendor event name a neutral event maps to.
- Add a row to map another supported event.
- Delete a row to stop sending that event to the destination.
Use real vendor event names
The vendor event name you type must be one the platform recognises — a valid GA4 event, or a real Meta Pixel event such as Purchase or AddToCart. A name the platform does not recognise is dropped and will not appear in reports. While a destination is enabled you must keep at least one mapping.
Continue with the destination you use, or jump to Container Export.