
Container Export
Container Export is the last step of Guided Setup. Once you have enabled your destinations and entered their IDs, download a Google Tag Manager container that is already wired for exactly those destinations, then import it into GTM.
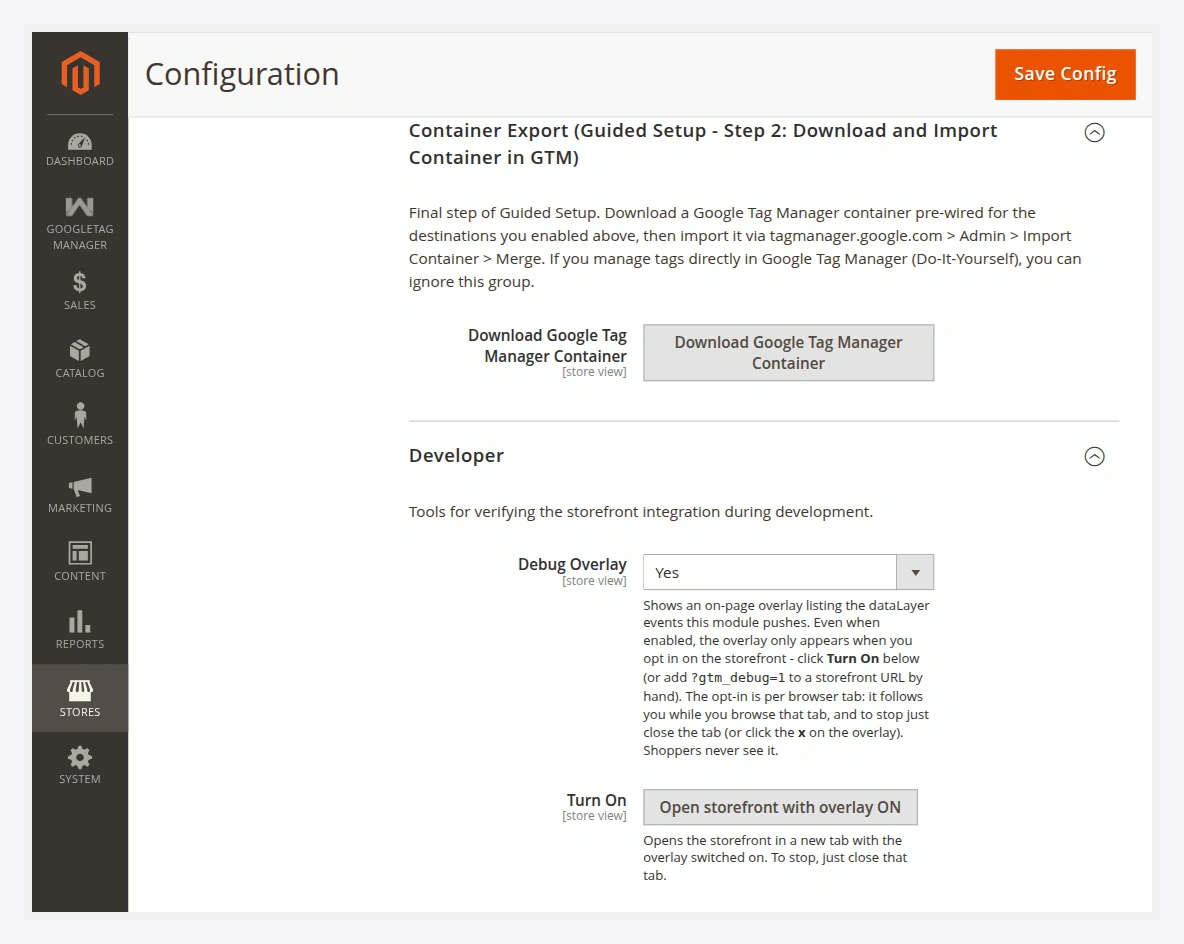
Export and import
- In the Container Export (Guided Setup — Step 2) group, click Download. The module generates a container
.jsonpre-wired for the destinations you enabled (GA4, Google Ads, Meta Pixel) with the event mappings from each destination's overrides grid. - Go to tagmanager.google.com → Admin → Import Container.
- Choose the downloaded file, select your workspace, and pick Merge (not Overwrite) so the import adds to any existing tags rather than replacing them.
- Review the changes, then Confirm.
- Submit / Publish the container version in GTM to take it live.
What is in the container
The exported container includes the tags, triggers, and variables for each destination you enabled — for example:
- GA4 configuration + event tags, with your Measurement ID (and sGTM server URL if set).
- Google Ads conversion, remarketing, and dynamic remarketing tags with your Conversion ID / Label / Merchant Center ID.
- Meta Pixel base + event tags with your Pixel ID.
- Triggers bound to the neutral dataLayer events, and variables that read the event payload.
Do-It-Yourself? You can ignore this group
If you build tags directly in GTM, skip Container Export entirely. Your storefront already pushes every event to the dataLayer for your own tags to consume.
Merge, don't overwrite
Always import with Merge. Overwrite replaces your entire workspace and can delete tags you built by hand.
Server-side (sGTM)
If you set a GTM Server Container URL, the export can include both a web container and a server container for your sGTM server. See Server-Side Tagging.
Next
Verify events in GTM Preview mode to confirm the imported tags fire on real shopper actions.