Gateway Credentials & Webhook Setup
Automated recurring subscriptions rely on webhook callbacks from payment processors (PayPal and Stripe) to trigger renewal orders, capture installment payments, and handle subscription lifecycle events.
Part 1: PayPal Express & REST API Setup
Step 1: Obtain Classic API Credentials (Username, Password, Signature)
- Log in to your PayPal Business Account.
- Go to Account Settings > API Access.
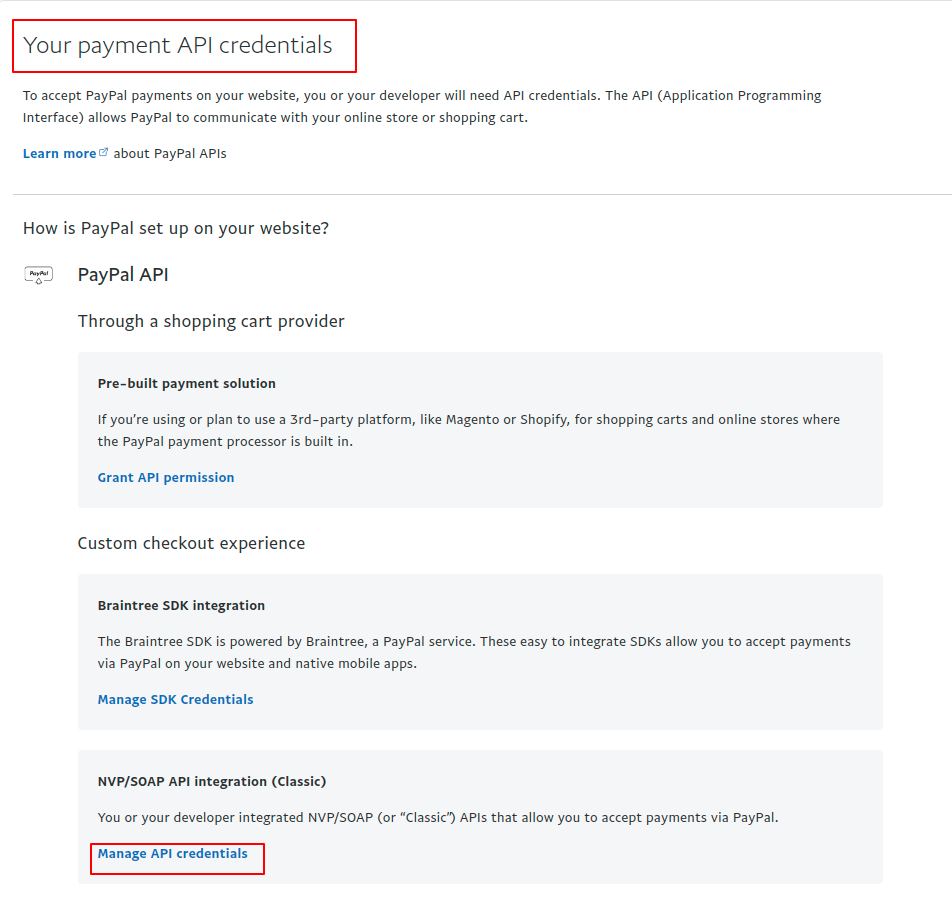
- Under NVP/SOAP API integration (Classic), click Manage API credentials.
- Select Request API signature and click Agree and Submit.
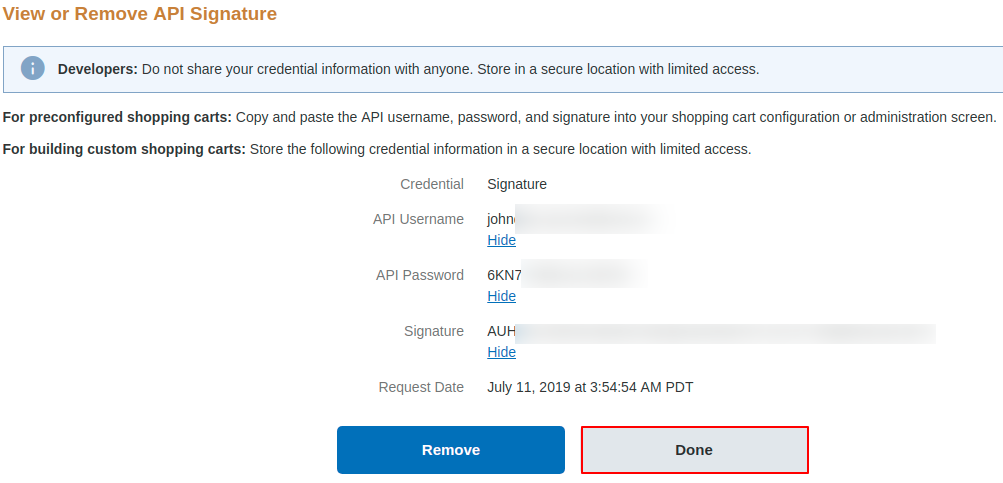
- Copy the generated API Username, API Password, and Signature.
Step 2: Configure PayPal IPN (Instant Payment Notification)
PayPal uses IPN messages to inform Magento when recurring profile payments are completed or failed.
- In your PayPal account, click the Settings (gear) icon and navigate to Account Settings > Notifications.
- Find Instant payment notifications and click Update.
- Click Choose IPN Settings.
- In the Notification URL field, enter your store's IPN endpoint:
https://[your-magento-domain]/recurring/paypal/notify
- Select Receive IPN messages (Enabled) and click Save.
HTTPS Requirement
PayPal requires valid SSL (HTTPS) for notification URLs. If testing locally or on a staging server, ensure the URL is publicly reachable via a secure domain.
Step 3: Obtain PayPal REST App Client ID & Secret for Mass Payouts
For processing mass payouts to marketplace sellers:
- Navigate to the PayPal Developer Dashboard.
- Under My Apps & Credentials, select Sandbox or Live mode.
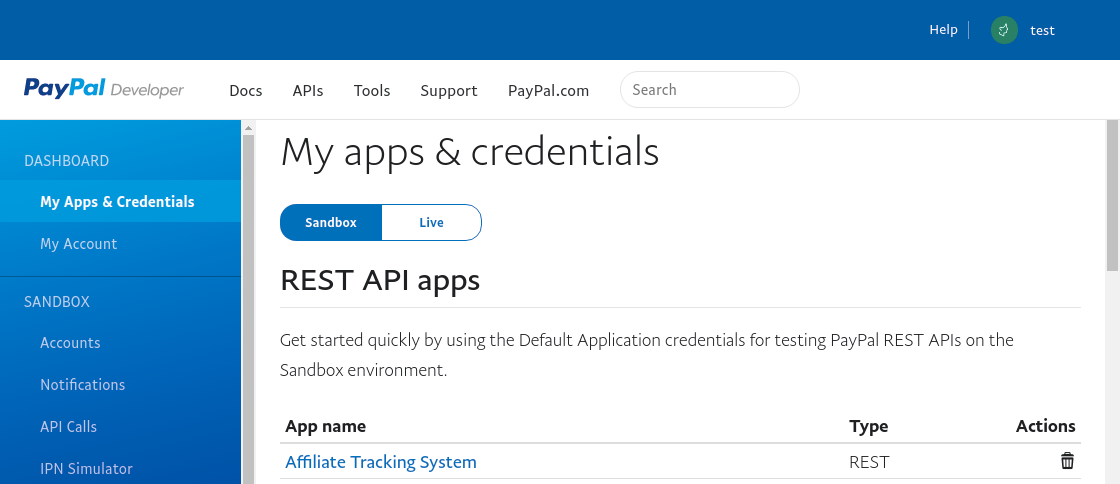
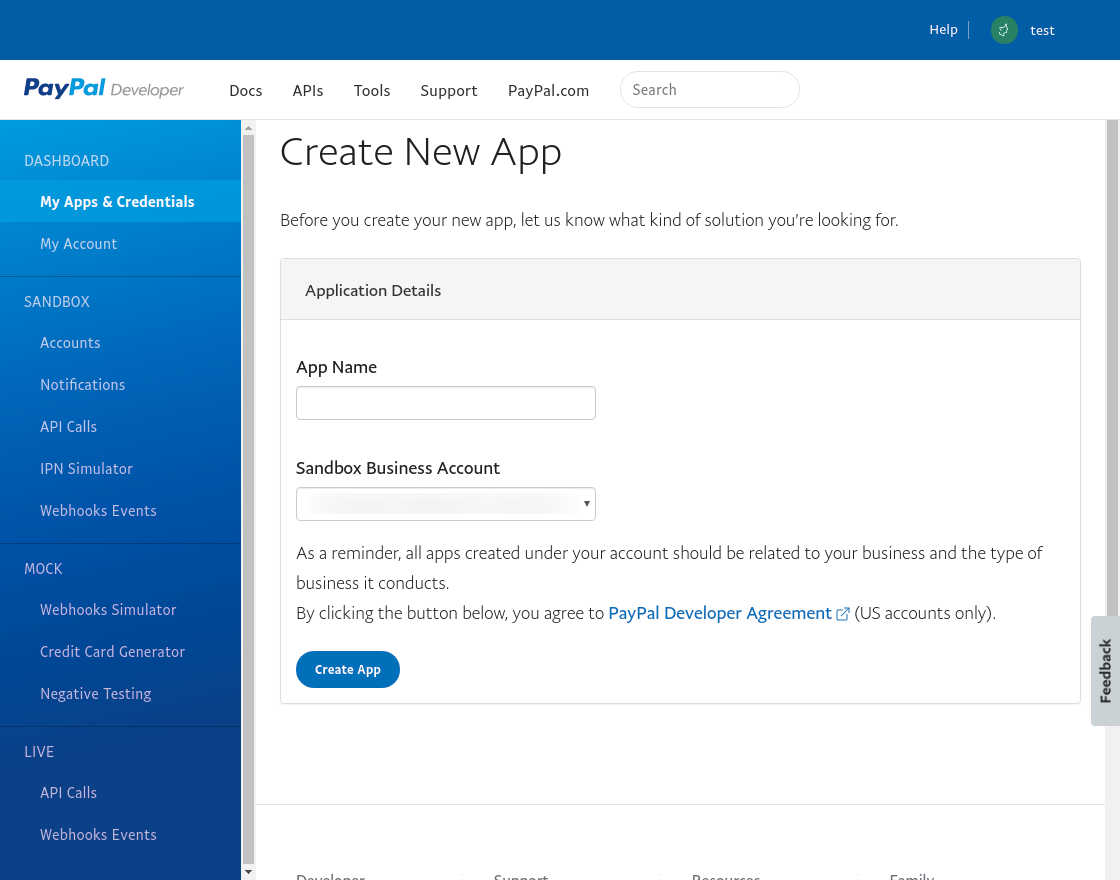
- Click Create App, give your application a name, and choose the associated account.
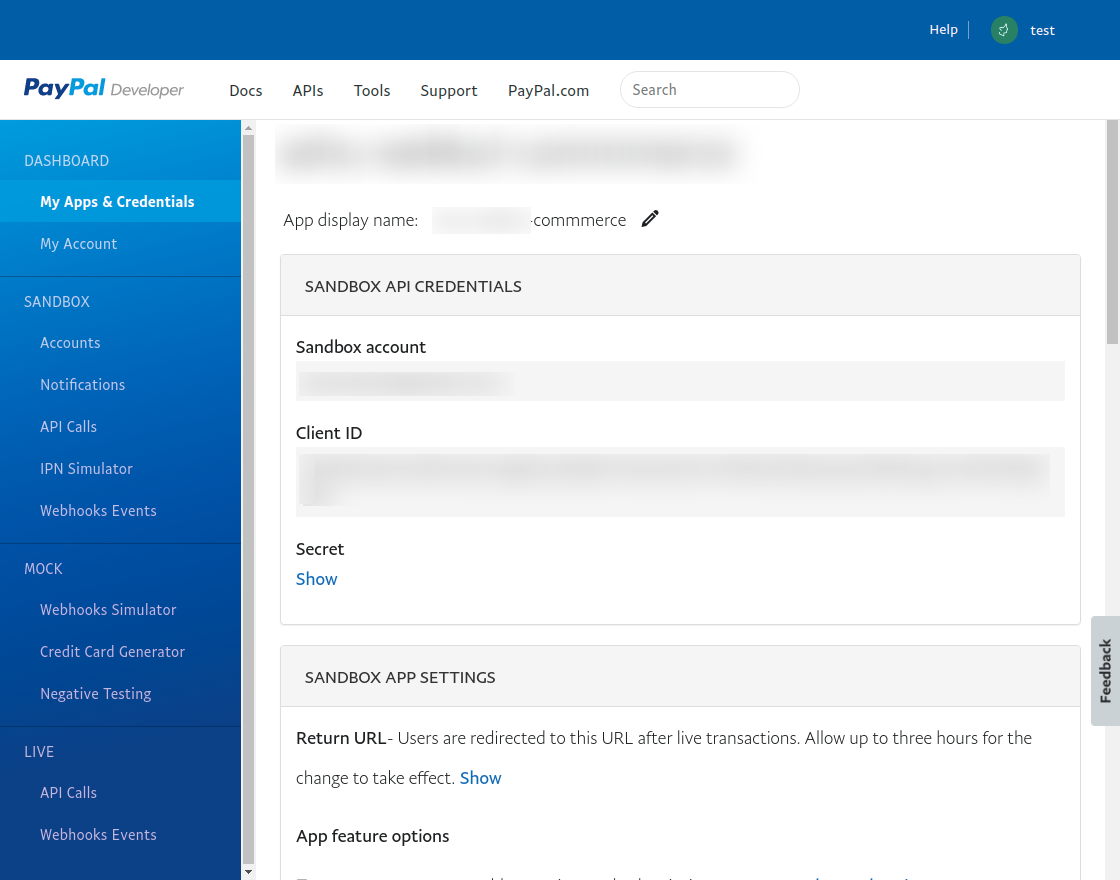
- Copy the generated Client ID and Secret Key, and paste them into the Magento admin payment configuration.
Part 2: Stripe Connect & Webhooks Setup
Step 1: Retrieve Stripe API Keys
- Log in to the Stripe Dashboard.
- Use the Test mode toggle in the top navigation bar to switch between test and live modes.
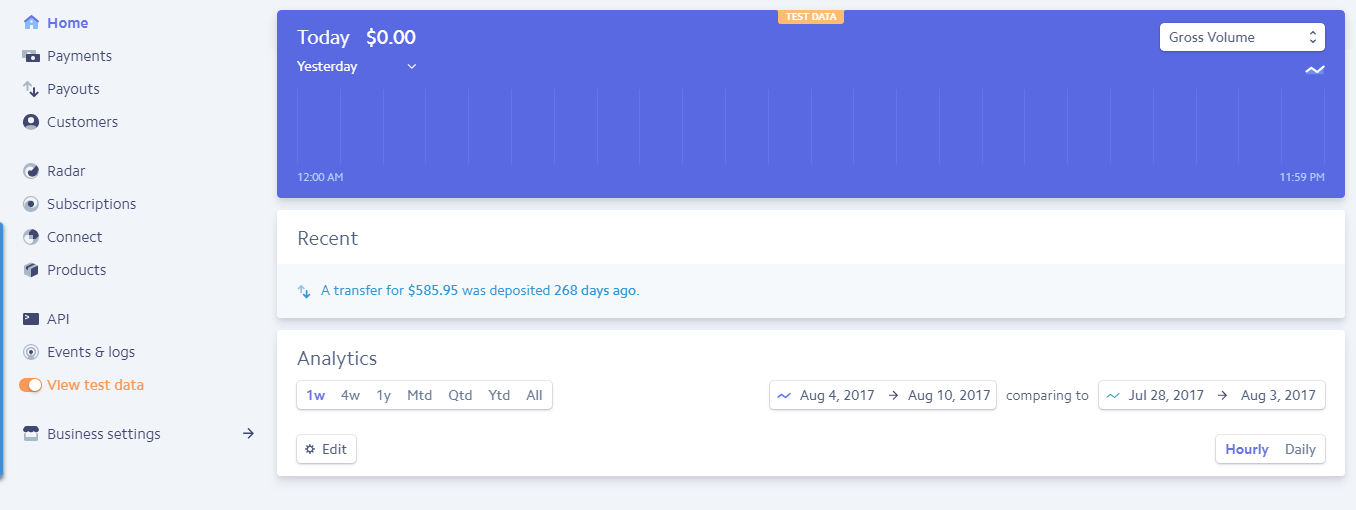
- Navigate to Developers > API keys.
- Copy the Publishable key (
pk_test_...orpk_live_...). - Click Reveal secret key to obtain the Secret key (
sk_test_...orsk_live_...).
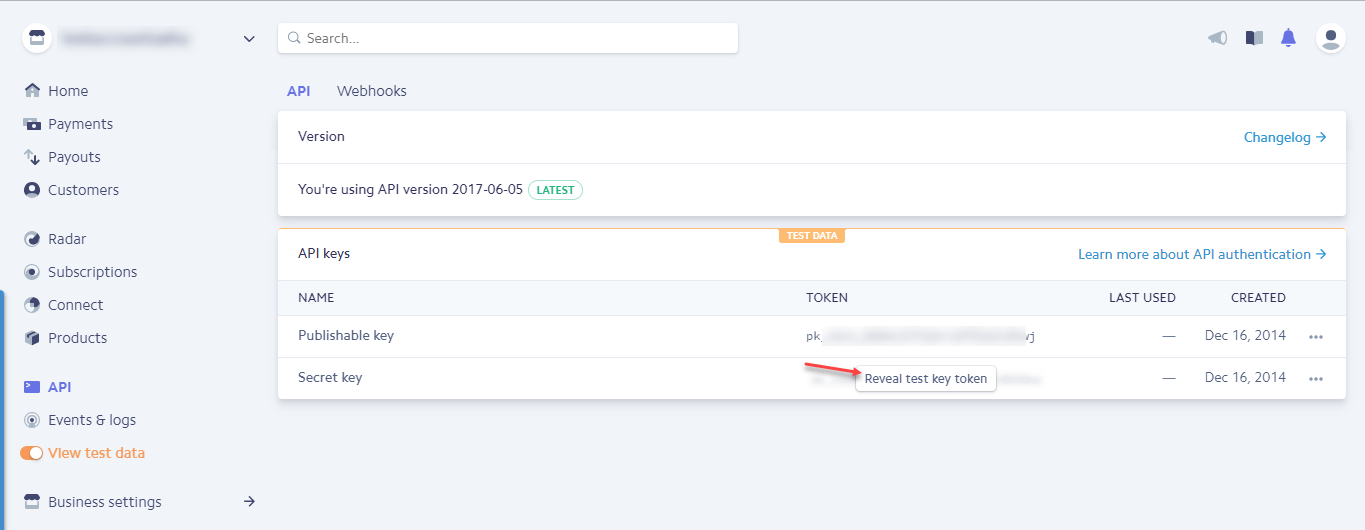
Step 2: Configure Stripe Connect Settings
To allow marketplace sellers to connect their Stripe accounts:
- In Stripe Dashboard, navigate to Connect > Settings.
- Under Integration, locate your Client ID (
ca_...). - Set the Redirect URIs:
https://[your-magento-domain]/mprecurring/connect/stripe/
- Retrieve your platform Account ID from the upper right profile icon:
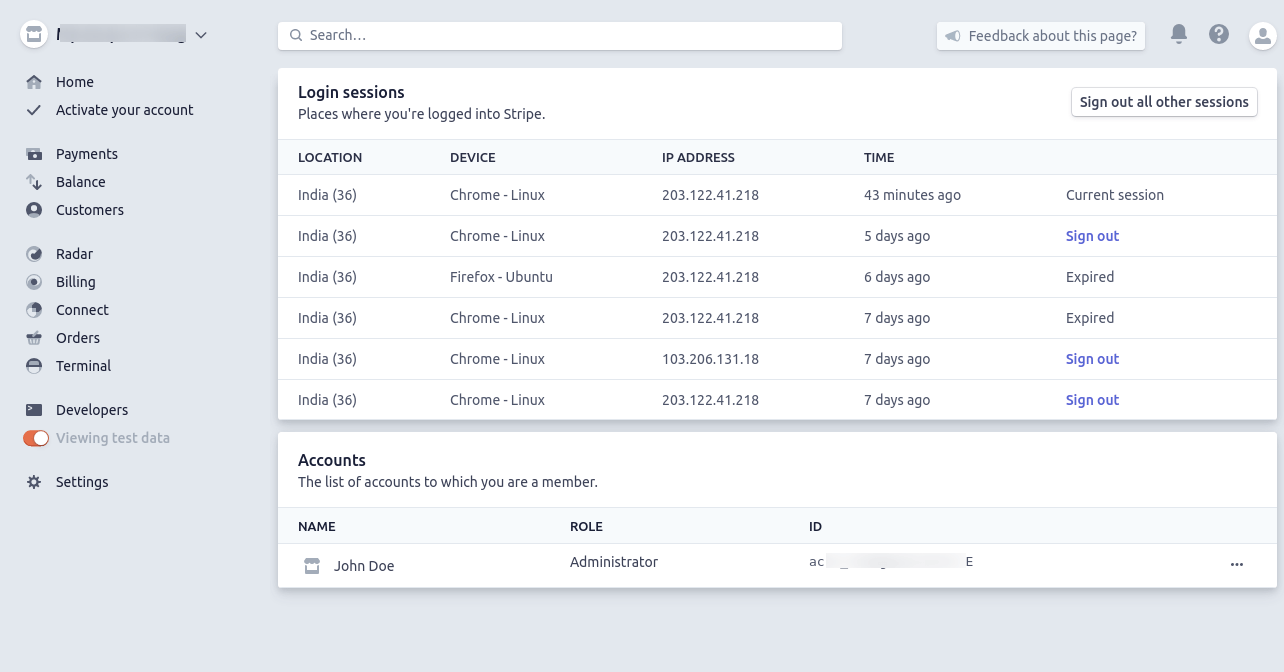
Step 3: Set Webhook Endpoint in Stripe
- In Stripe Dashboard, navigate to Developers > Webhooks.
- Click Add destination (or Add endpoint).
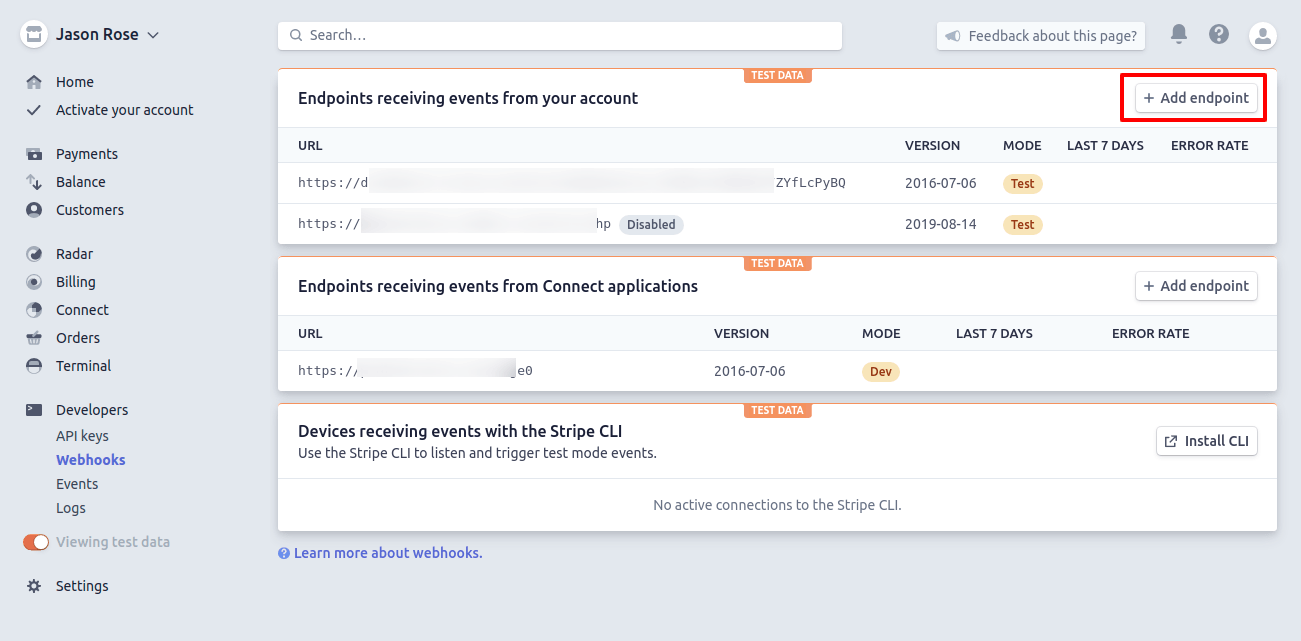
- Enter the endpoint URL:
https://[your-magento-domain]/recurring/stripe/notify/
- Select the events to listen to:
customer.subscription.createdcustomer.subscription.updatedcustomer.subscription.deletedinvoice.payment_succeededinvoice.payment_failedcharge.succeeded
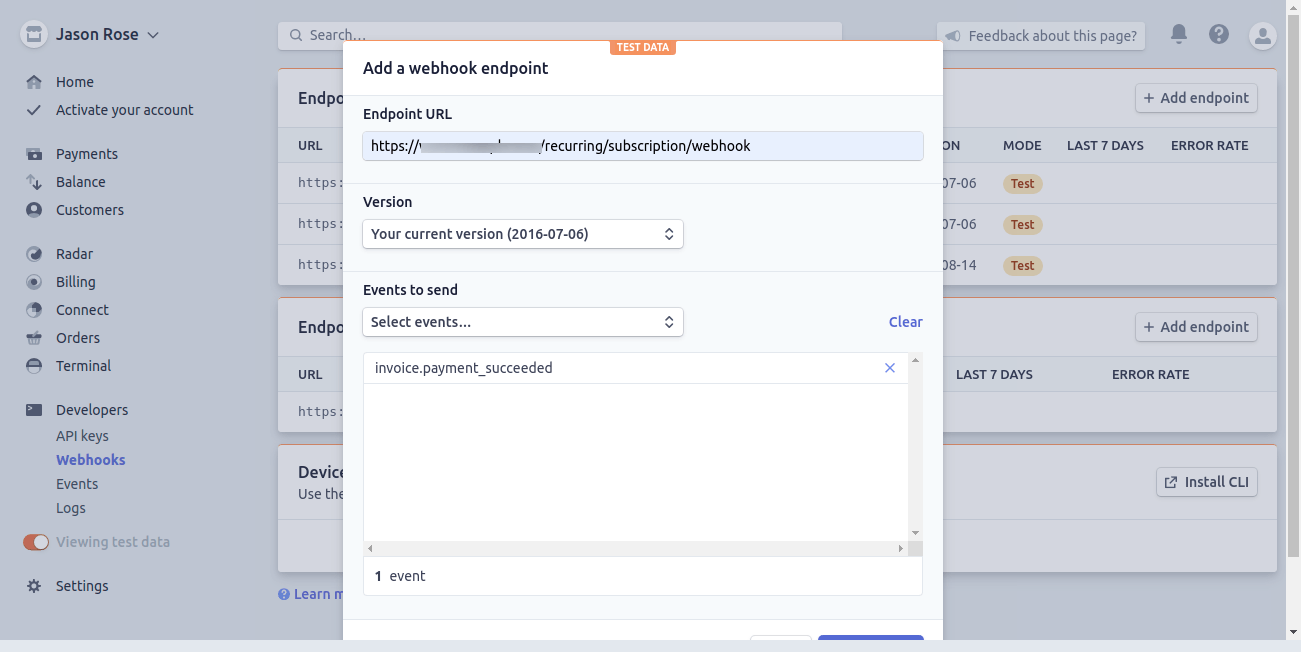
- Click Add endpoint.
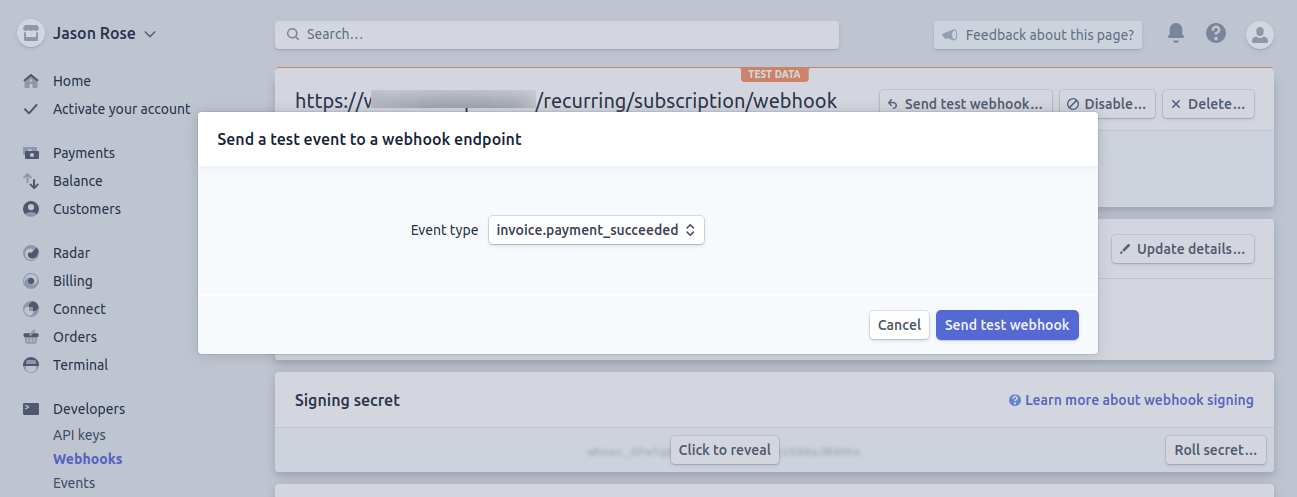
- You can test the endpoint using the Send test event utility.