Installation
Follow these instructions to install the Magento 2 Canva Connector extension on your Magento 2 instance.
Method 1: Manual Installation (Archive ZIP)
Step 1: Unzip and Upload Module Files
- Download the extension ZIP package from your Webkul Store Account.
- Extract the ZIP archive locally. You will find an
src/appfolder. - Upload the
appfolder into your Magento 2 root directory, resulting in the following structure:
magento-root/
└── app/
    └── code/
        └── Webkul/
            ├── Base/
            └── CanvaConnector/
Step 2: Execute Magento CLI Commands
Open your terminal, navigate to your Magento 2 root directory, and run the following commands sequentially:
# Enable the module
php bin/magento module:enable Webkul_CanvaConnector

# Run database setup and schema upgrades
php bin/magento setup:upgrade

# Compile dependency injection and code generation
php bin/magento setup:di:compile

# Deploy static view files (use -f for production mode)
php bin/magento setup:static-content:deploy -f

# Flush cache storage
php bin/magento cache:flush
Method 2: Docker Environment Installation
If you run Magento inside Docker containers (e.g. mg249-php-fpm or Warden/DDEV):
docker exec -it -u www-data <php_container_name> bash -c "
  bin/magento module:enable Webkul_CanvaConnector && \
  bin/magento setup:upgrade && \
  bin/magento setup:di:compile && \
  bin/magento setup:static-content:deploy -f && \
  bin/magento cache:flush
"
Verify Installation
To confirm that the extension has been properly installed and registered:
php bin/magento module:status Webkul_CanvaConnector
Output:
Module is enabled
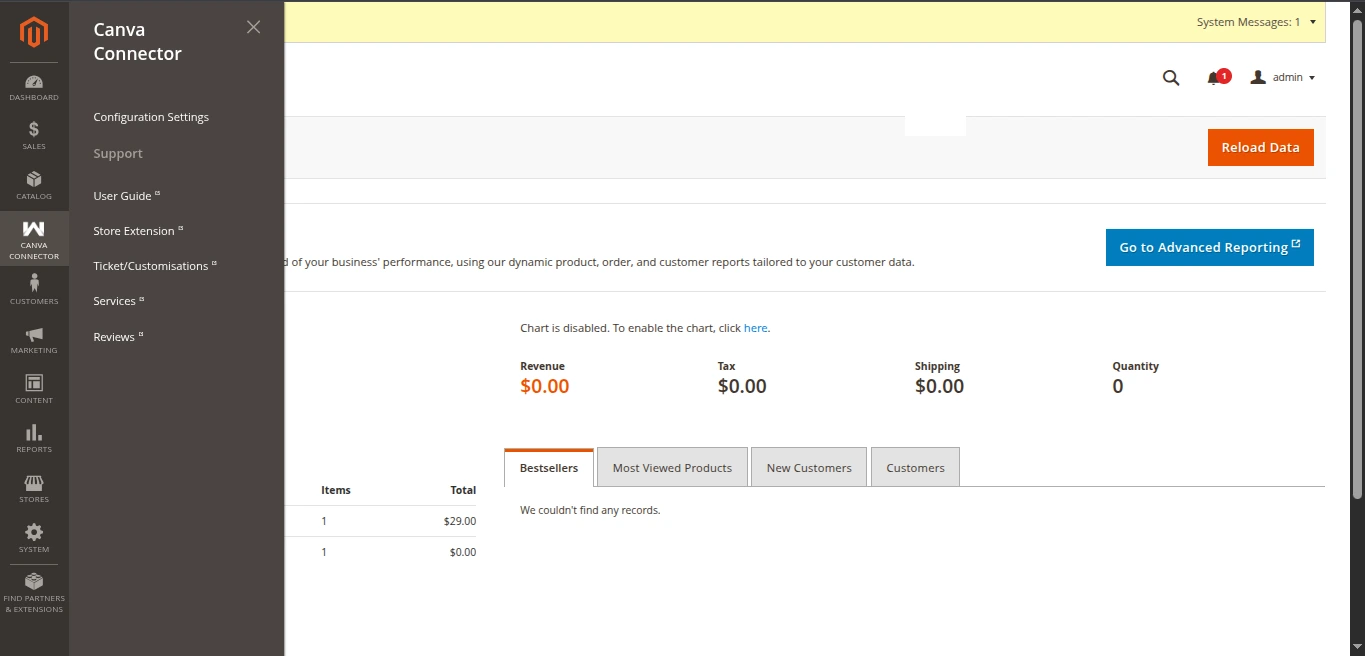
In your Magento Admin Panel, you will now see:
- A new sidebar navigation item: Canva Connector with links to Configuration and Support.
- Configuration settings under Stores > Configuration > Webkul > Canva Connect Settings.
- A Design with Canva action button in Catalog > Products.