
Installation
Follow these steps to install the Magento 2 Email Marketing extension.
Installation Methods
Method 1: Install Through ZIP File
Extract the downloaded module archive and place the files into your Magento 2 root directory under:
magento2_root/
└── app/
    └── code/
        └── Webkul/
            └── EmailMarketing/
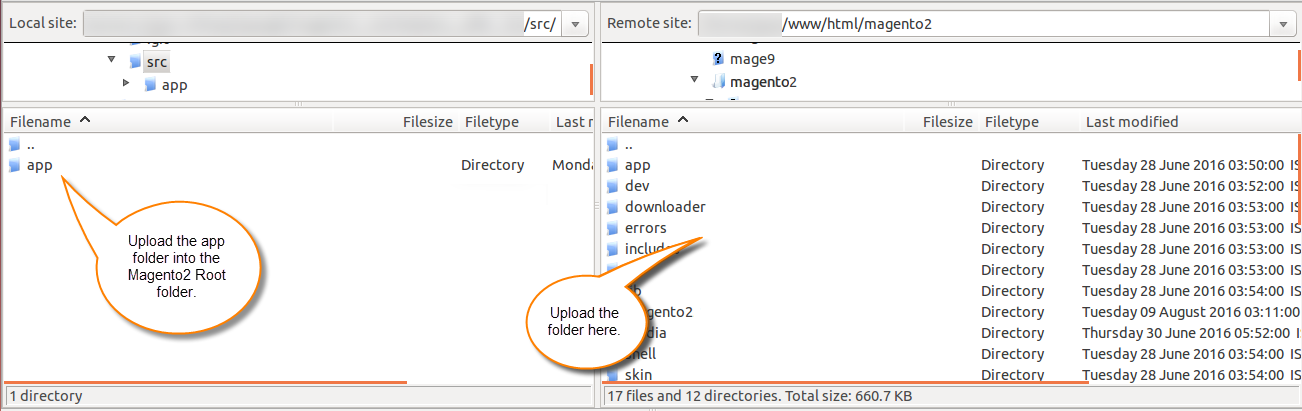
Method 2: Install Through Composer
Navigate to your Magento 2 root directory in your SSH terminal and run the composer command in the following format:
composer require <component-name>:<version>
For example, to install version 5.0.4 of this extension, run:
composer require webkul/module-emailmarketing:5.0.4
Execute Magento CLI Commands
After placing the module files (via ZIP or Composer), navigate to your Magento 2 root directory in your SSH terminal and run the following deployment commands to complete installation:
php bin/magento setup:upgrade
php bin/magento setup:di:compile
php bin/magento setup:static-content:deploy -f
php bin/magento cache:flush
Language Translation
The module supports multiple languages, including both RTL (Right-to-Left) and LTR (Left-to-Right) layouts. To translate the module into another language, such as German:
Navigate to the module's
i18ndirectory:app/code/Webkul/EmailMarketing/i18n(or the equivalent path in your installation).Edit the
en_US.csvfile. Replace the words on the right side of the comma (,) with your translated phrases.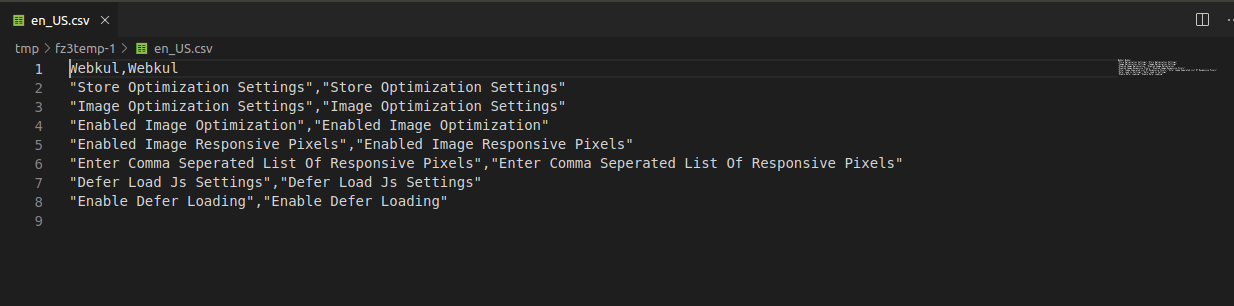
Rename the CSV file to match your target locale, for example,
de_DE.csvfor German.Save the file.
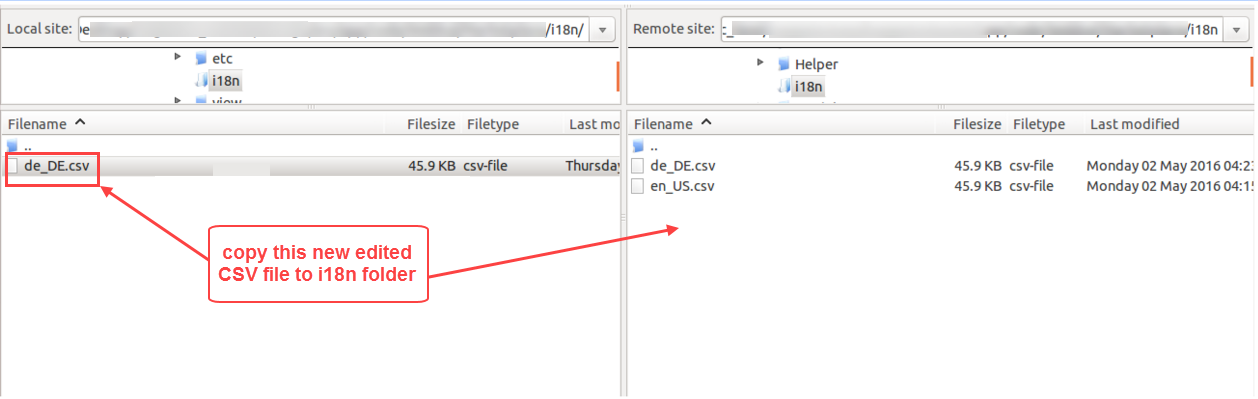
Upload the translated CSV file to the
app/code/Webkul/EmailMarketing/i18npath on your server.
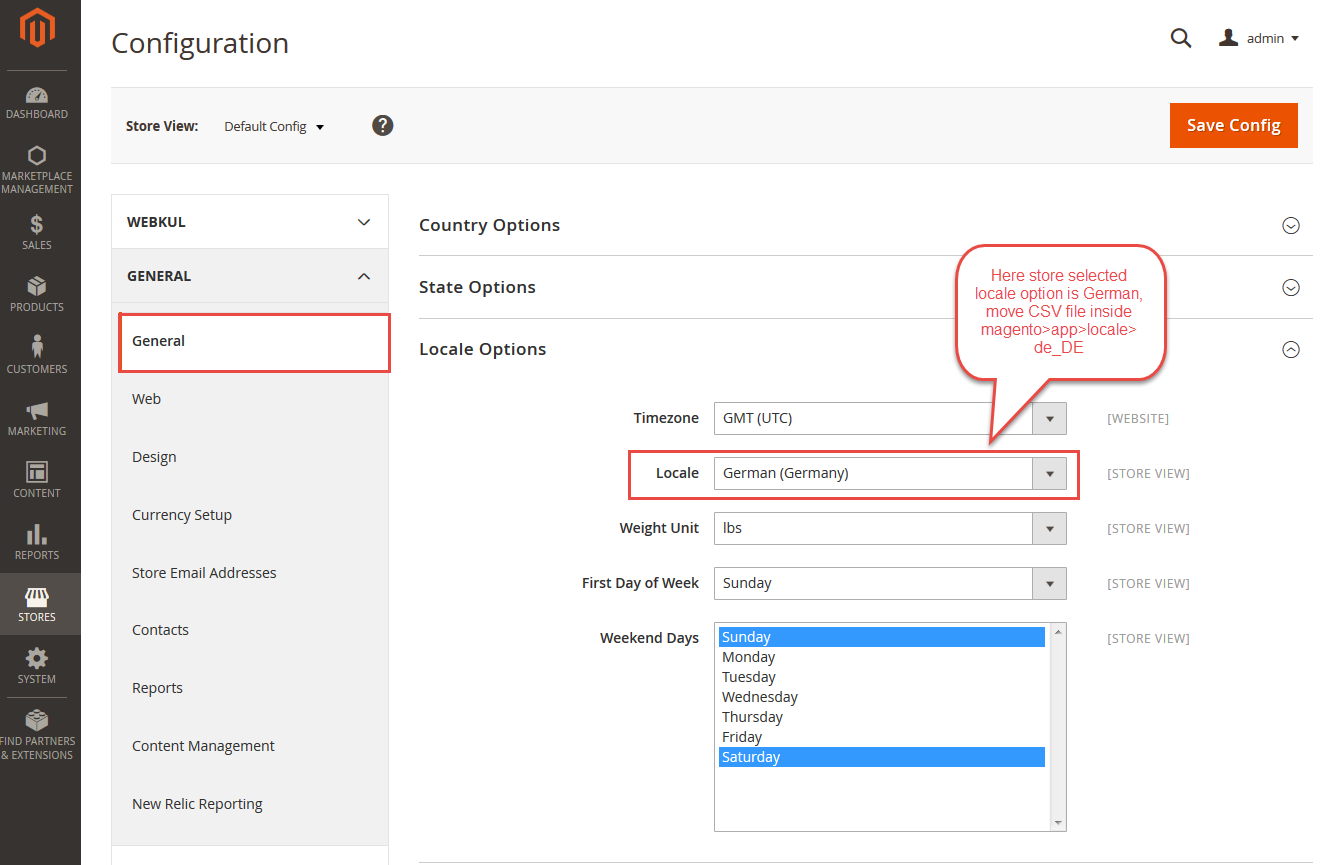
- Navigate to your Adobe Commerce Cloud admin panel, go to Store → Configuration → General → Locale Options and select your desired locale.
- Run the static content deployment and cache flush commands again:
php bin/magento setup:static-content:deploy -f php bin/magento cache:flush
The module will now be translated into your selected language.
Translation Note
Always ensure that the structure of the CSV (the English key on the left) remains unmodified. Only change the translated string on the right side.