
Activate & Connect
After installing the extension, you must enable and configure the module options in the Magento Admin Panel.
Configuration Navigation
Configuration Location
Navigate to Stores → Configuration → Webkul → Email Marketing.
Module License
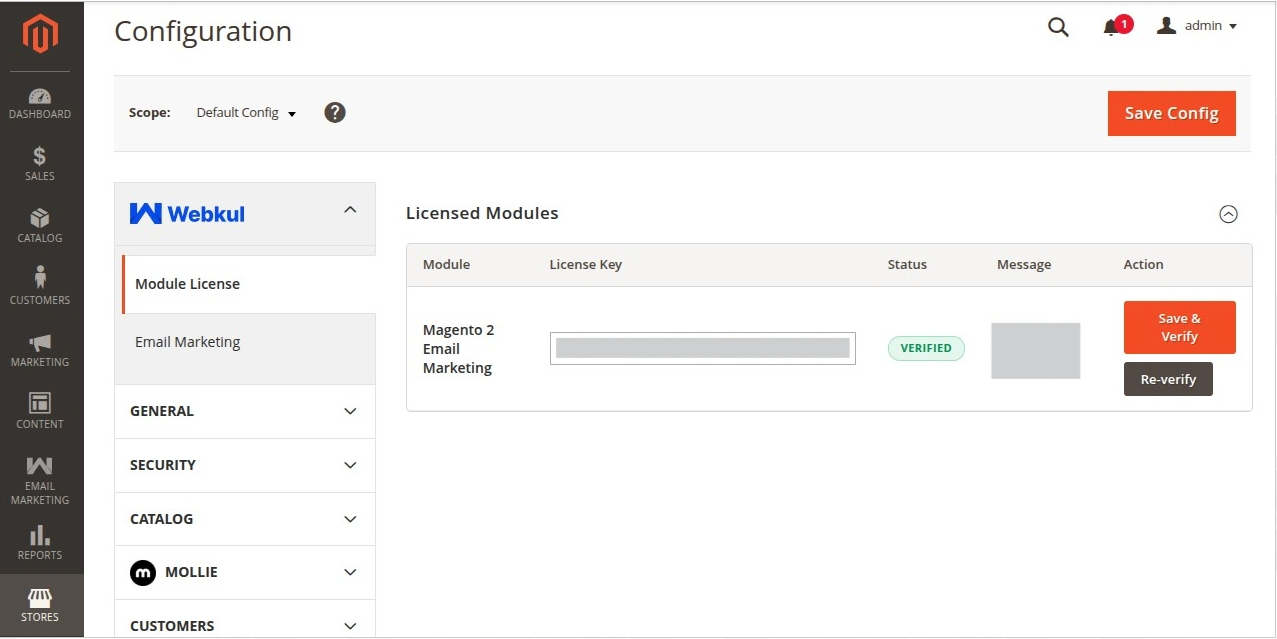
The admin needs to verify the module license to use it properly. Navigate to Stores → Configuration → Webkul → Module License.
Here, the admin will find the list of all the licensed modules. For the Email Marketing module, the admin needs to enter the License Key and click on the Save & Verify button to verify the license.
Configuration Settings
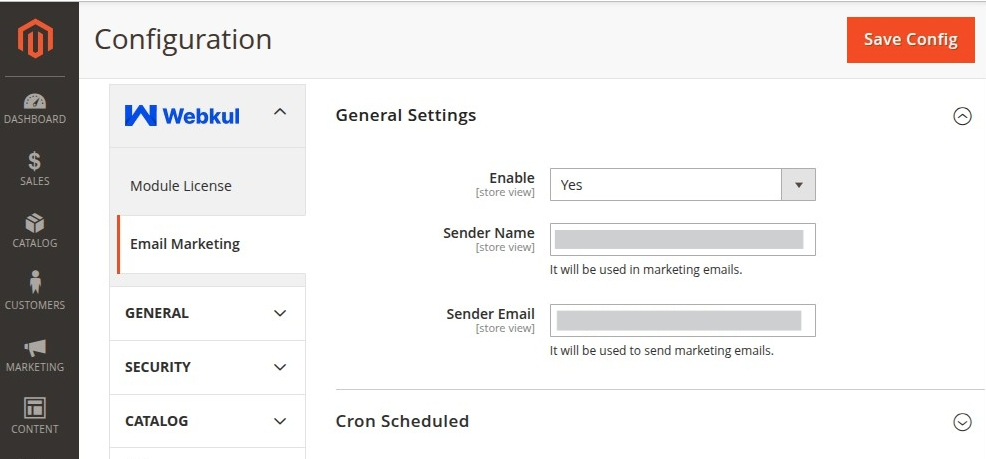
1. General Settings
- Enable: Toggle this setting to Yes to activate the email marketing features.
- Sender Name: Define the default name (e.g. "Store Promotions" or your brand name) that appears in your customers' email clients.
- Sender Email: Set the email address that will be used to send all marketing campaign emails.
2. Cron Scheduled Settings
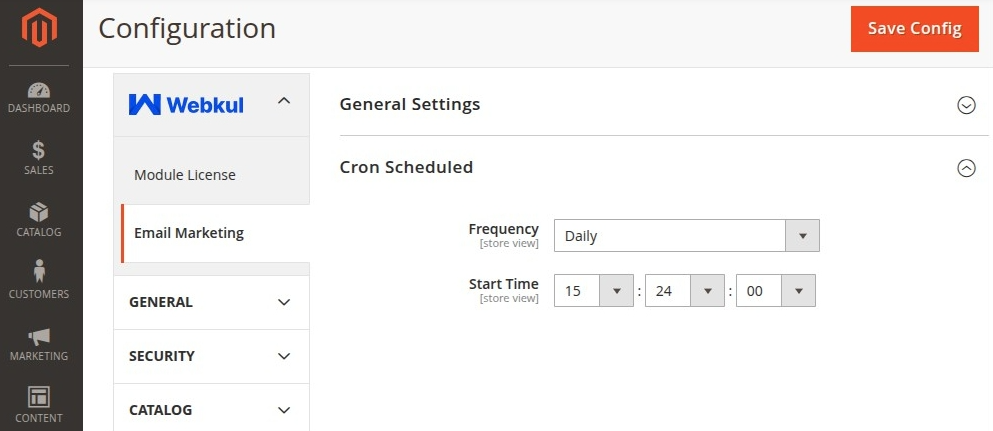
The email campaign dispatching is processed automatically in the background using cron jobs. You can customize the cron execution schedule:
- Frequency: Choose how often the queue processor checks for campaigns to execute (Daily, Weekly, or Monthly).
- Start Time: Set the time (Hour:Minute:Second) when the scheduled cron checks should initiate.
After Configuring Settings
Click Save Config at the top right of the admin panel.
Flush the Magento cache using the admin menu System → Cache Management.
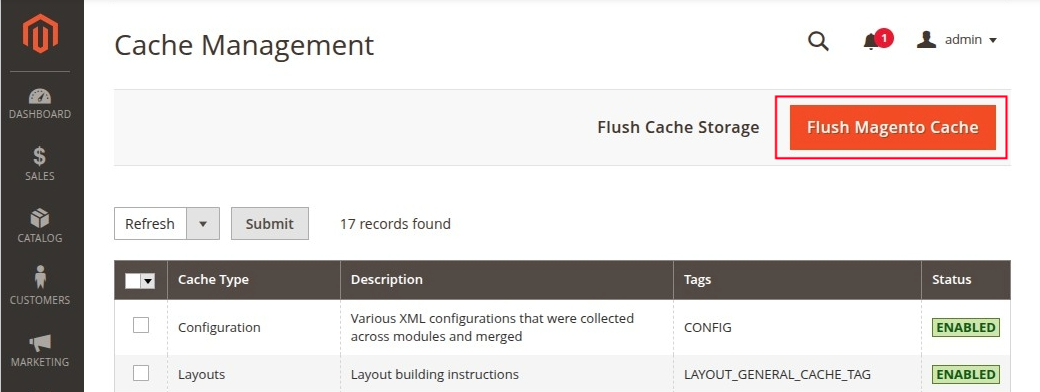
Alternatively, flush the cache by running the following command in your terminal:
php bin/magento cache:flush