
Register a Zoho Client
Zoho needs to know your store before it will sign anyone in. You do this once, in the Zoho API Console, by creating a server-based OAuth client. The result is a Client ID and a Client Secret.
1. Copy your redirect URI from Magento
- In the Magento admin, go to Stores → Configuration → Webkul → Zoho SSO.
- Find Authorized Redirect URI (Copy for Zoho Console).
- Click the field. The whole URL is selected — copy it.
It looks like this:
https://www.example.com/zohosso/account/callback/
Several store views on different domains?
Switch the Scope at the top of the configuration page to each store view or website and copy the URI shown there. Every distinct URL must be added to the Zoho client. See Redirect URI.
2. Open the API Console for your data center
Sign in to the Zoho API Console that matches where your Zoho accounts live:
| Data center | API Console |
|---|---|
| United States | https://api-console.zoho.com |
| Europe | https://api-console.zoho.eu |
| India | https://api-console.zoho.in |
| Australia | https://api-console.zoho.com.au |
| Other regions | the api-console. host on your region's Zoho domain |
The full list of domains is in Data Centers.
3. Create the client
Click Add Client (or Get Started if this is your first client).
Choose Server-based Applications.
Fill in the form:
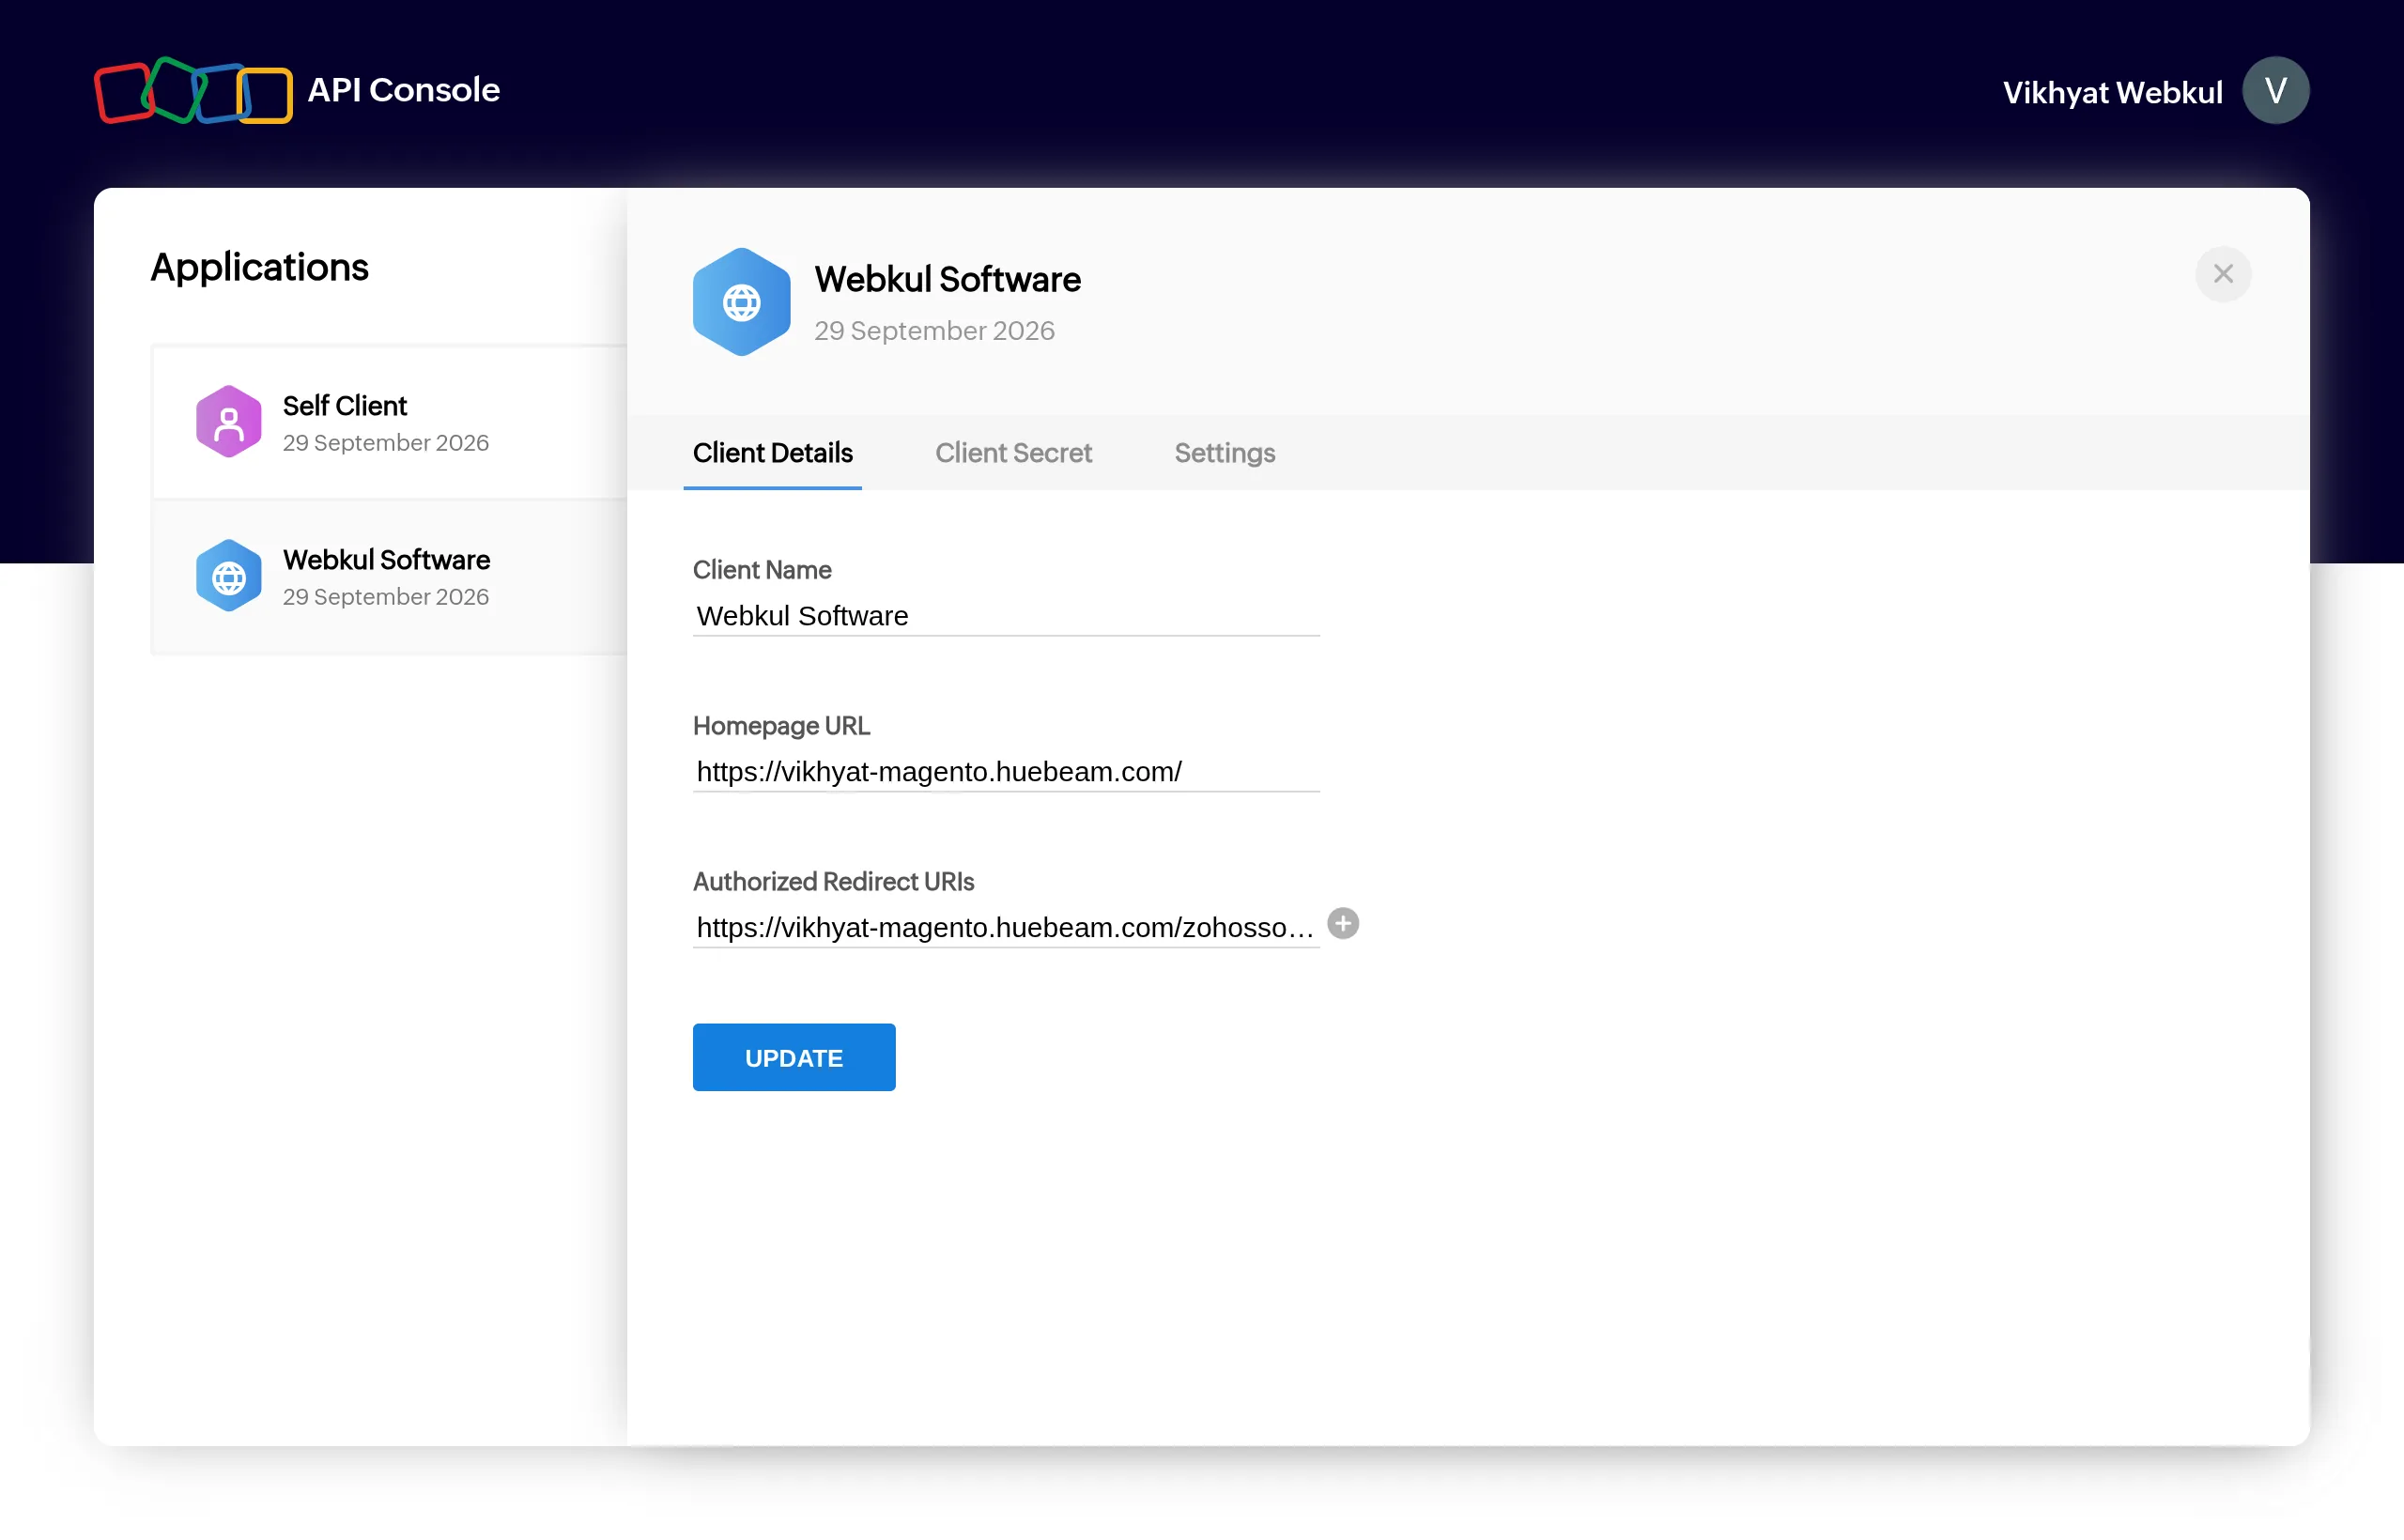
Field Value Client Name Your store name — customers see it on Zoho's consent screen Homepage URL Your storefront URL, e.g. https://www.example.com/Authorized Redirect URIs The URI you copied in step 1 — exactly, including the trailing /Click Create.
The client now appears under Applications. Its Client Details tab shows the values you entered. To add more redirect URIs later, click + next to Authorized Redirect URIs and then UPDATE.
4. Copy the credentials
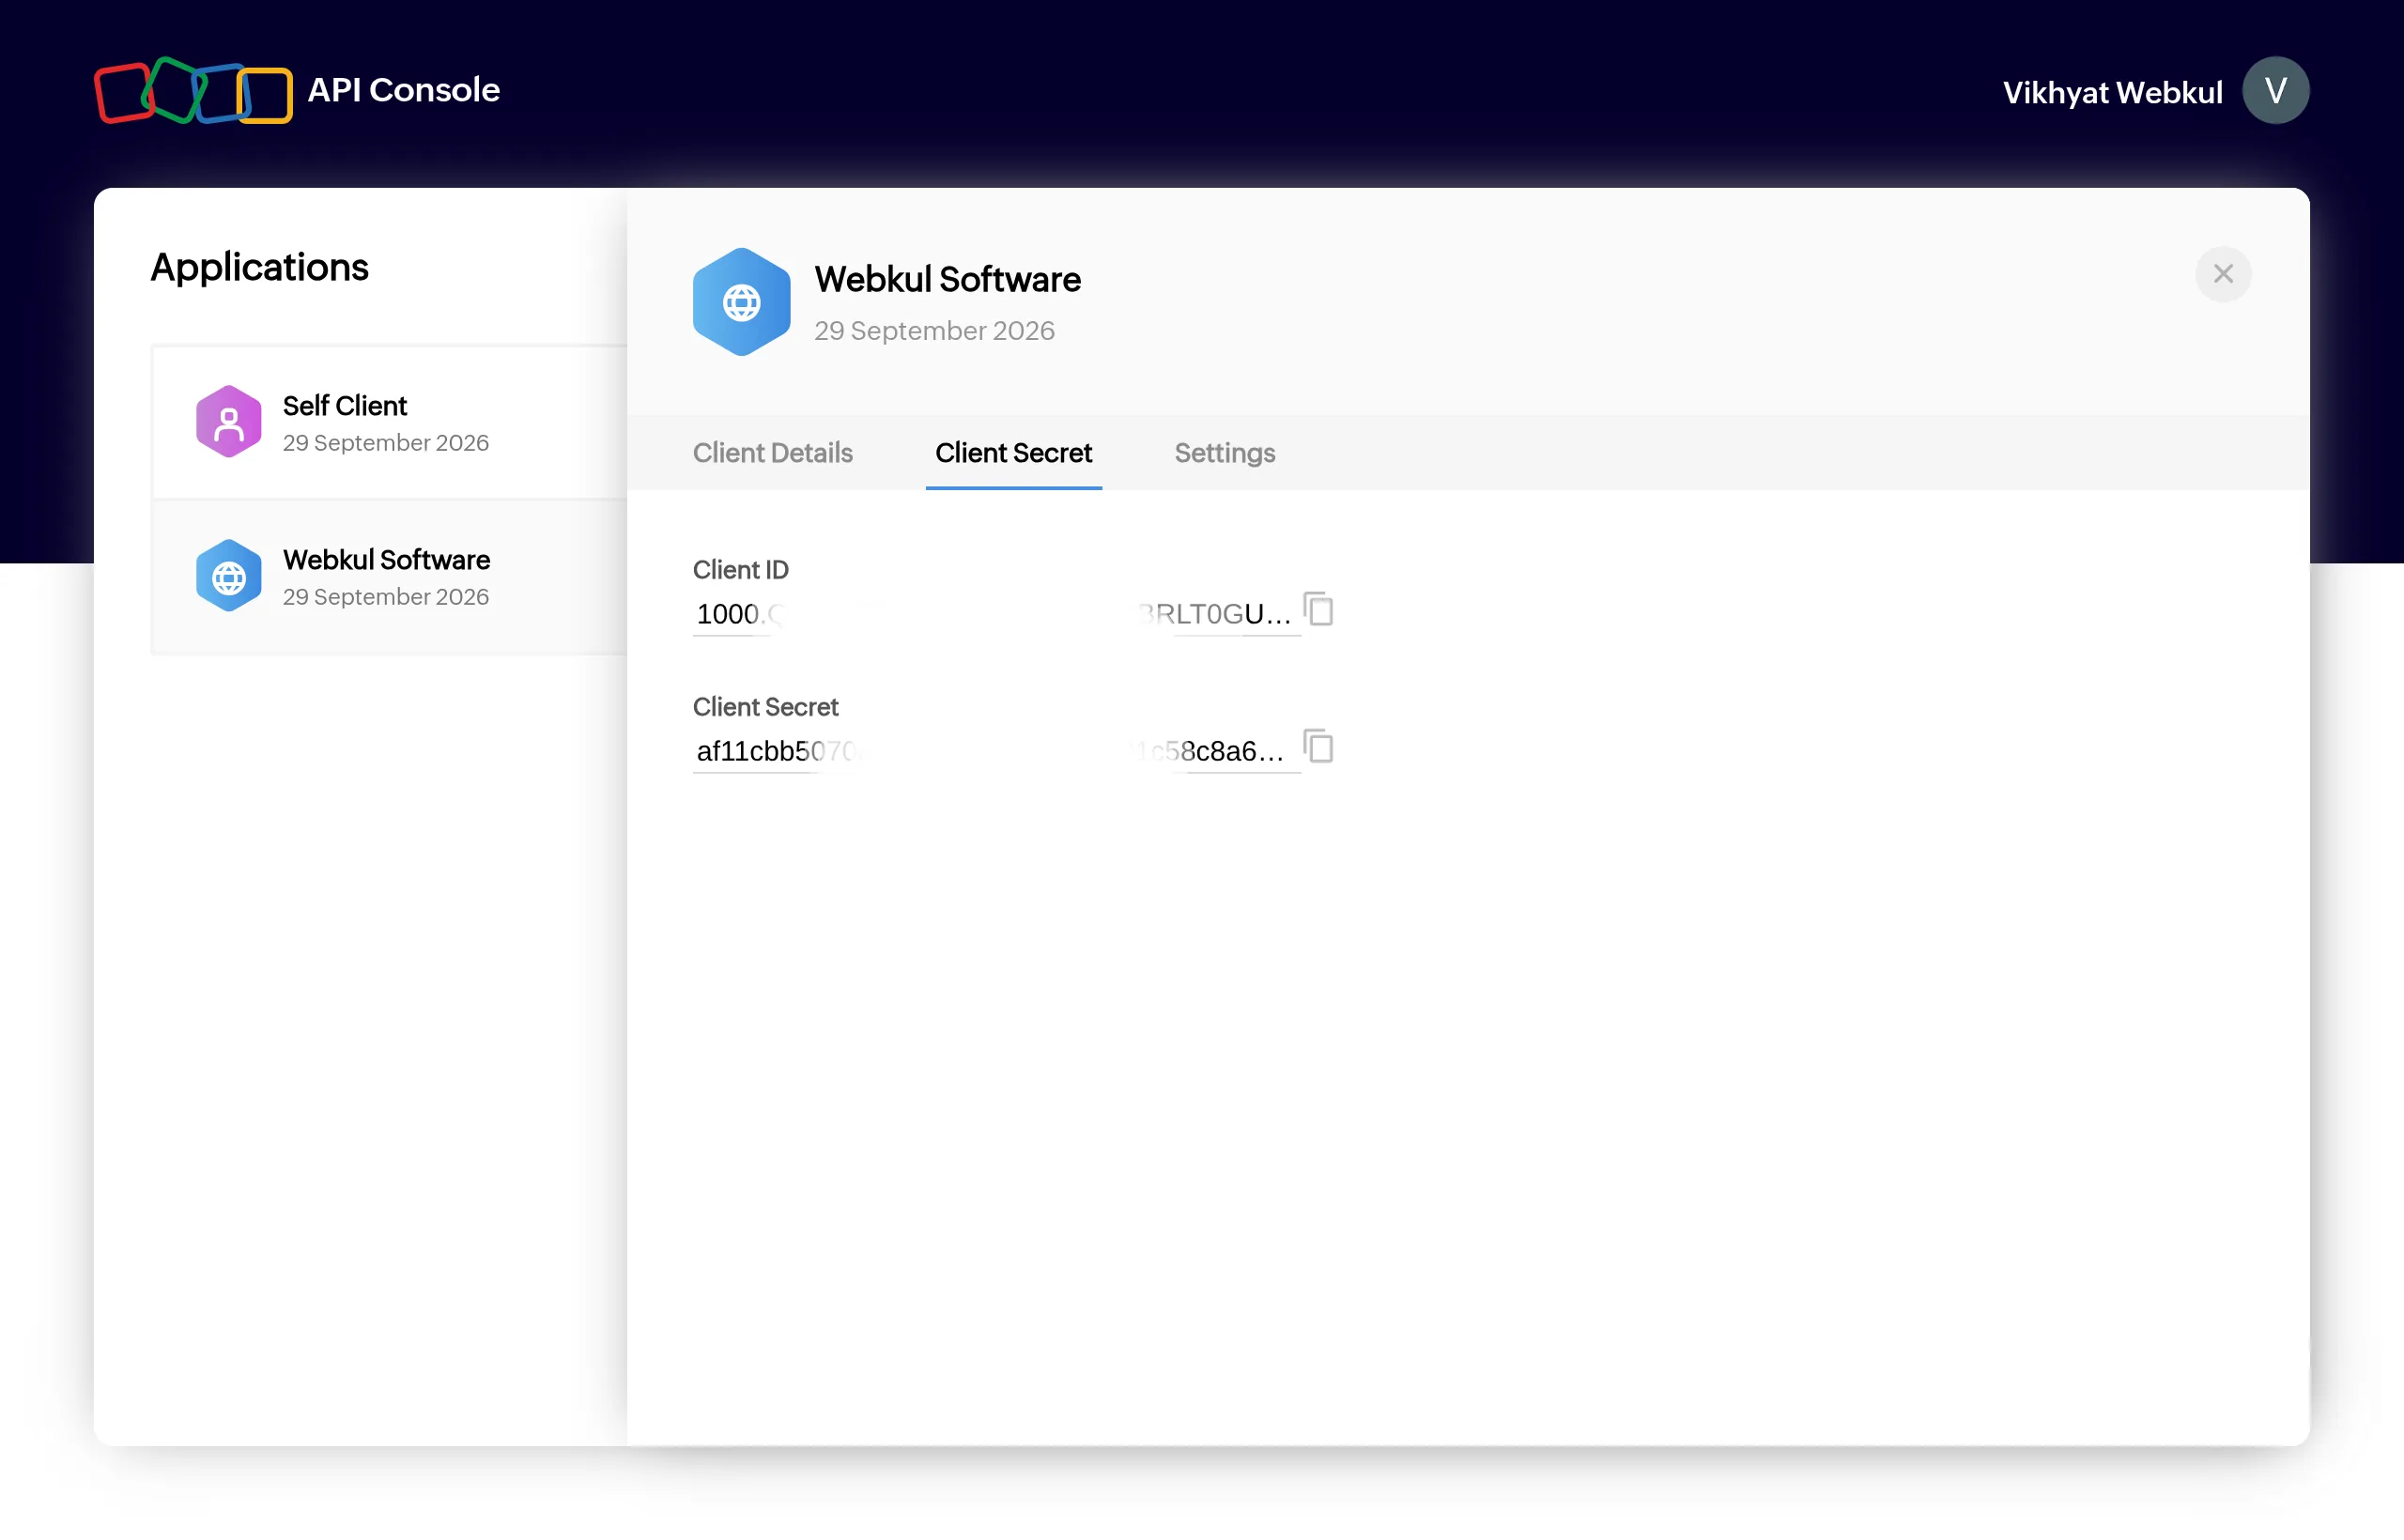
Open the client's Client Secret tab and copy, using the copy icon next to each value:
- Client ID
- Client Secret
Keep the Client Secret private
Anyone with the secret can impersonate your store to Zoho. Paste it only into the Magento admin. Magento stores it encrypted. If it leaks, regenerate it in the Zoho API Console and update Magento.
Next: Connect Magento to Zoho.