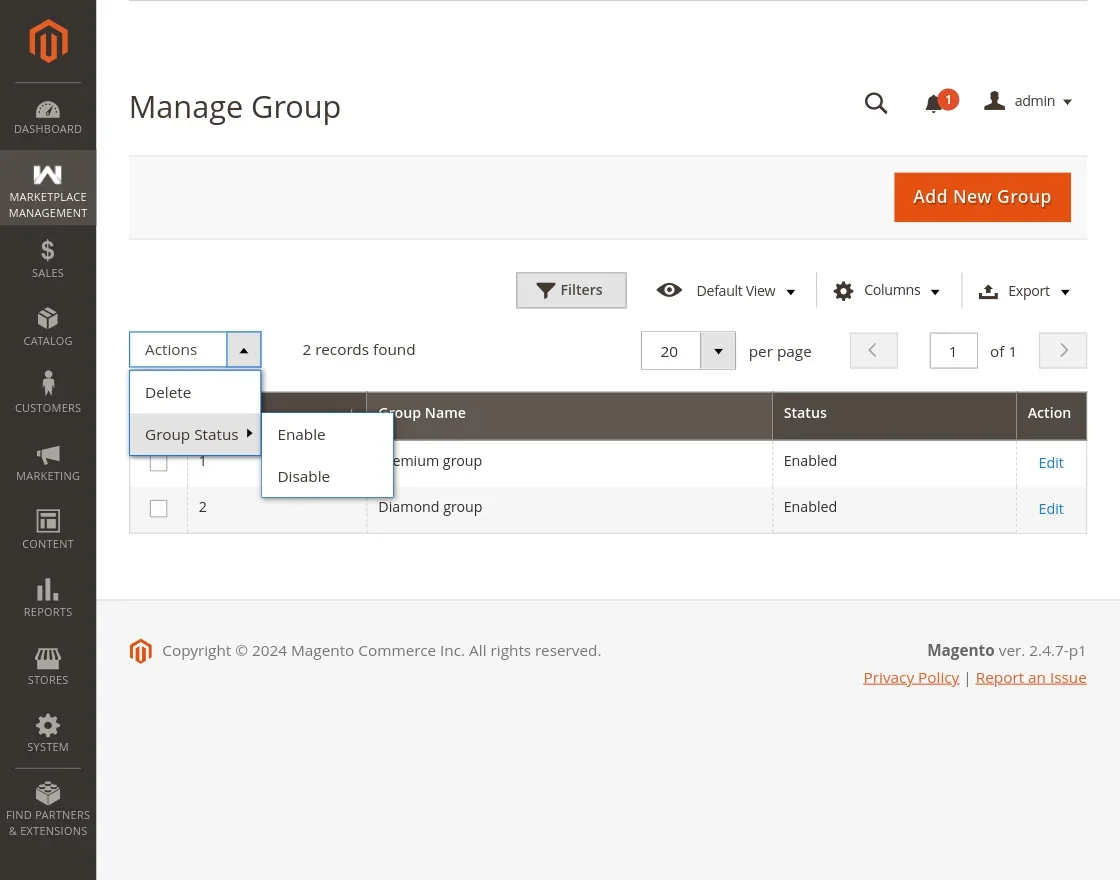
Assign Attributes & Groups
The Assign Attribute and Assign Group sections allow administrators to target custom attributes to specific user types and organize related attributes into coherent visual groups.
1. Assigning Attributes to User Roles
Navigate to Marketplace Management > Attribute Manager > Assign Attribute to configure which user types interact with each attribute.
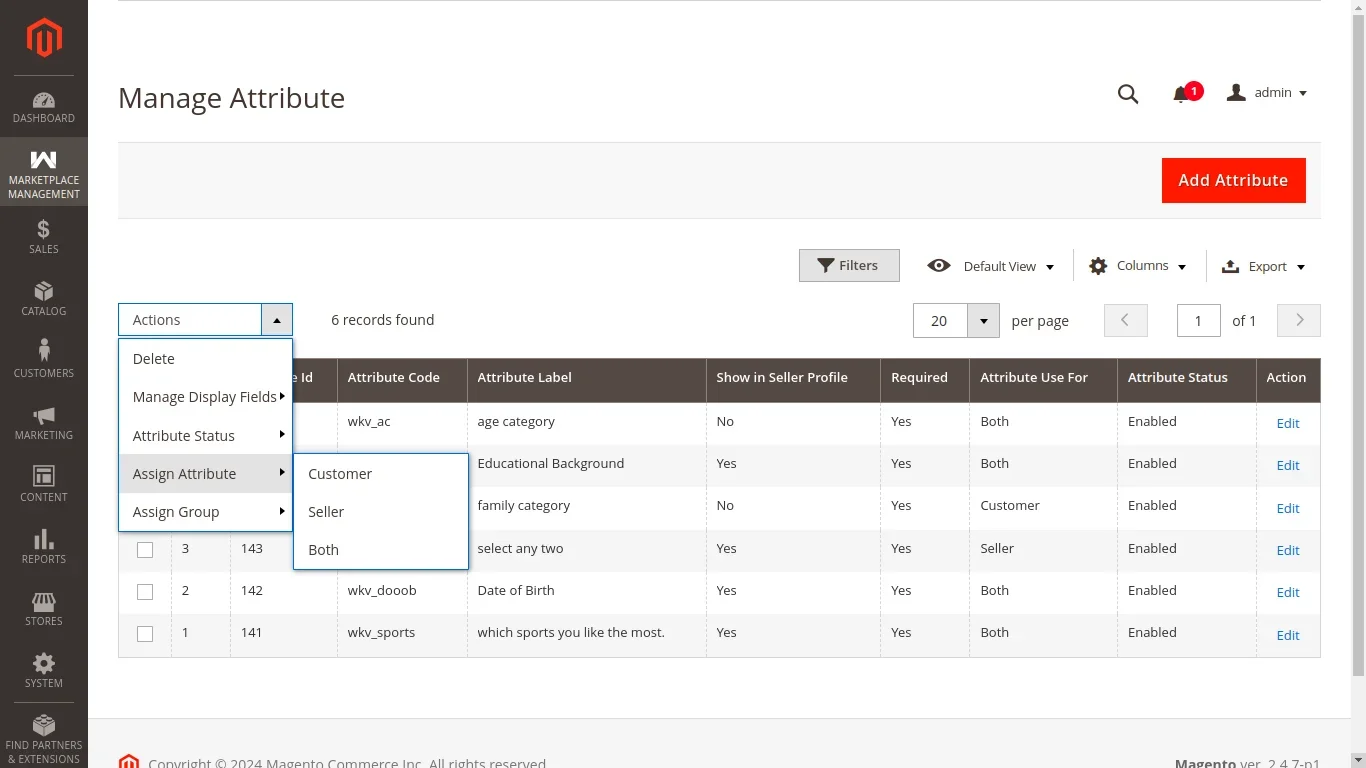
Role Assignment Options
For each custom attribute, administrators can assign one of three role scopes:
- Seller: The attribute is exclusively presented to marketplace sellers during seller onboarding, on the Become Seller form, and within vendor profile settings.
- Customer: The attribute is presented to registered customers during account registration and within the Additional Customer Information customer account menu.
- Both: The attribute is available to both standard customers and marketplace sellers.
2. Managing Attribute Groups
Organizing attributes into groups helps avoid overwhelming registration forms and allows sellers to complete their profiles in logical stages (e.g., Personal Information, Company Overview, Certifications & Documents).
Navigate to Marketplace Management > Attribute Manager > Assign Group:
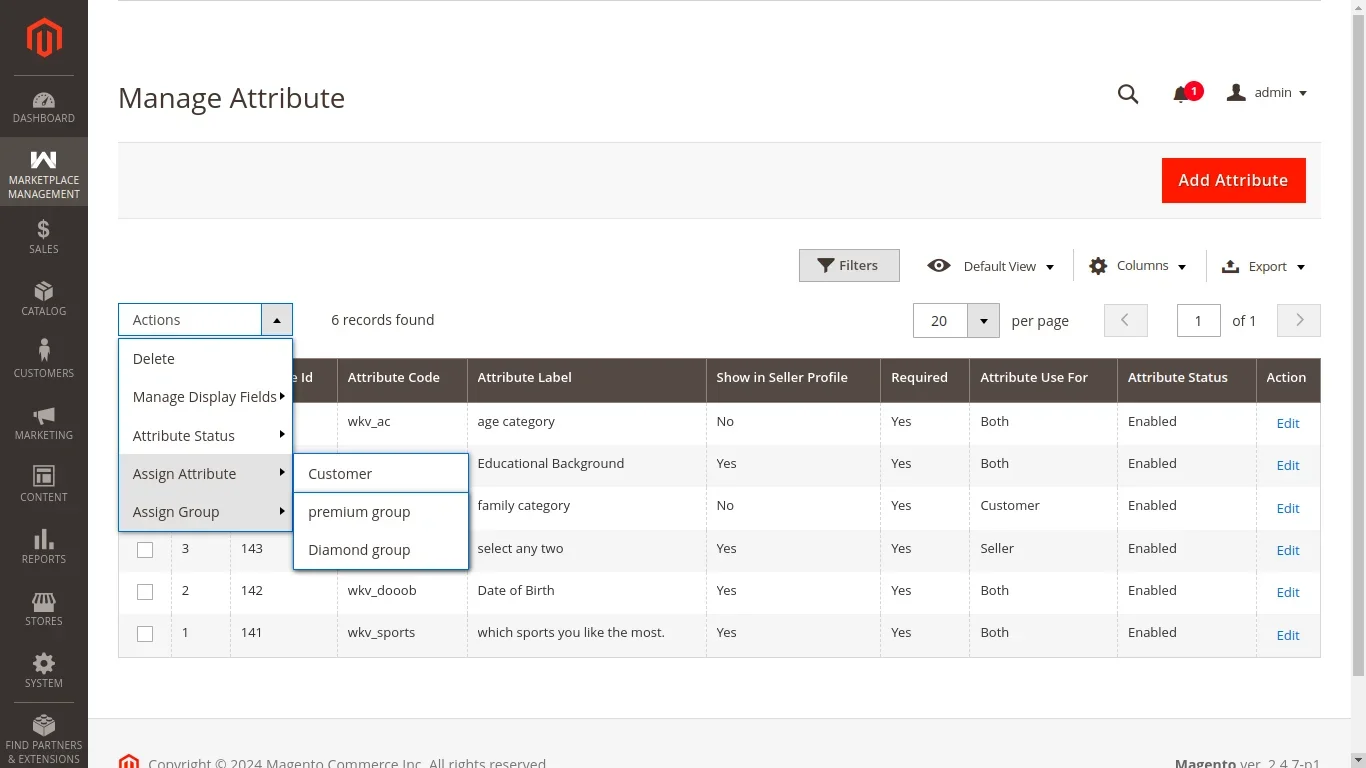
The grid displays all defined groups along with their Group Name, Status, and Sort Order.
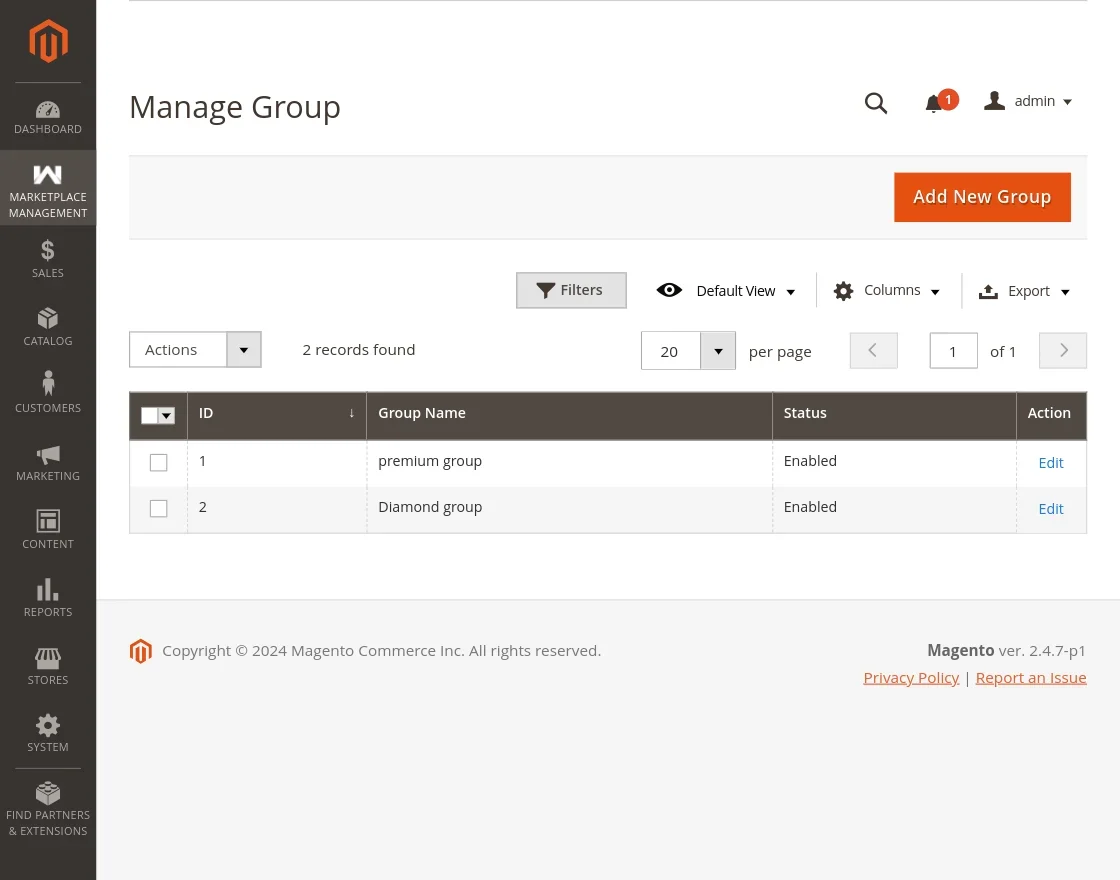
3. Creating a New Attribute Group
Click Add New Group in the upper right corner to create a group container:
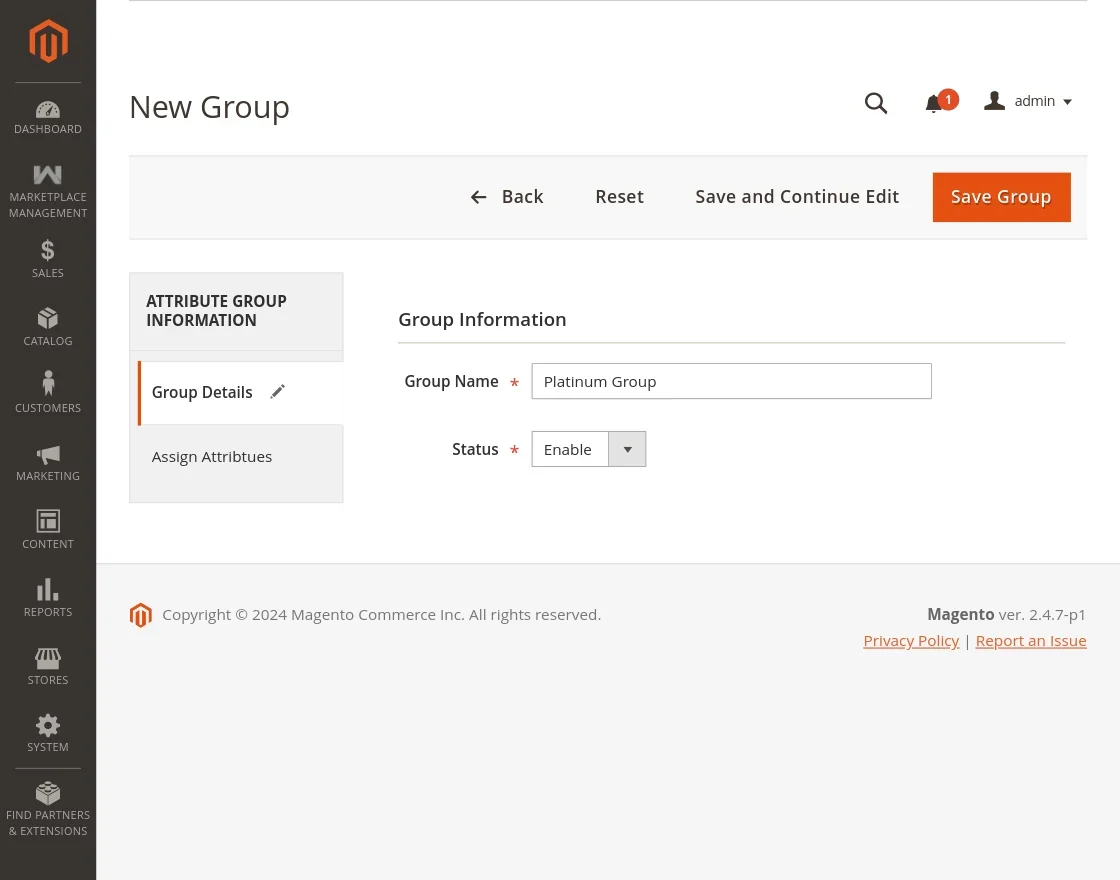
- Group Name: Enter a descriptive name for the group (e.g., Business Details, Compliance & Legal, Social Handles).
- Status: Set to
Enableto make the group active. - Sort Order: Enter a numeric priority to determine display order in dropdown lists and form layouts.
- Click Save Group.
4. Assigning Attributes to a Group
Once a group is created, you can associate specific attributes with it:
- Open the group by clicking Edit in the Assign Group grid.
- In the Assign Attributes tab, you will see a list of all existing custom attributes.
- Select the checkboxes for the attributes that should belong to this group.
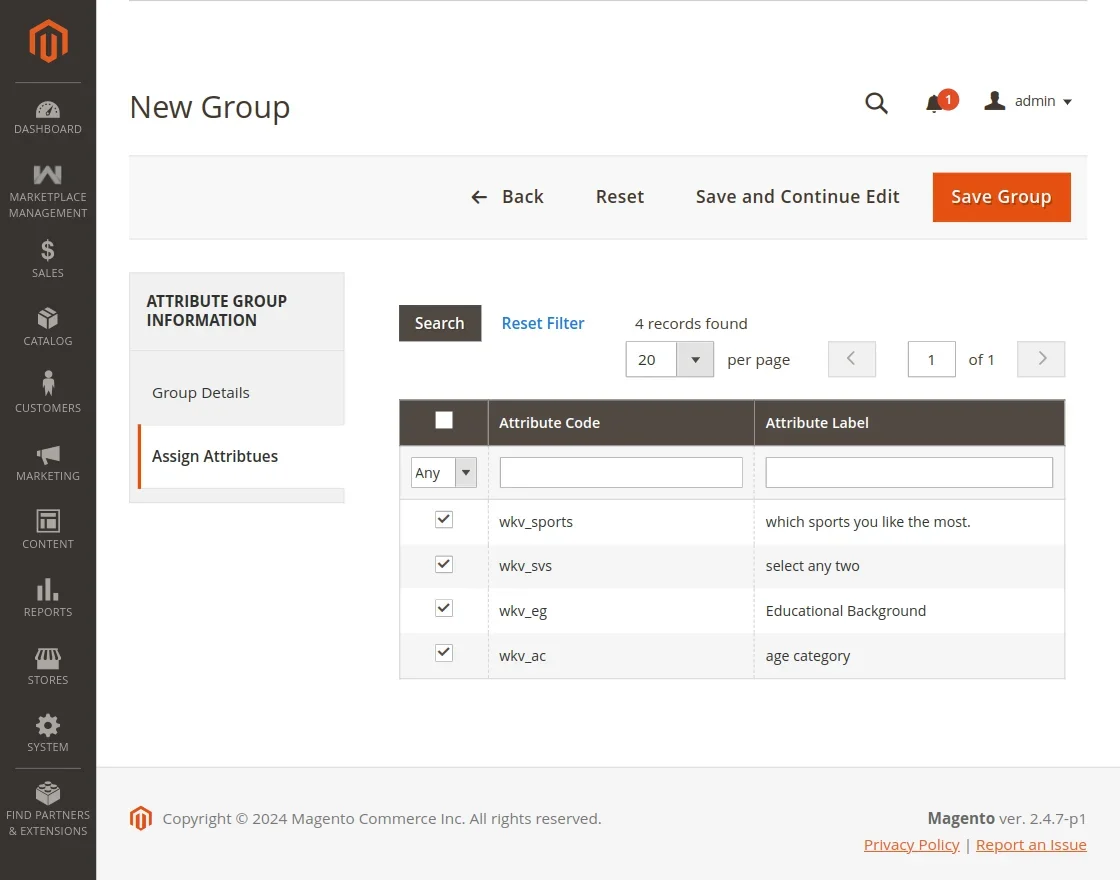
- Click Save to persist the association.
5. Bulk Group Operations
Administrators can update group statuses in bulk directly from the Assign Group grid:
- Select one or more groups using the left-hand checkboxes.
- Choose Update Status from the Actions dropdown menu.
- Select
EnableorDisableand confirm the action.