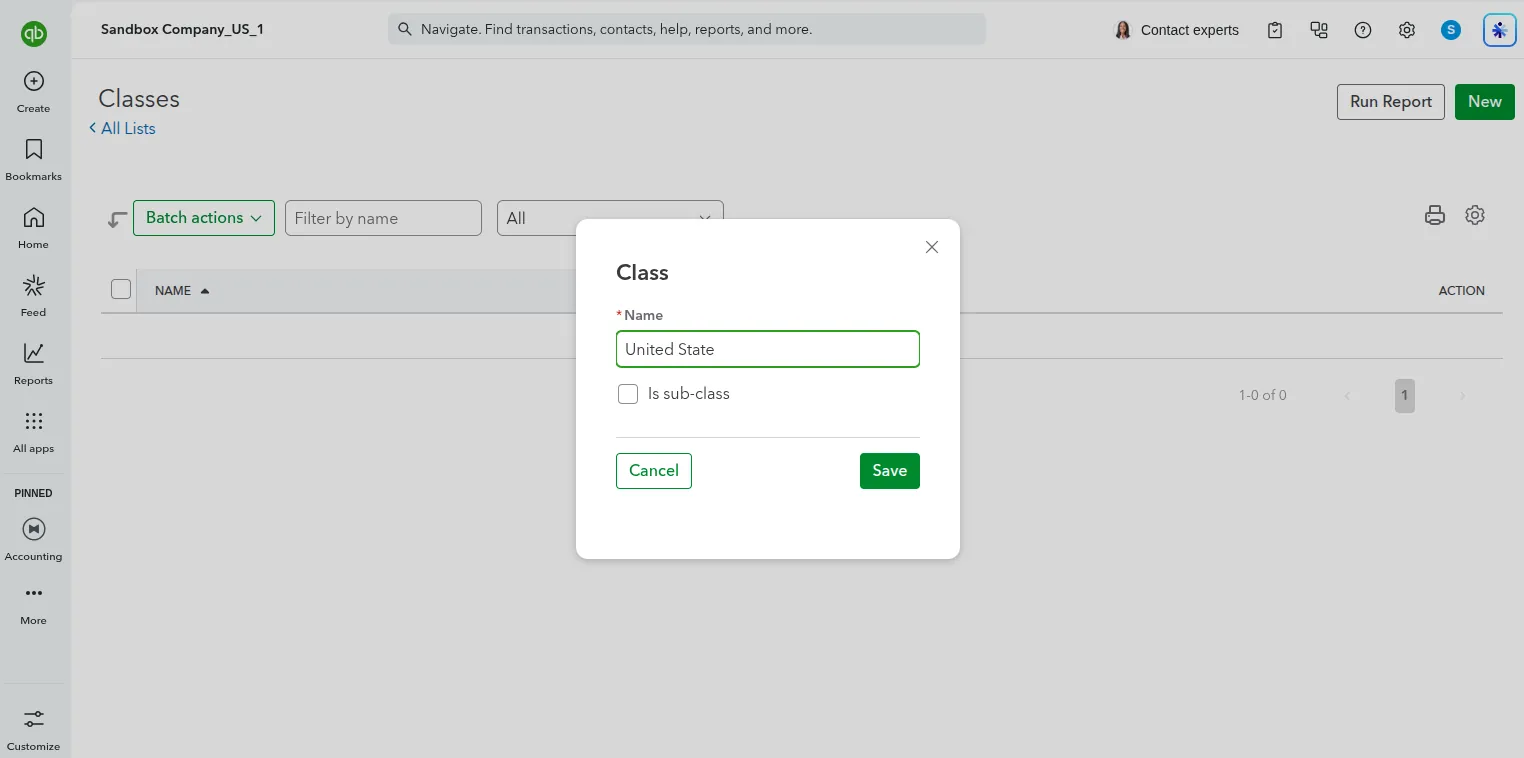
Intuit Developer App Setup
To obtain your Client ID and Client Secret for OAuth 2.0 authentication, you must register a developer application on the official Intuit Developer Portal.
Step 1 — Create an Intuit Developer Account
- Open your web browser and go to the Intuit Developer Portal.
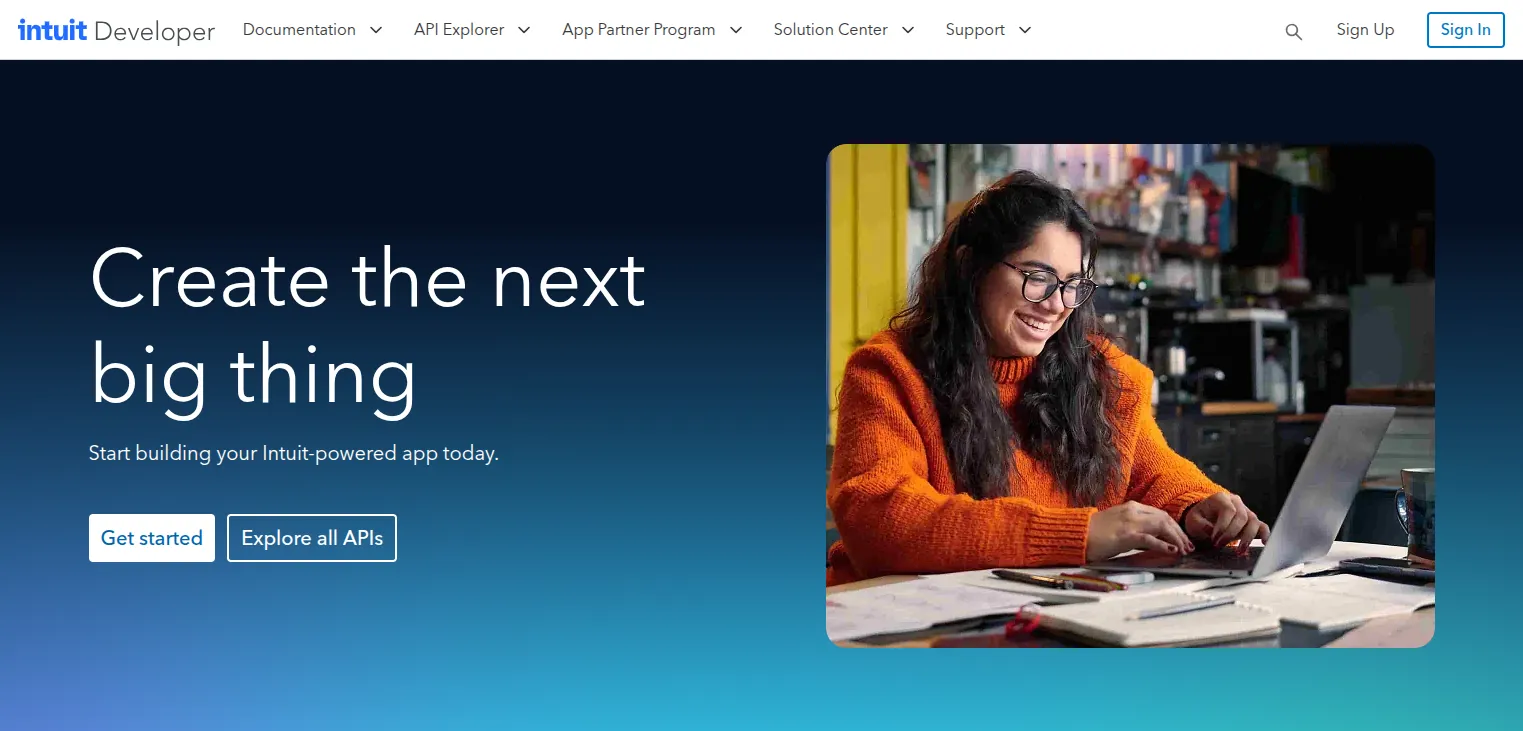
- Click Sign Up in the top right corner.
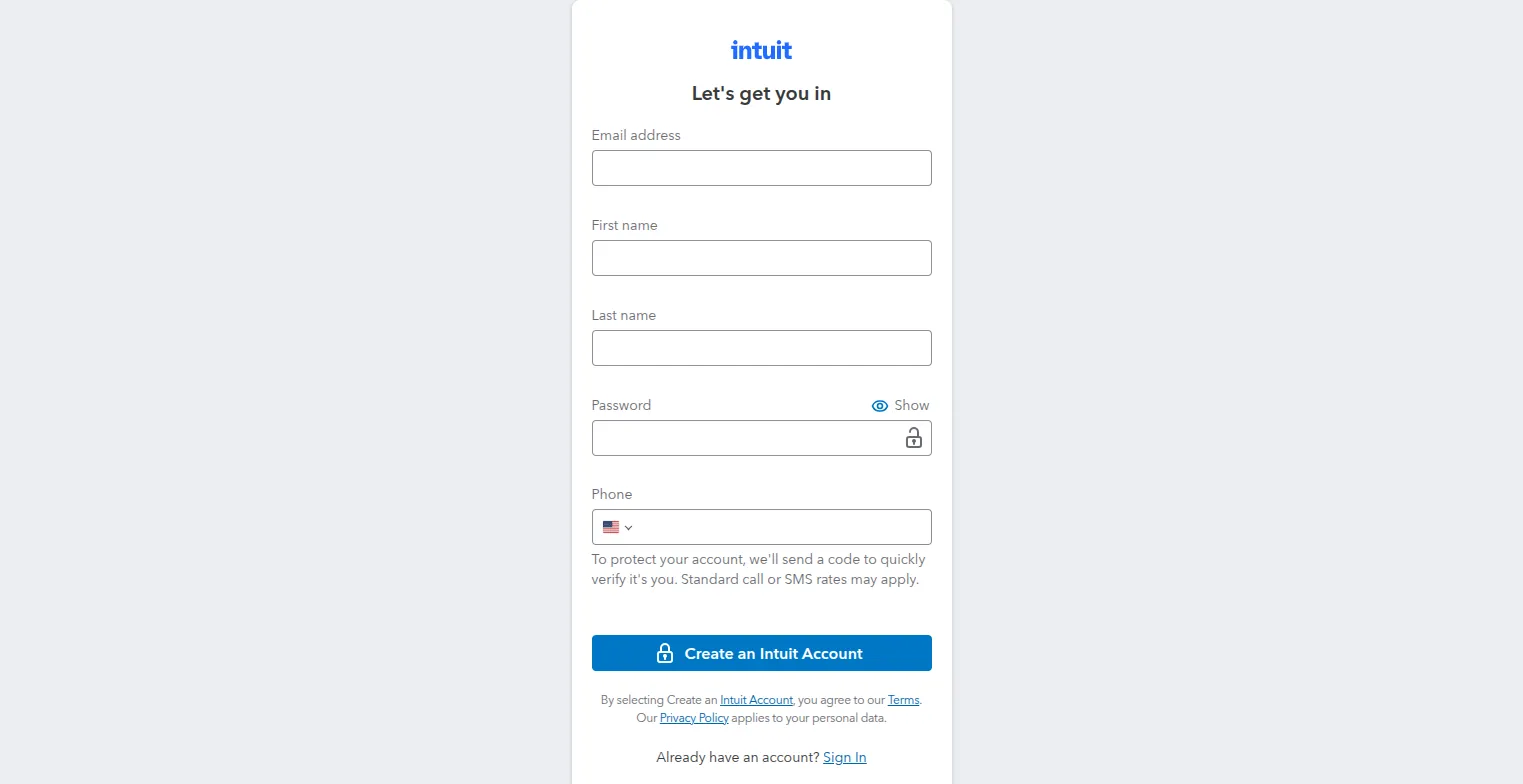
- Enter your email, full name, phone number, and password, then click Create Account.
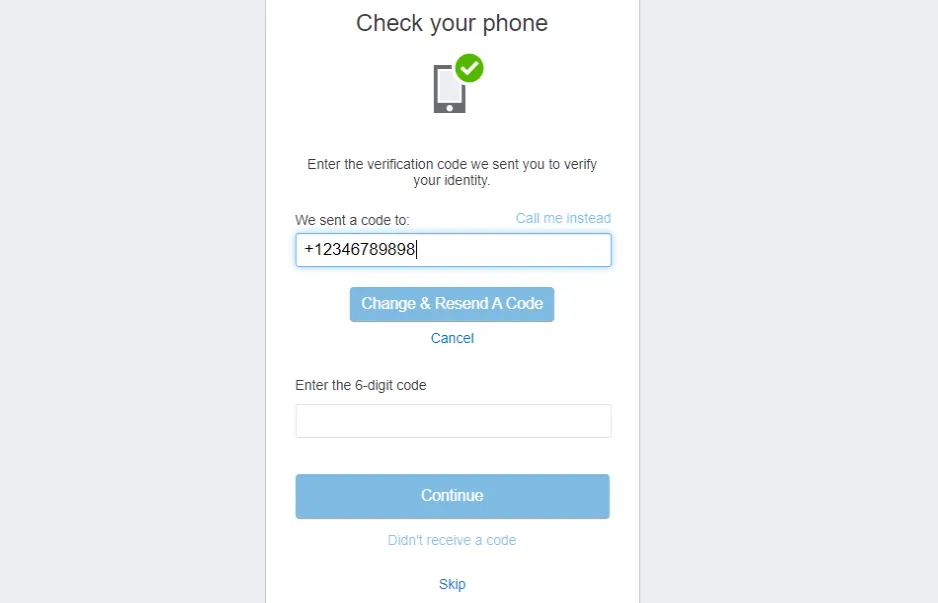
- Intuit will send a 6-digit verification code to your registered mobile number. Enter the code and click Continue.
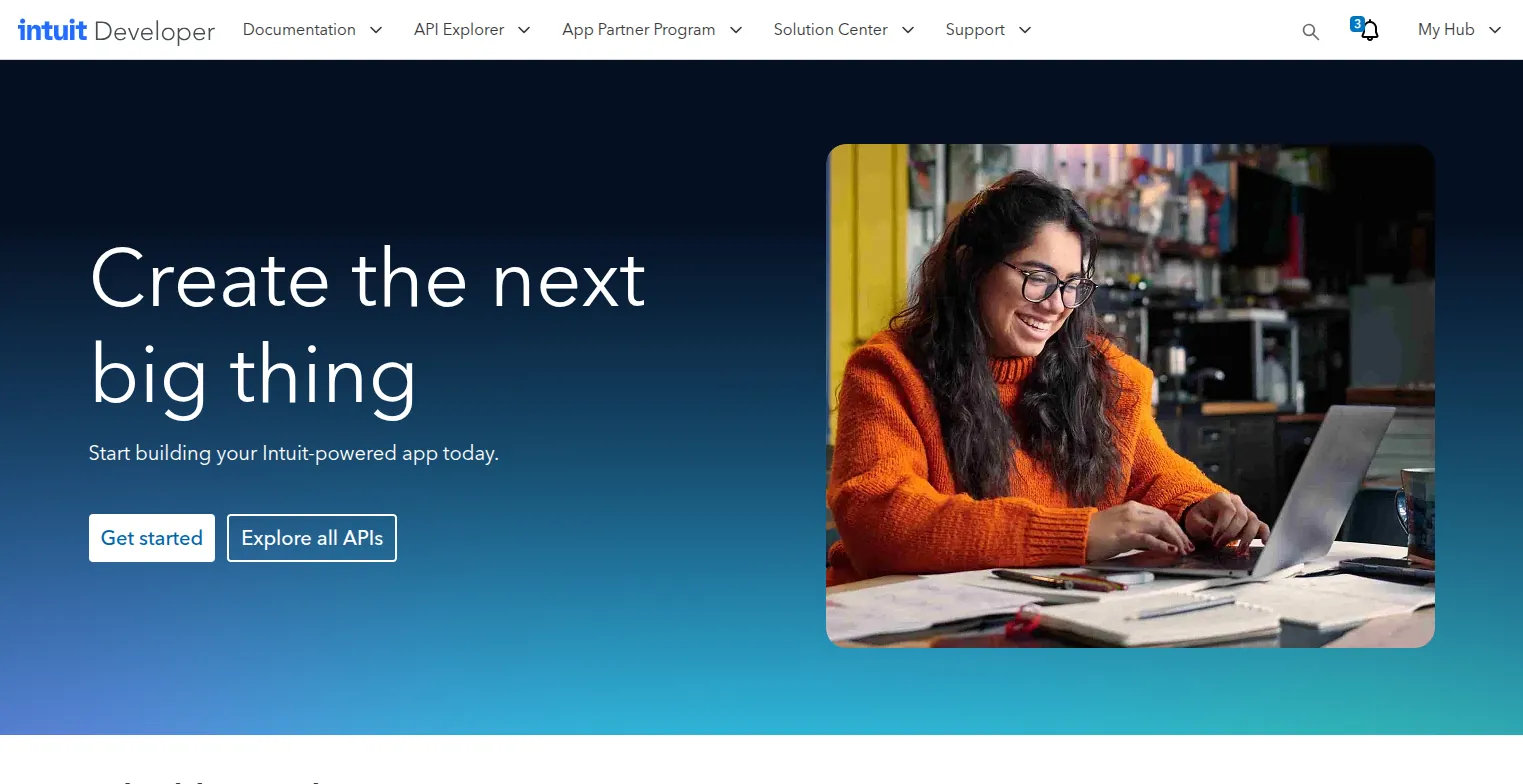
- Upon successful account creation, you will land on the Intuit Developer Homepage:
Step 2 — Create QuickBooks Online Application
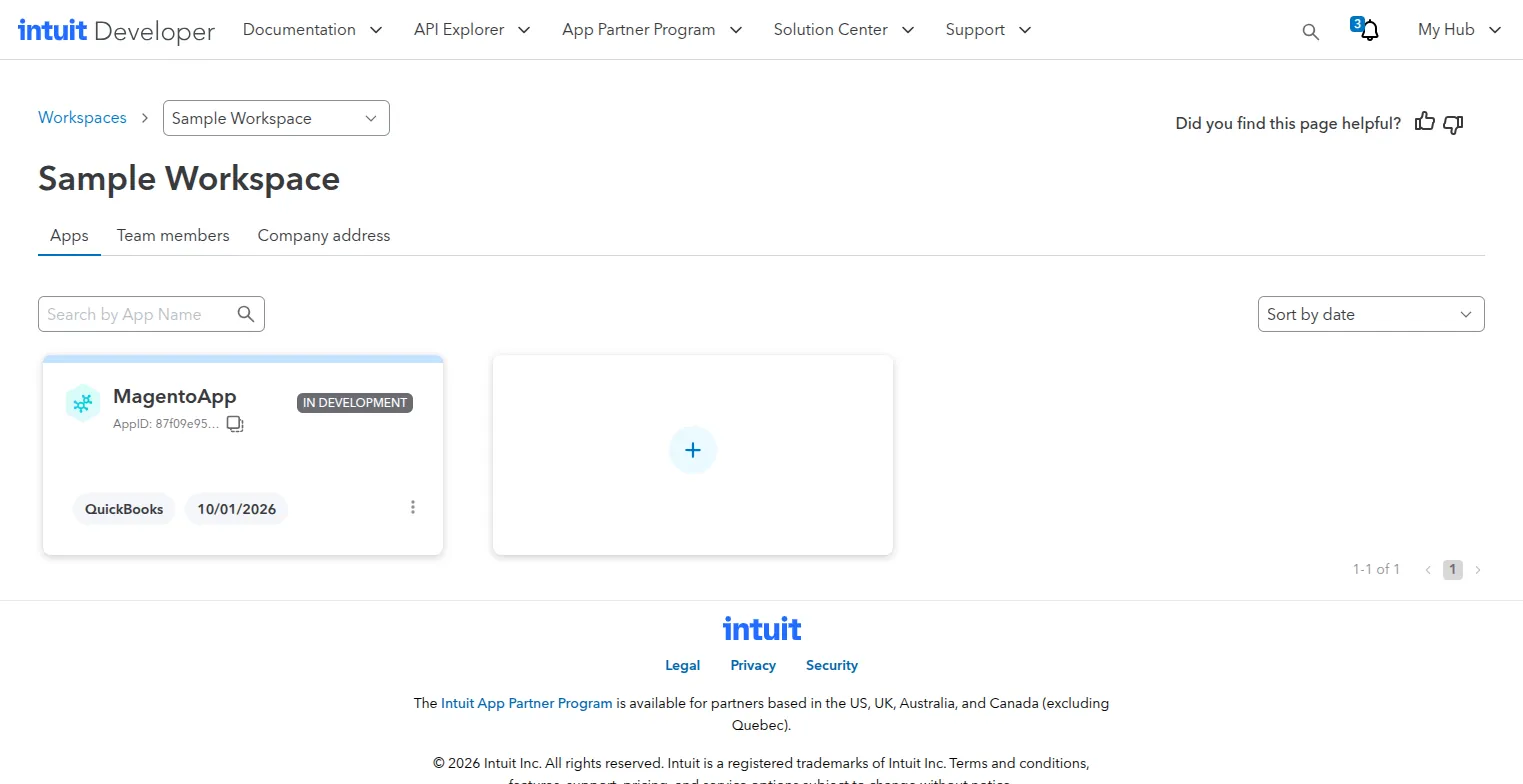
- Once logged in, navigate to My Dashboard from the top header and click Create an App.
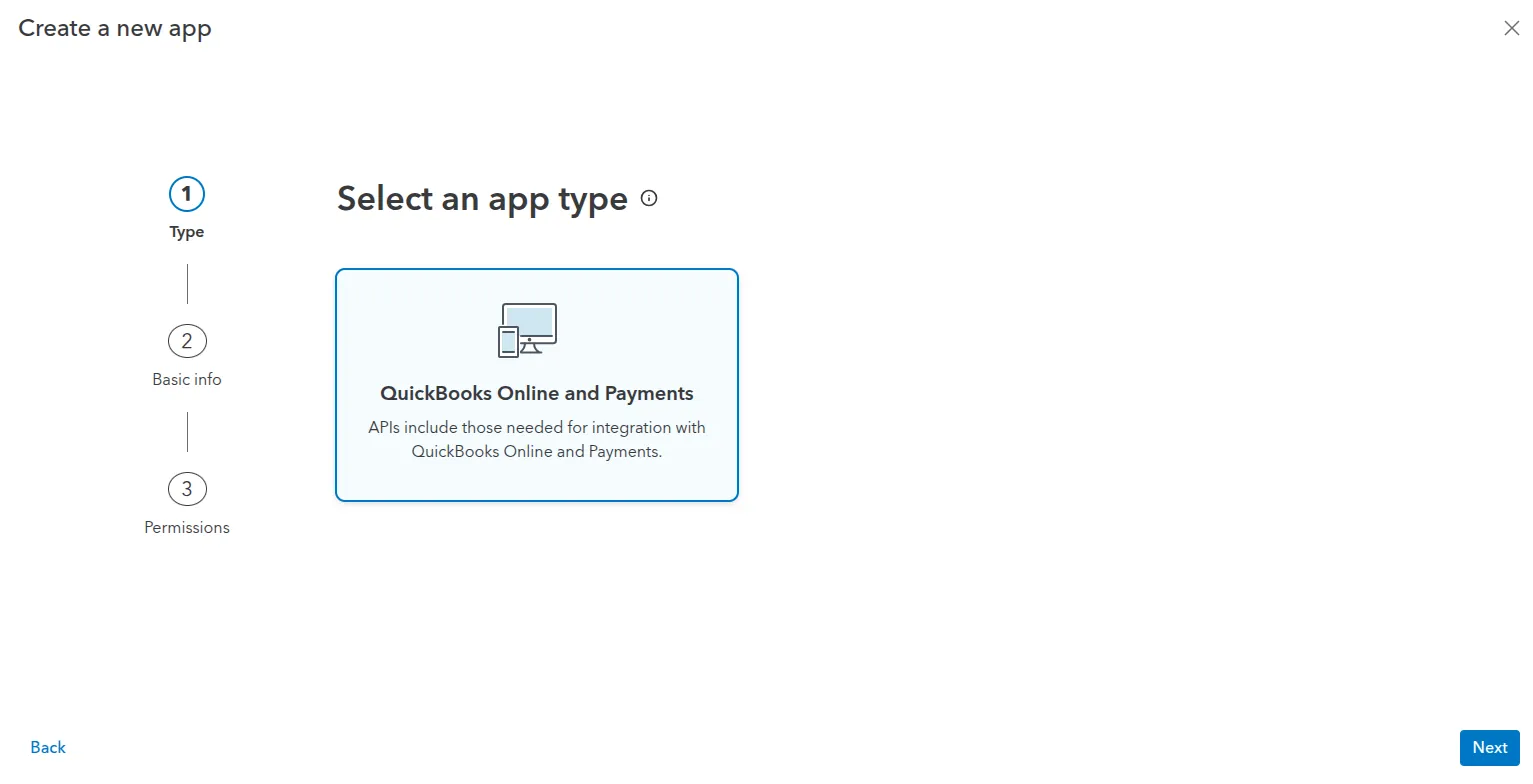
- Select QuickBooks Online & Payments as the target platform.
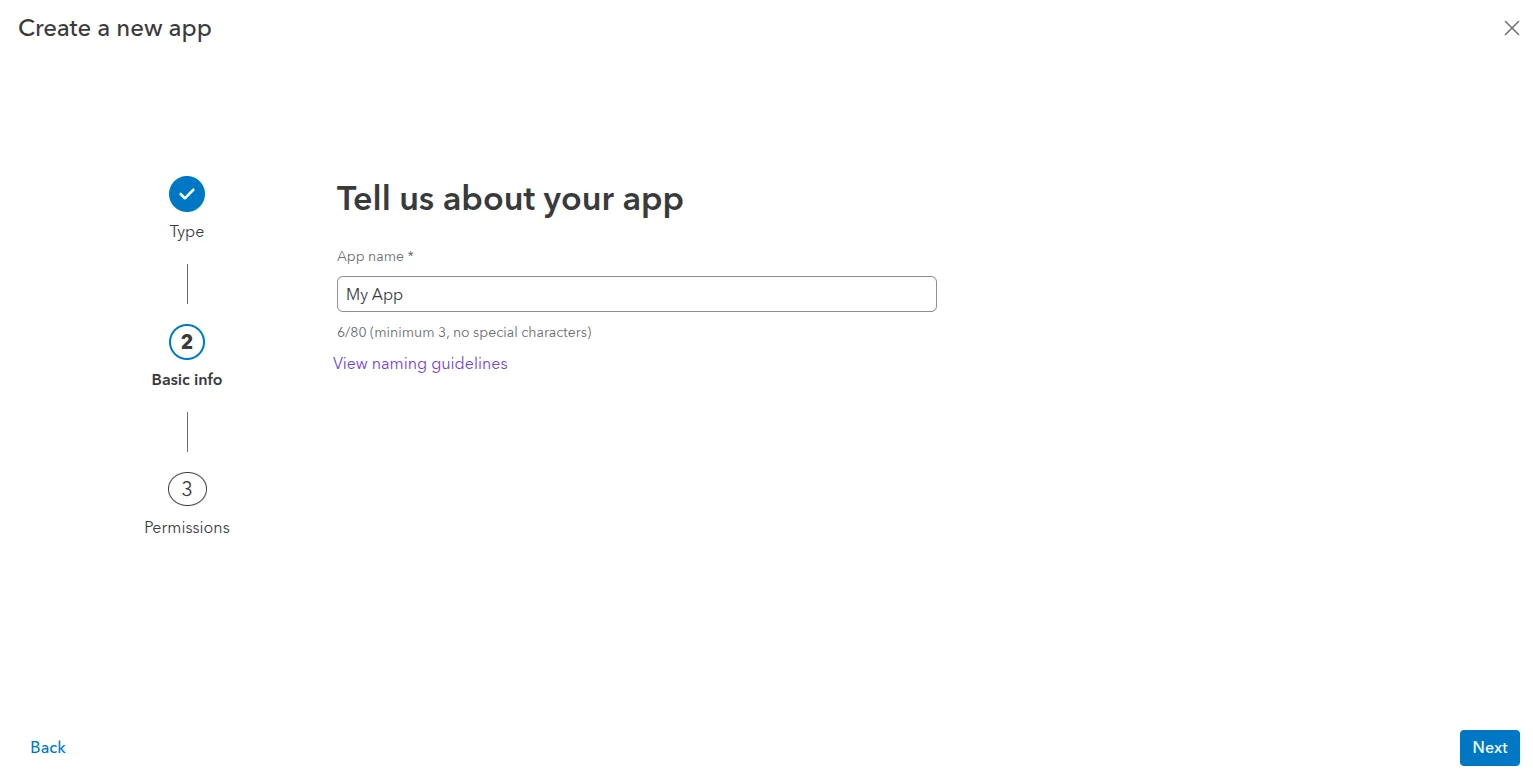
- Enter an App Name (e.g.,
MyStore Magento QuickBooks Connector).
- Under Select a scope, select Accounting.
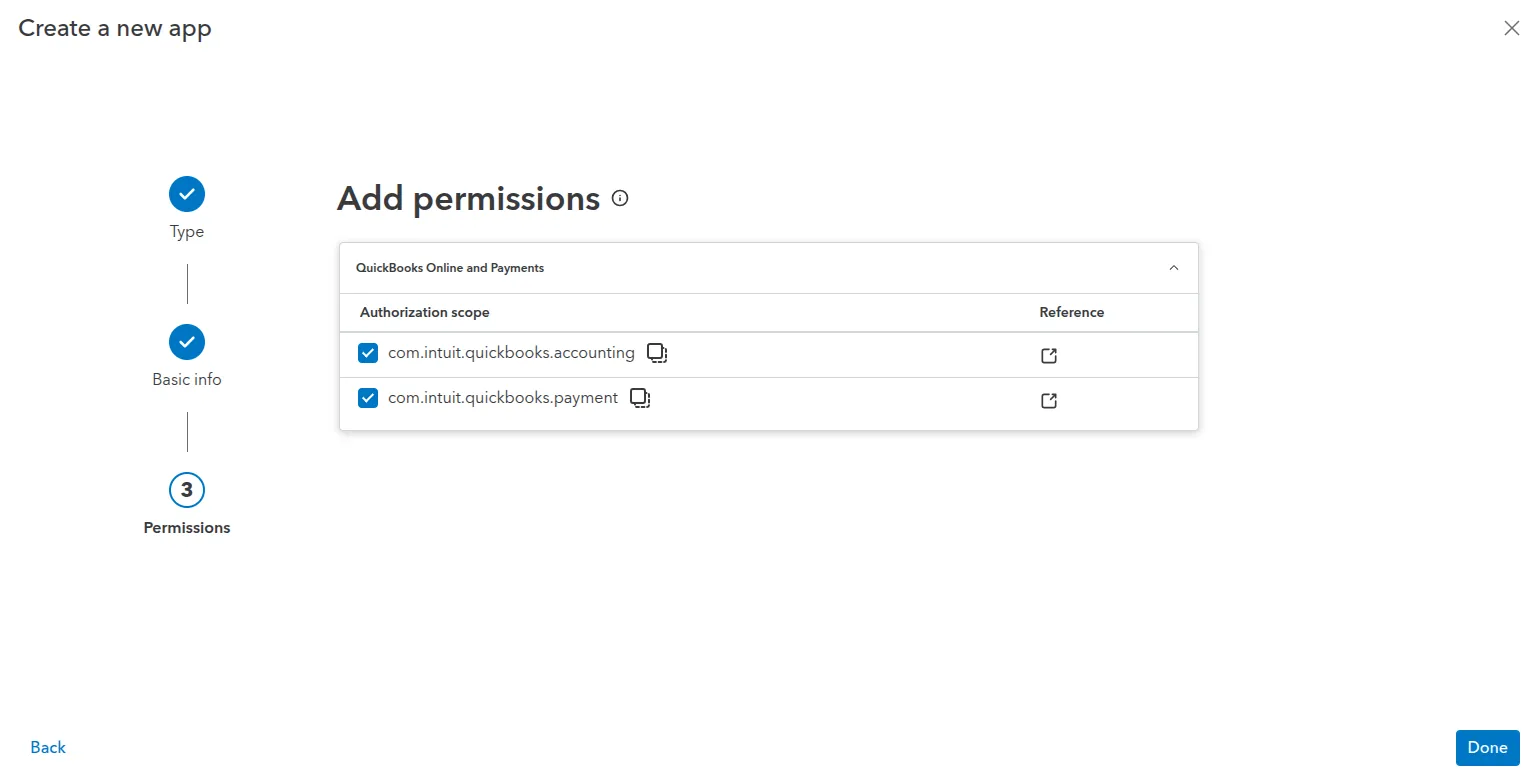
- Click Done.
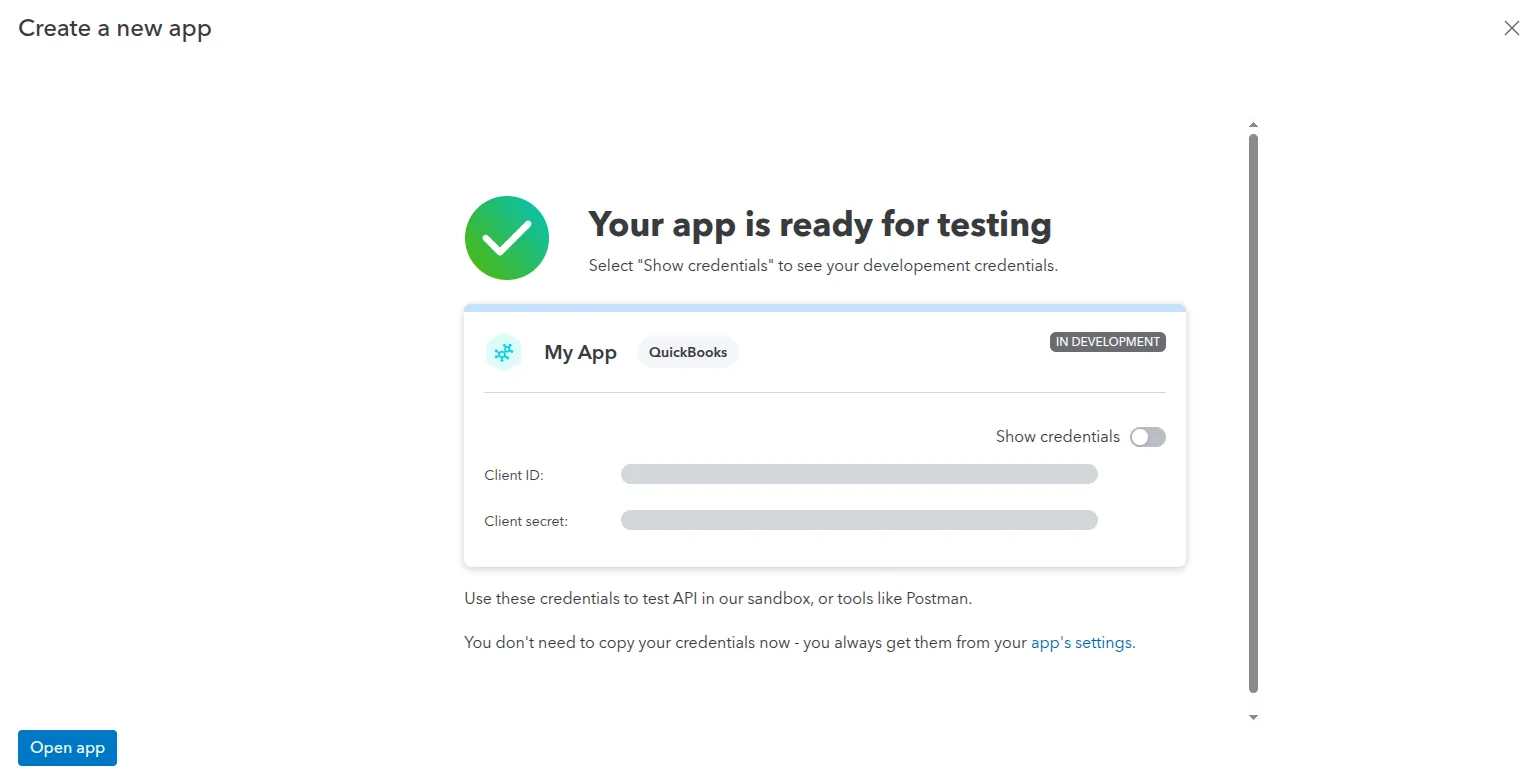
Step 3 — Obtain Keys & Set Redirect URI
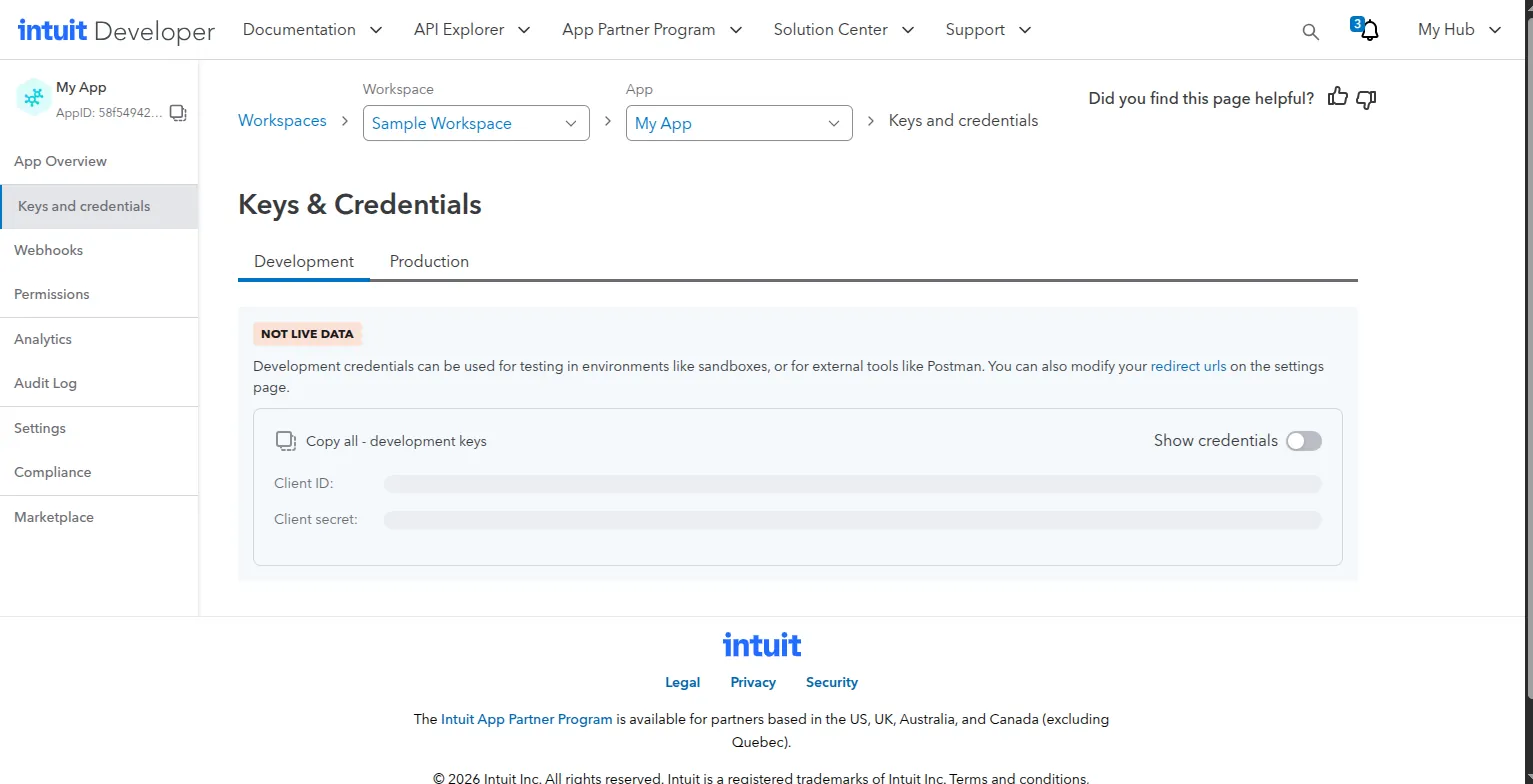
- In your app management dashboard, navigate to the Keys & Credentials tab on the left sidebar.
- You will see two key environments (Development Keys and Production Keys). Copy your Client ID and Client Secret.
Configure OAuth Redirect URI
- Scroll down to the Redirect URIs section under Settings.
- Click Add URL.
- Enter your store's exact OAuth callback URL:
https://example.com/quickbooksconnect/oauth/oauth2
(Replace example.com with your actual store domain name. Note that HTTPS is strictly required by Intuit).
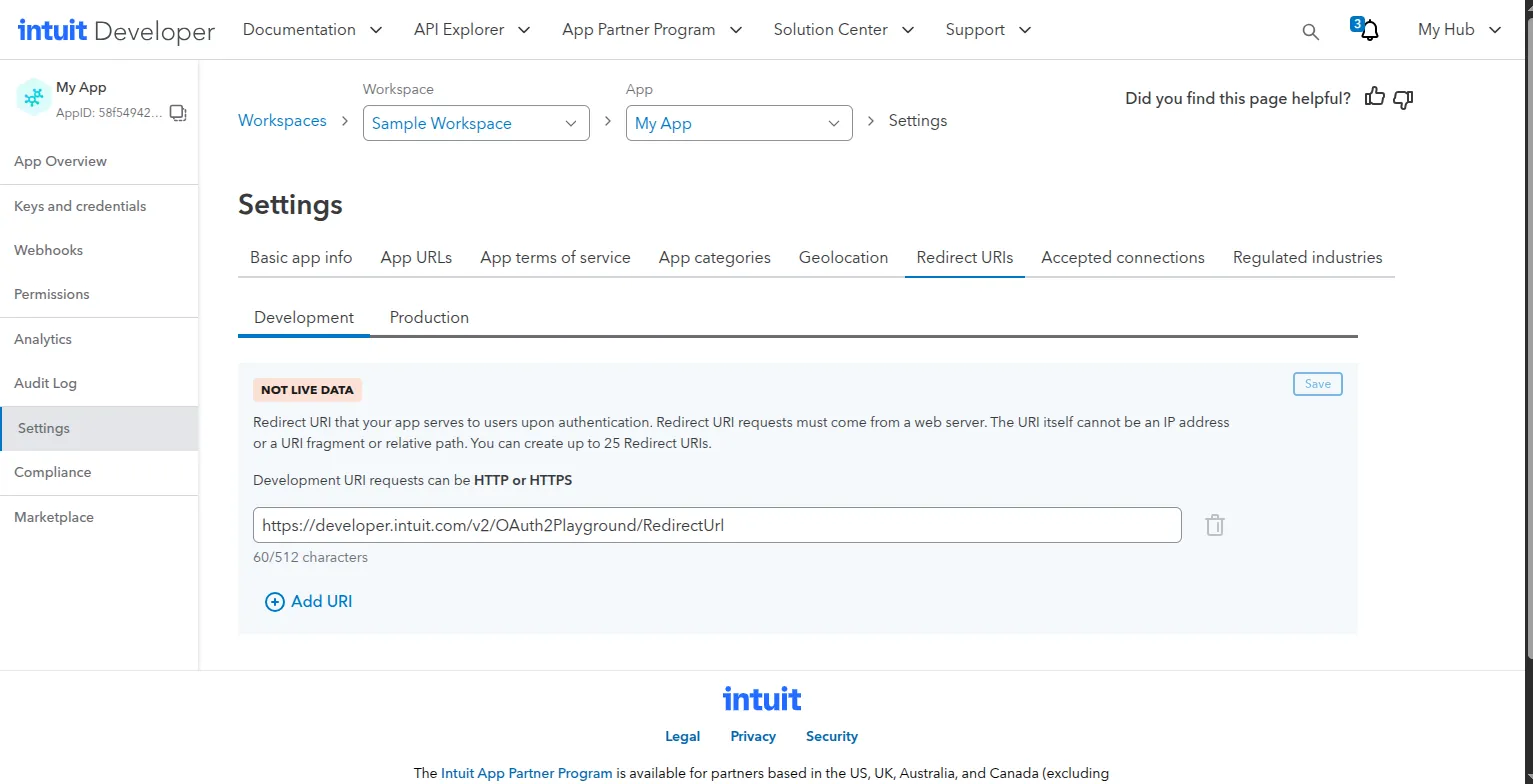
- Click Save.
Step 4 — Enable Class Tracking in QuickBooks (Optional)
If you plan to use financial Class Tracking in QuickBooks:
- Log in to your QuickBooks Online account (Sandbox or Live).
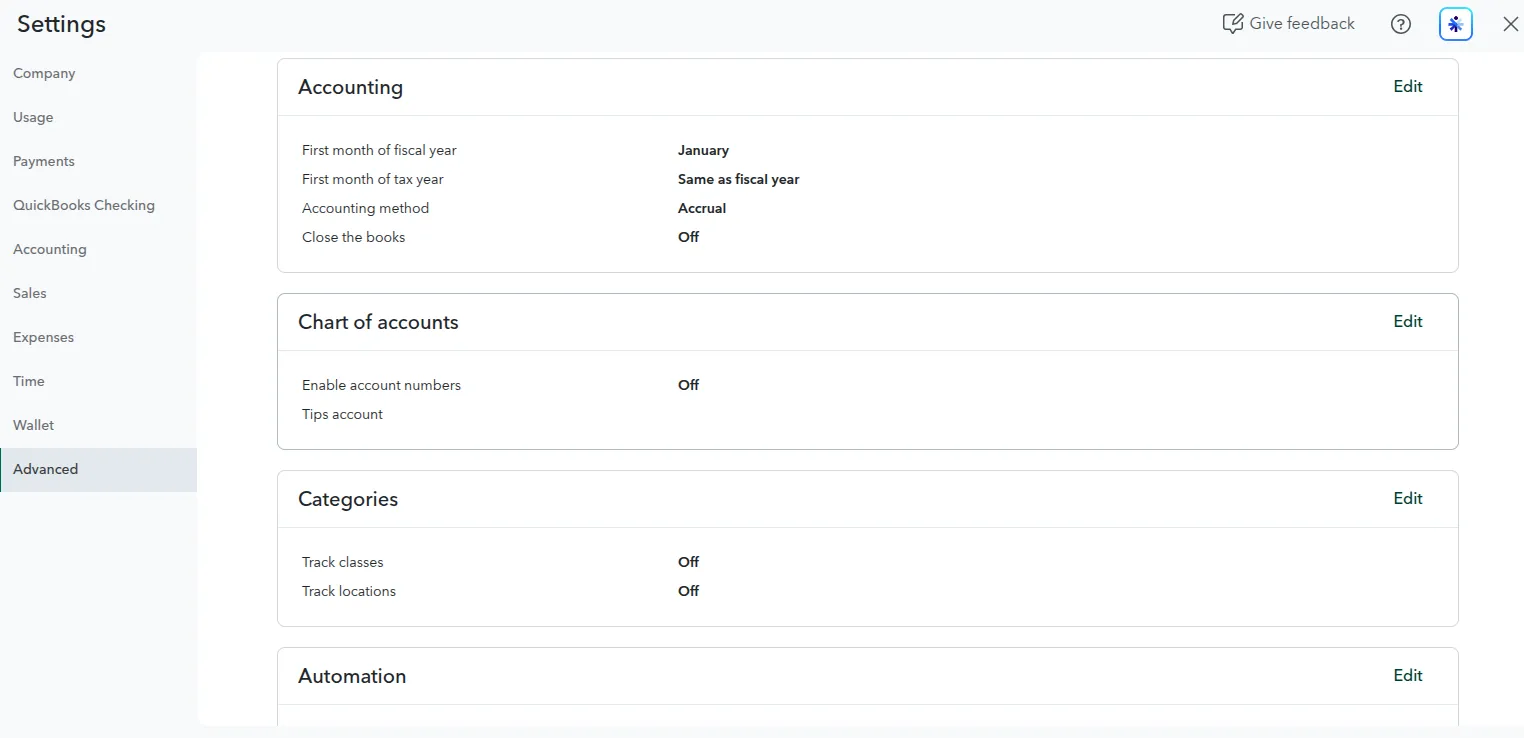
- Go to Settings (Gear Icon) > Account and Settings > Advanced > Categories, enable Track classes, and configure class assignment rules:
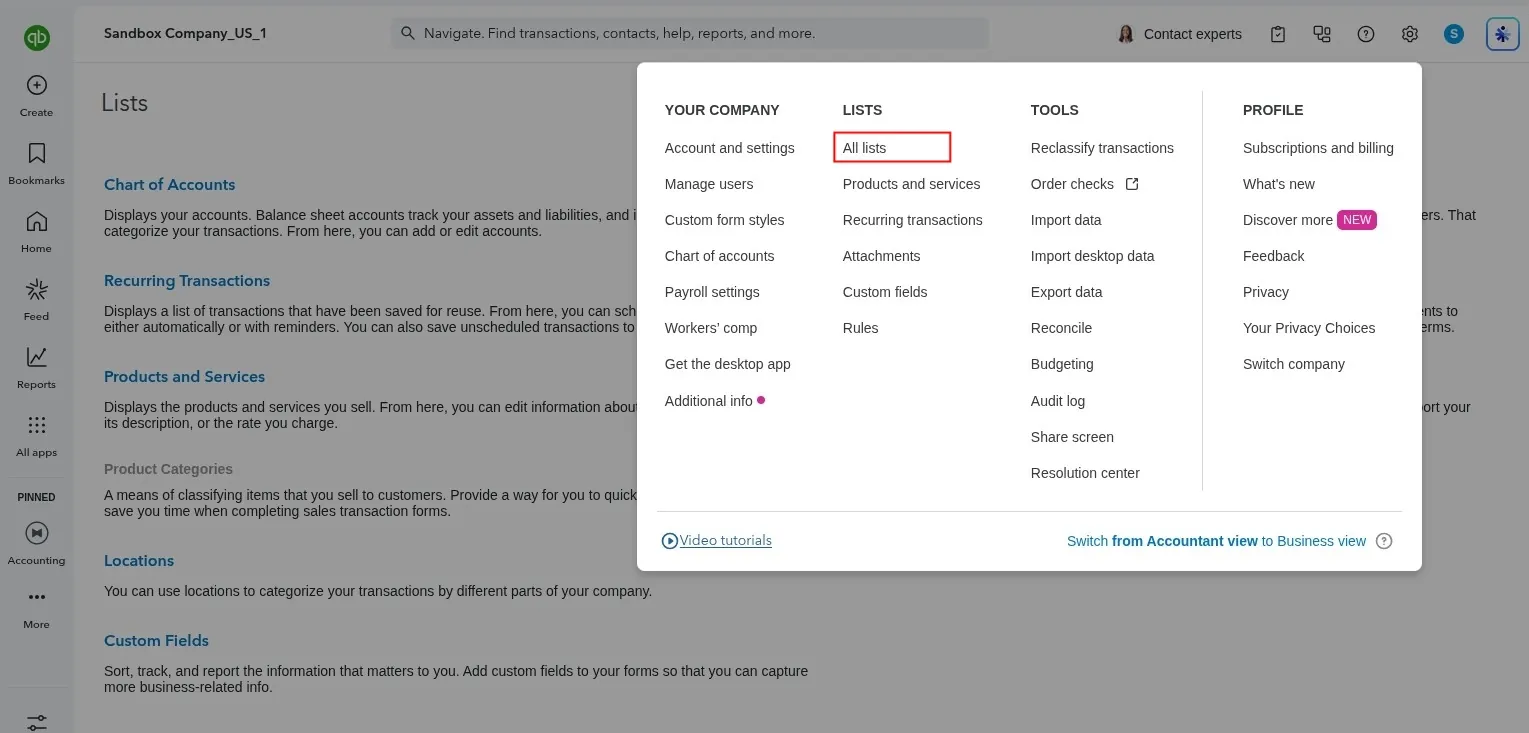
- Go to Settings > All Lists > Classes to manage your tracking class categories:
- Click New to create your custom class categories (e.g.,
eCommerce,Retail,Wholesale):