
Activation & OAuth2 Authorization
After installing the extension, you must activate the module license and complete the Intuit OAuth 2.0 authentication setup to enable order and financial data synchronization between Magento 2 and QuickBooks Online.
1. Module License Registration
The Magento QuickBooks Connect extension requires license verification via Webkul Base:
- Log in to your Magento Admin Panel.
- Navigate to Webkul > Module License (or Stores > Configuration > Webkul > Module License).
- Locate Magento QuickBooks Connect in the registered module list.
- Enter your purchase order details and license key provided in your Webkul store account.
- Click Save Config.
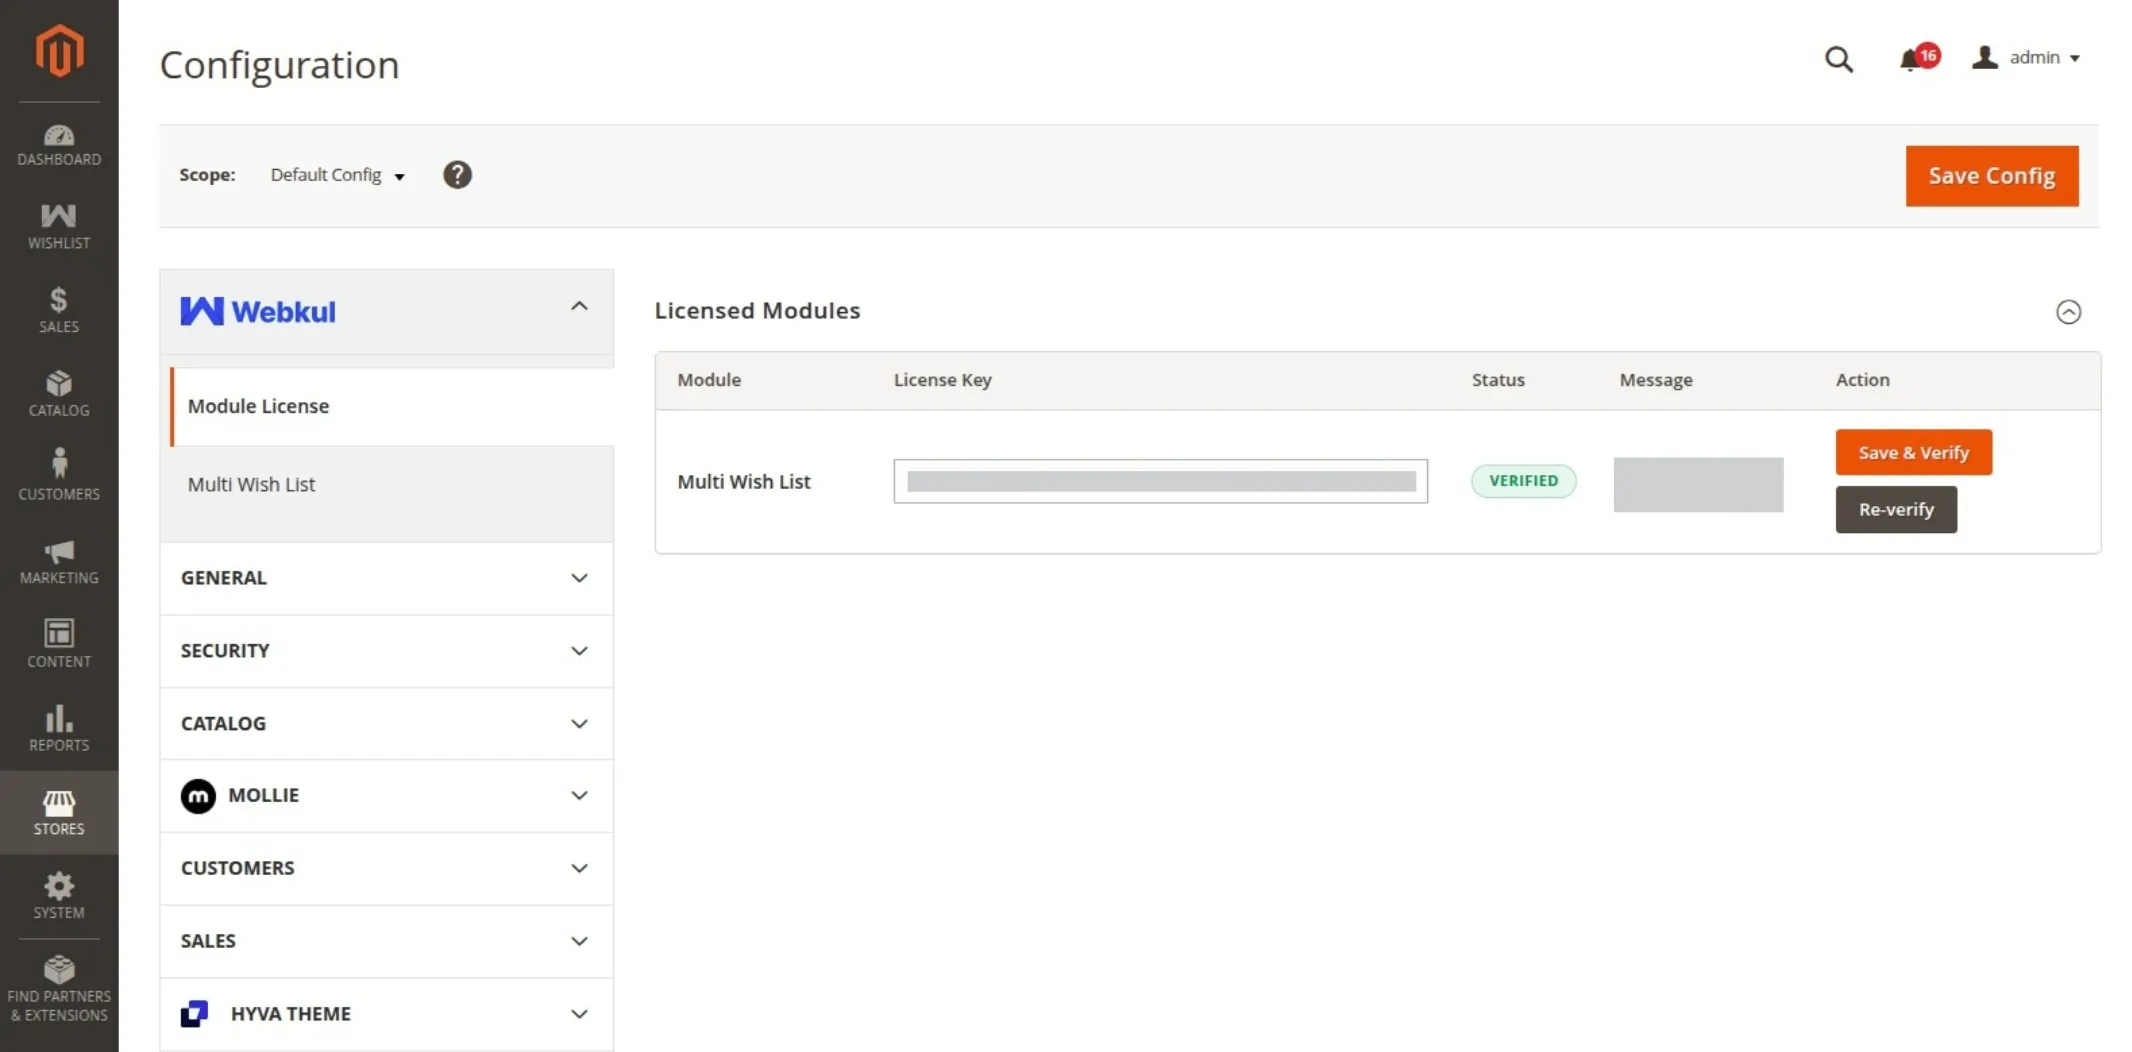
2. Configure OAuth2 Credentials in Admin
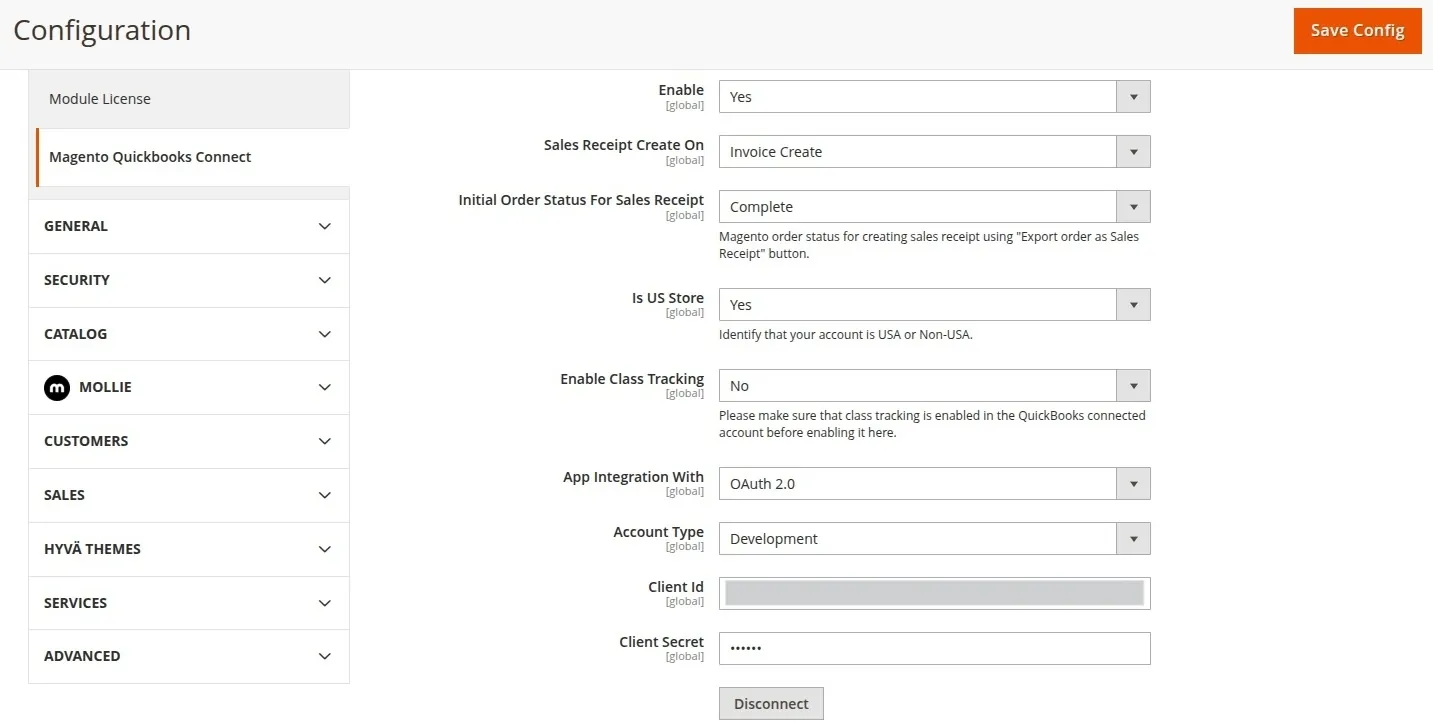
- Navigate to Stores > Configuration > Webkul > Magento Quickbooks Connect.
- Under General Settings:
- Set Enable to
Yes. - Set App Integration With to
OAuth 2.0. - Set Account Type to
Development(for Sandbox testing) orProduction(for live store). - Enter your Client Id and Client Secret obtained from the Intuit Developer Portal.
- Set Enable to
- Click Save Config.
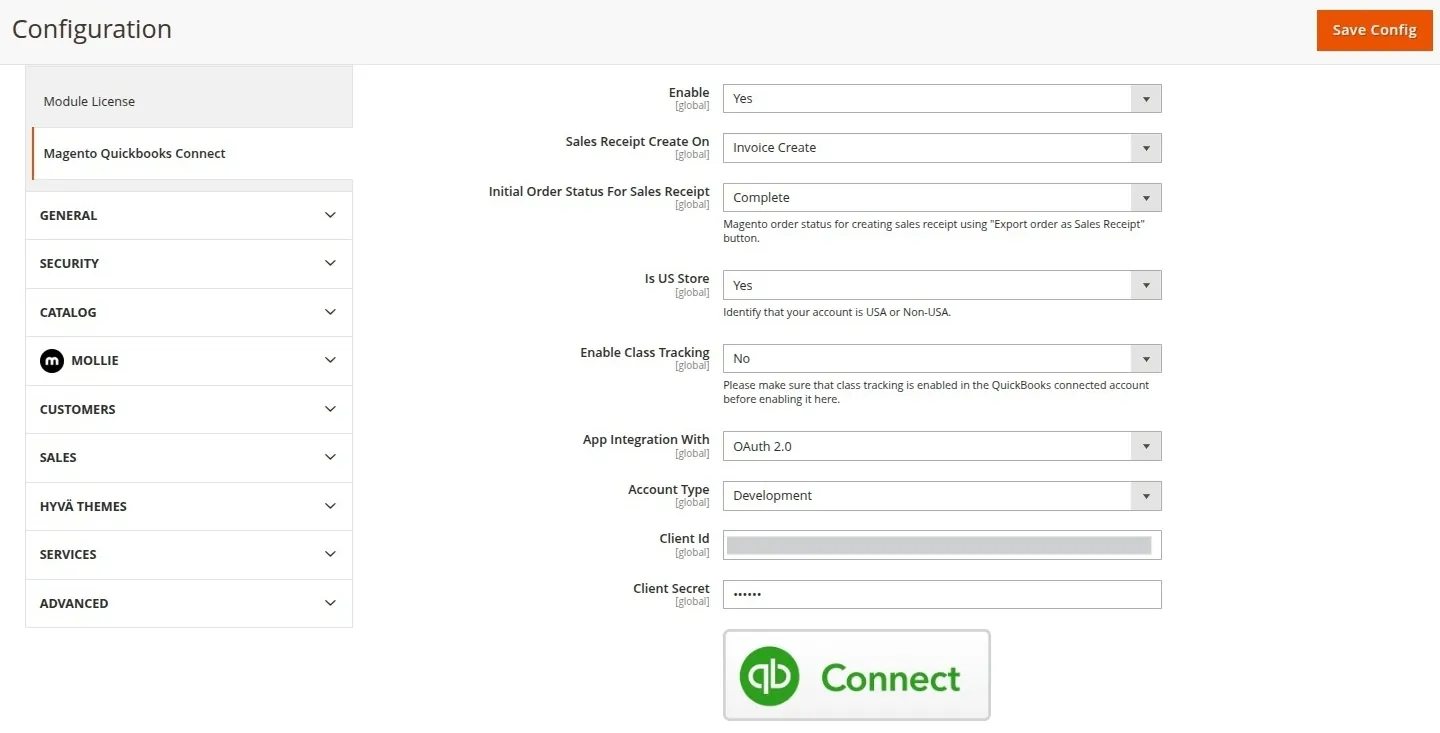
3. Execute OAuth2 Connection Flow
After saving your API credentials, follow these steps to connect Magento to your QuickBooks Online account:
Click the Connect button located under Stores > Configuration > Webkul > Magento Quickbooks Connect.
An Intuit authorization pop-up window will open. Select your QuickBooks Online Company from the drop-down menu and click Next.
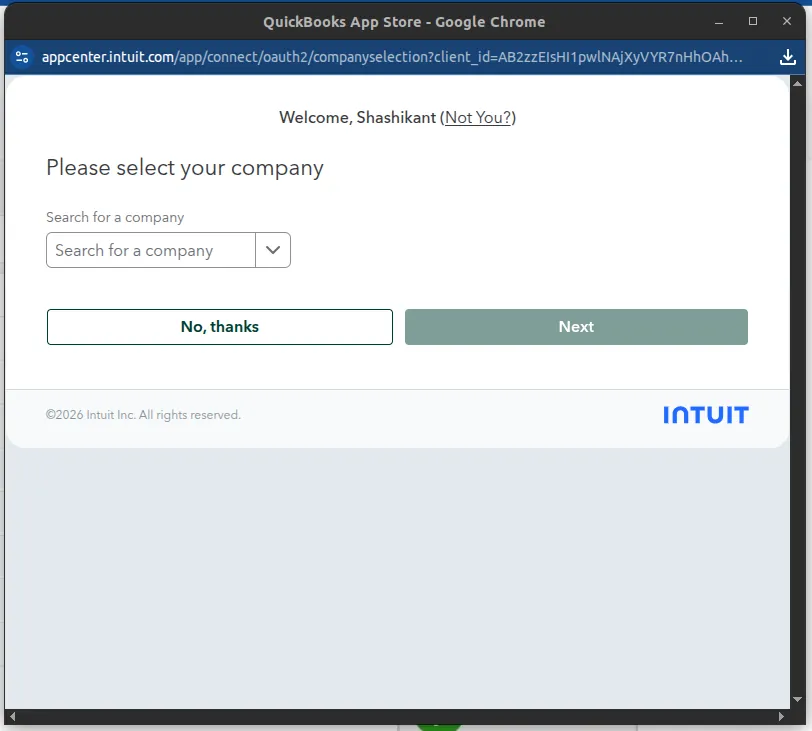
- Review the requested scope permissions (Access Accounting & Payments data) and click Connect.
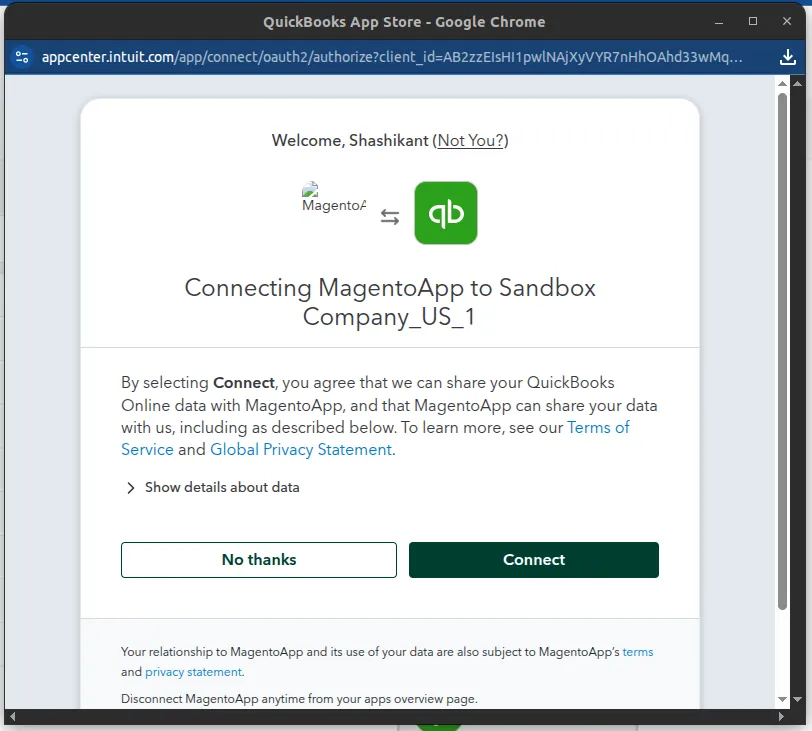
- Upon authorization, Intuit redirects back to your store's OAuth callback endpoint (
/quickbooksconnect/oauth/oauth2). A success pop-up notification confirms authorization:
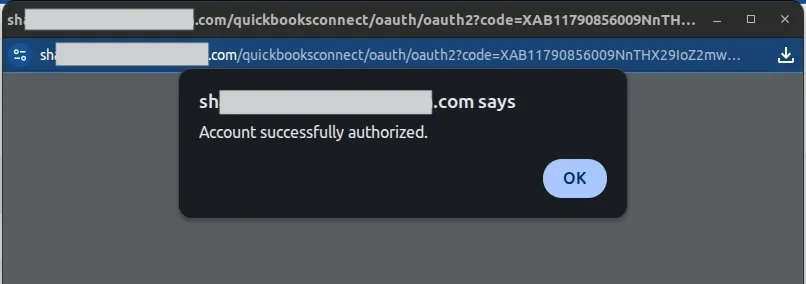
- Refresh your browser page. The configuration page will now display Connected status along with a Disconnect button.
4. Automatic Token Refresh Mechanism
Intuit OAuth 2.0 access tokens expire after 60 minutes, while refresh tokens remain valid for up to 100 days.
The Webkul QuickBooks Connect module includes a built-in automated cron task (qb_access_token_update) that runs every 30 minutes:
# Cron schedule: */30 * * * *
# Method: Webkul\QuickbooksConnect\Model\Cron::accessTokenValidate()
Token Management Note
Do not share or expose Client Secret or Refresh Token keys. If you ever click Disconnect, the OAuth tokens will be invalidated and you must perform the Connect flow again.