
Activation & Configuration
After installing the extension, you must activate the module license and configure store settings in the Magento Admin panel.
1. Module License Registration
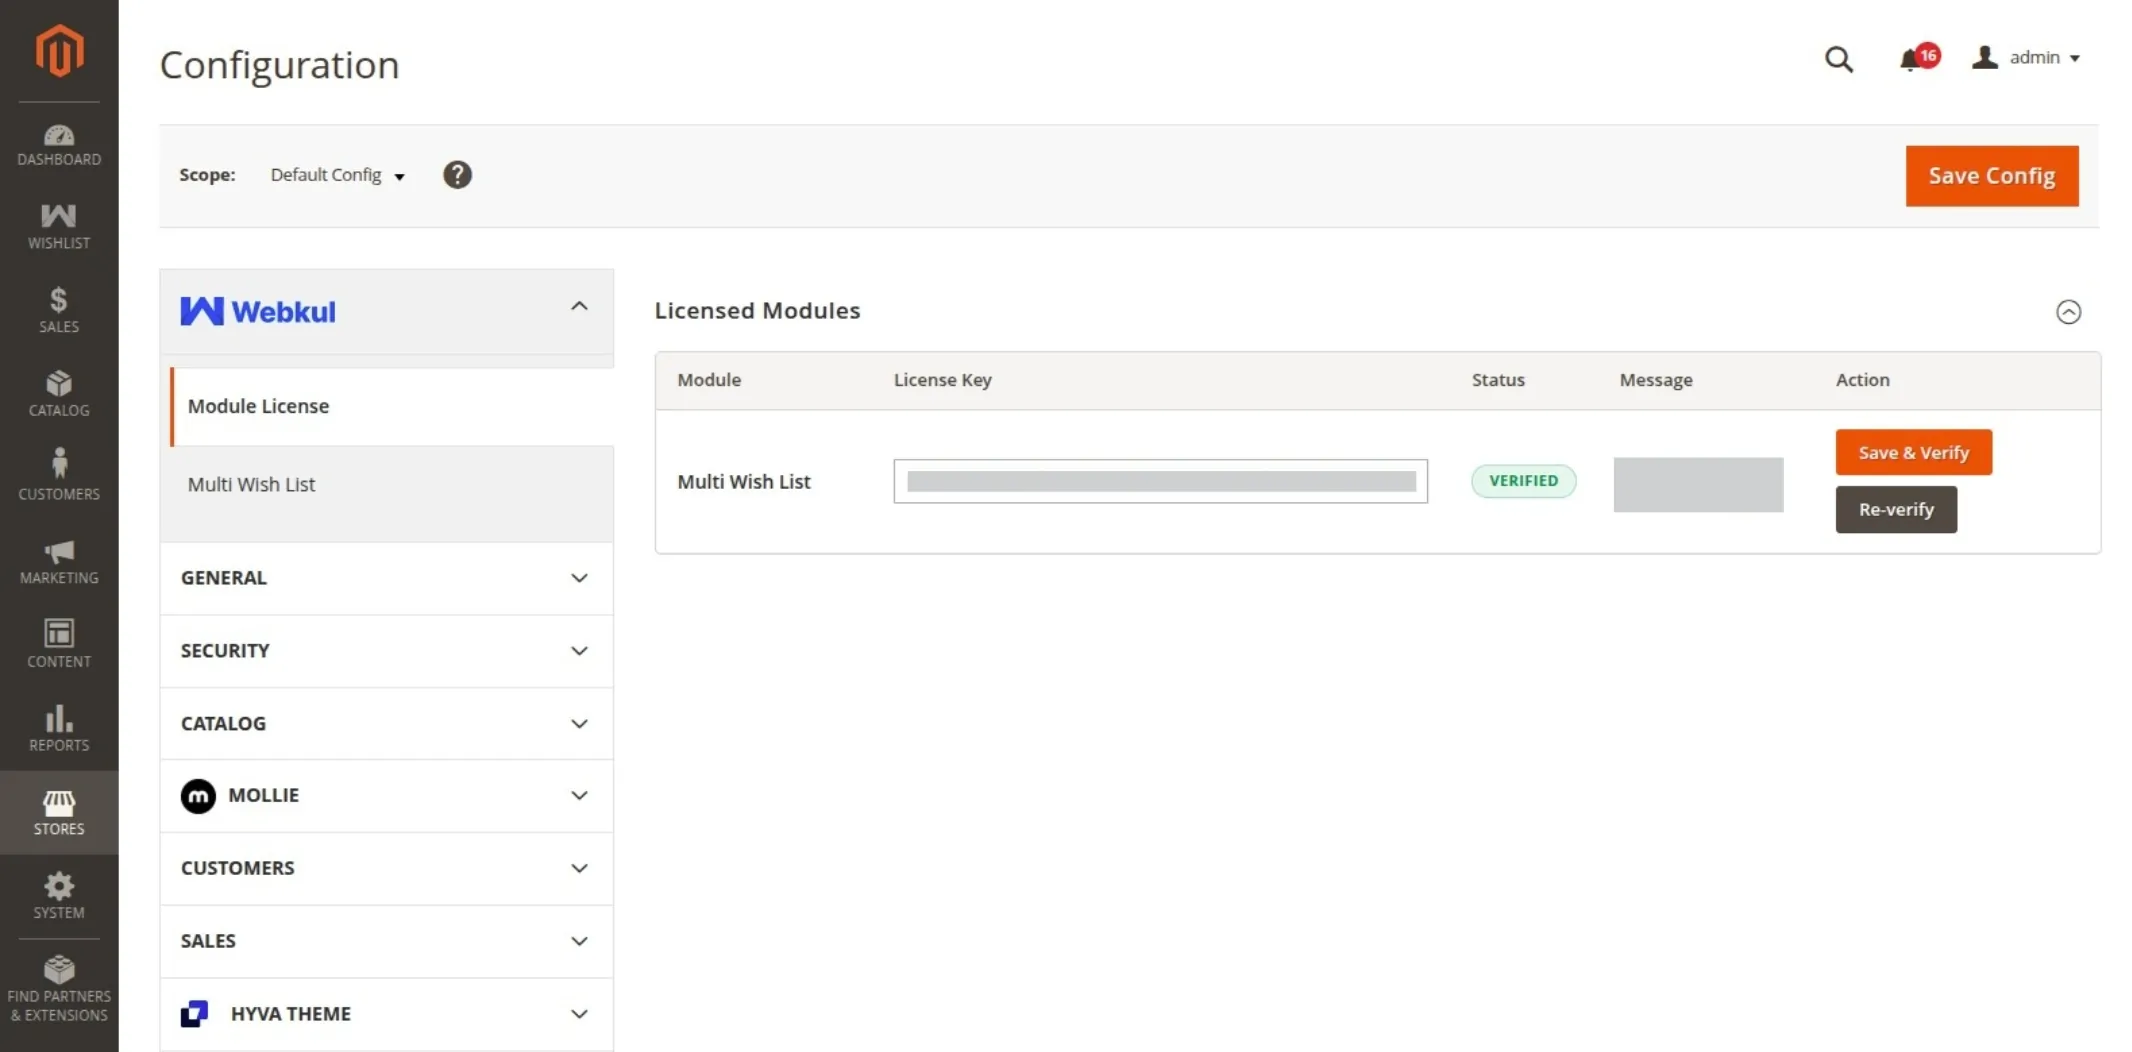
The Multi Wishlist extension requires license verification via Webkul Base:
- Log in to your Magento Admin Panel.
- Navigate to Webkul > Module License (or Stores > Configuration > Webkul > Module License).
- Locate Multi Wish List in the module license list.
- Enter your purchase order details and license key provided in your Webkul account.
- Click Save Config.
2. Enable Multi Wishlist Extension
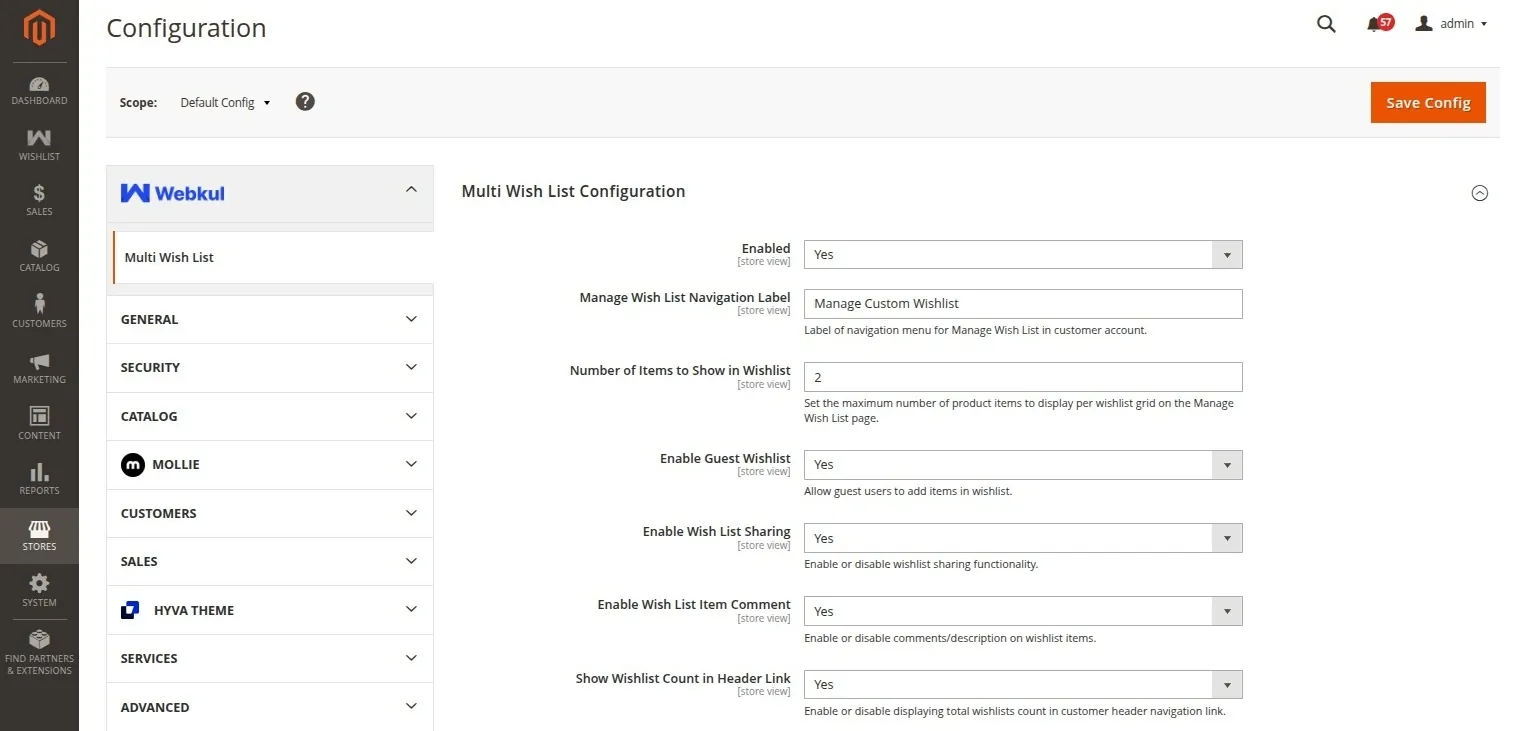
- Go to Stores > Configuration > Webkul > Multi Wish List.
- Set Enabled to
Yes. - Click Save Config to save settings.
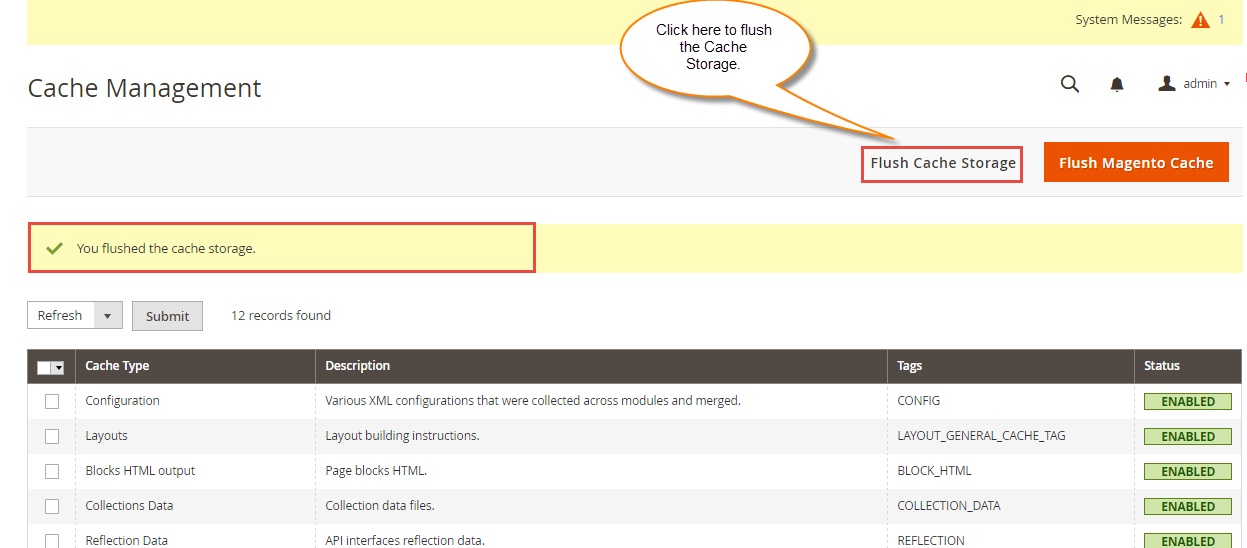
- Flush the Magento cache under System > Cache Management.
Activation Note
When Enabled is set to Yes, multi-wishlist buttons, selection modals, and features will immediately appear on product detail pages, category listings, and customer accounts.