
Activate & Connect
After the successful installation of the module, the admin can configure the module settings. To configure the module, navigate to Stores > Configuration > Webkul.
Module License
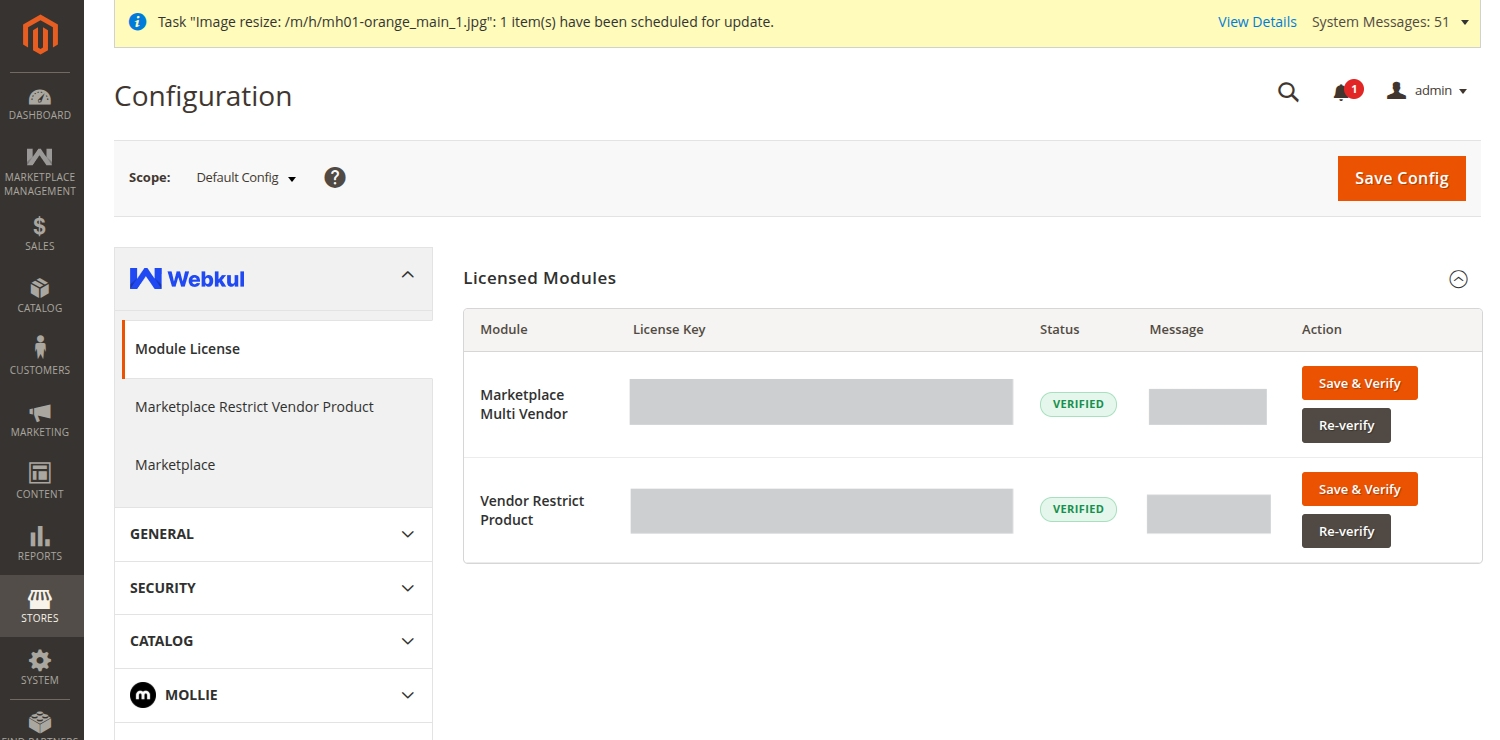
The admin needs to verify the module license to use it properly. Navigate to Stores > Configuration > Webkul > Module License.
Here, the admin will find the list of all the licensed modules. For the Vendor Restrict Product module, the admin needs to enter the License Key and click on the Save & Verify button to verify the license.
Module Configuration
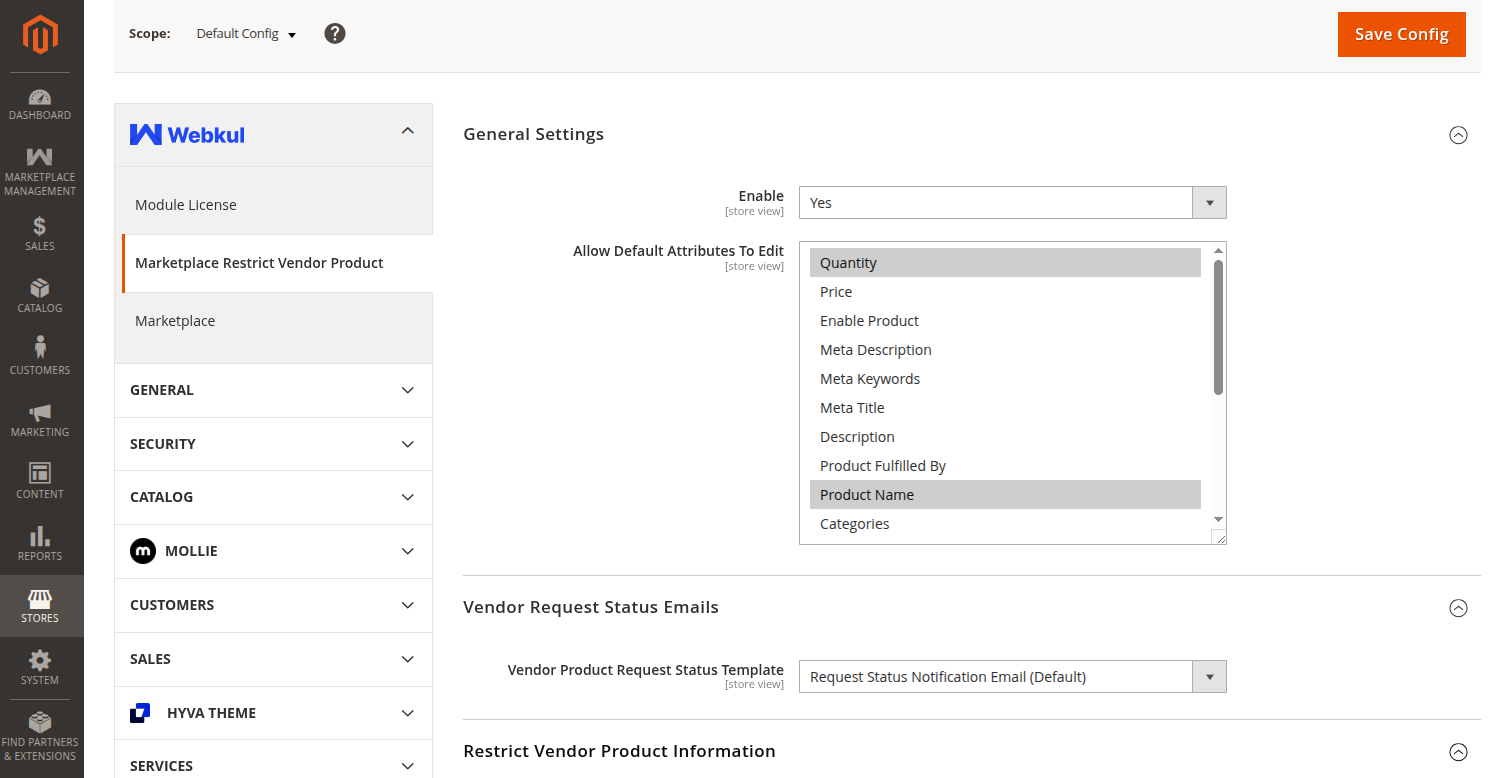
To configure the general settings of the module, navigate to Stores > Configuration > Webkul > Marketplace Restrict Vendor Product.
General Settings
Under the general settings, the admin can configure the following options:
- Enable: The admin can select Yes to enable the module or No to disable it.
- Allow Default Attributes To Edit: The admin can select multiple default product attributes from the list that vendors are allowed to edit. The available attributes include:
- Quantity
- Price
- Enable Product
- Meta Description
- Meta Keywords
- Meta Title
- Description
- Product Fulfilled By
- Product Name
- Categories
- Short Description
- SKU
- Special Price
- Special Price From Date
- Special Price To Date
- Tax Class
- URL Key
- Visibility
- Weight
Vendor Request Status Emails
Vendor Product Request Status Template: The admin can select the email template that will be sent to the vendors to notify them about their product request status (e.g., approved or rejected).
Restrict Vendor Product Information
This section contains information and quick links regarding the module.