Installation Guide
Follow these steps to install the Magento 2 Multi Vendor Custom Option extension on your server.
Step 1: Upload Extension Files
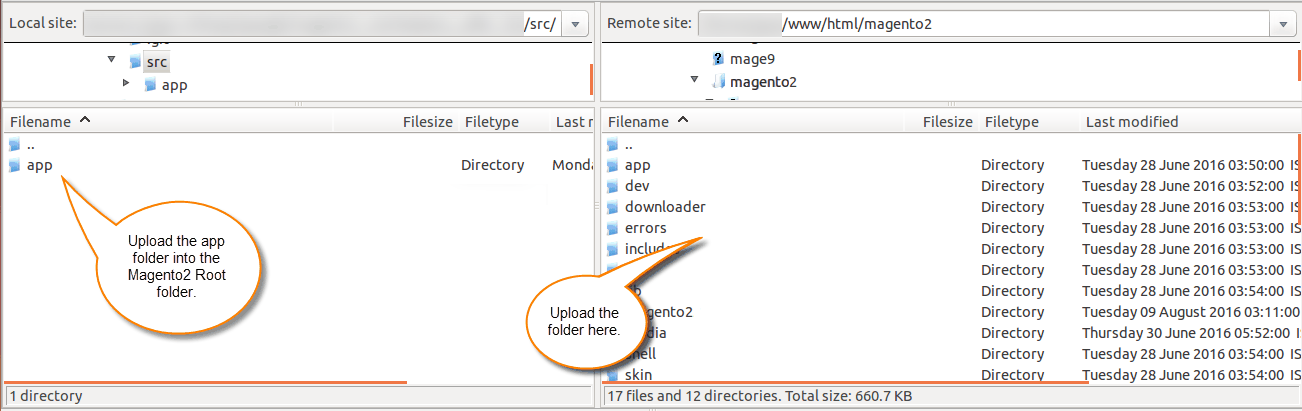
- Extract the contents of the downloaded module
.ziparchive on your local computer. - Transfer the extracted files into your Magento 2 root directory under:
app/code/Webkul/Customoption/
Directory Creation
If the path app/code/Webkul/Customoption does not exist yet, manually create these directories inside your Magento 2 root folder before moving files.
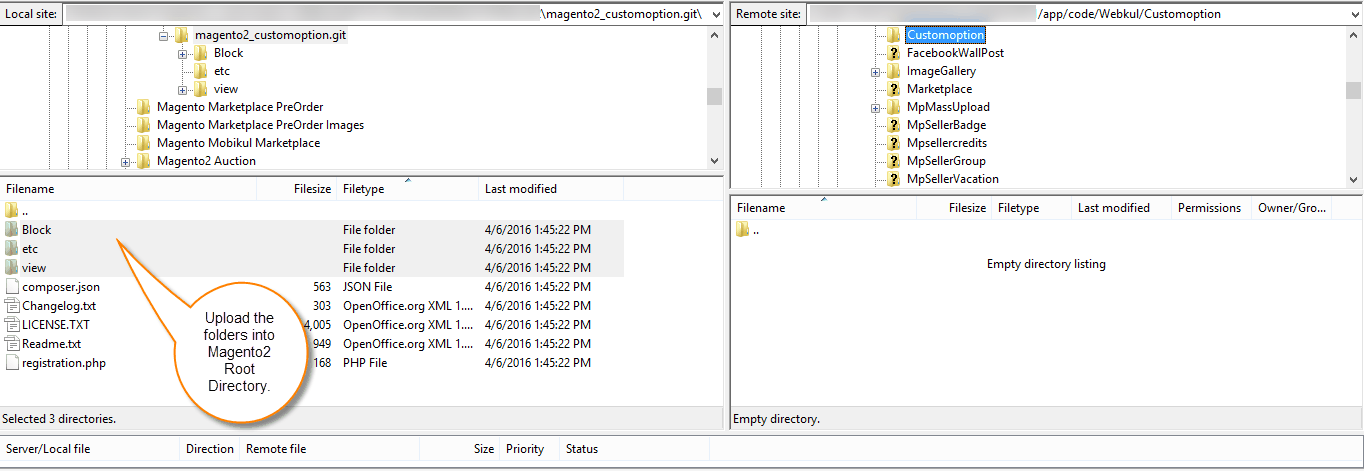
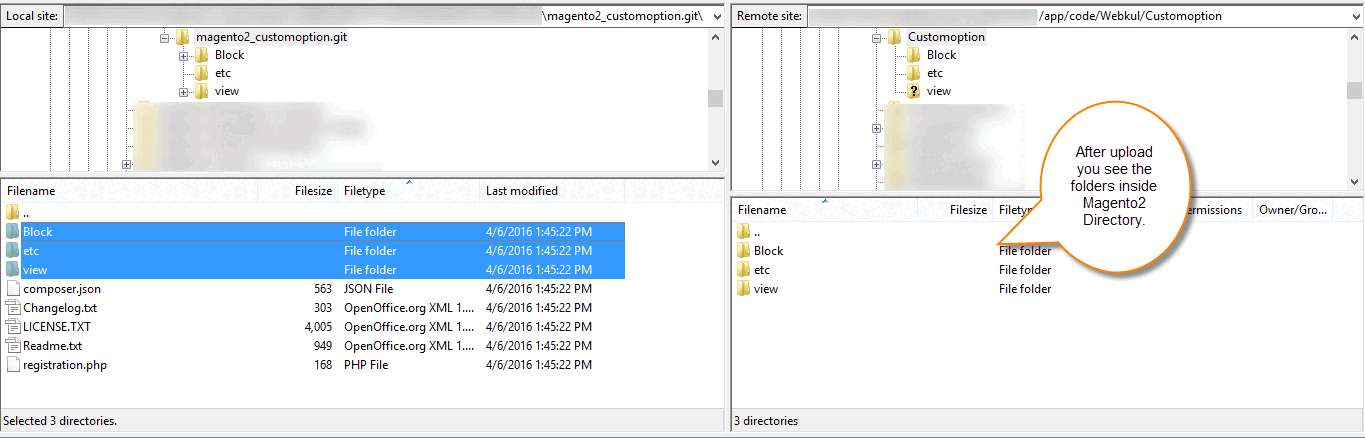
Verify that the module files sit inside the Magento 2 Root Directory at app/code/Webkul/Customoption:
Step 2: Terminal Setup Commands
Connect to your server via SSH, navigate to your Magento 2 root installation folder, and execute the following deployment commands in sequence:
# Upgrade database schema and data
php bin/magento setup:upgrade

# Compile dependency injection code
php bin/magento setup:di:compile

# Deploy static view files
php bin/magento setup:static-content:deploy -f

# Reindex data indexes
php bin/magento indexer:reindex

# Flush cache storage
php bin/magento cache:flush
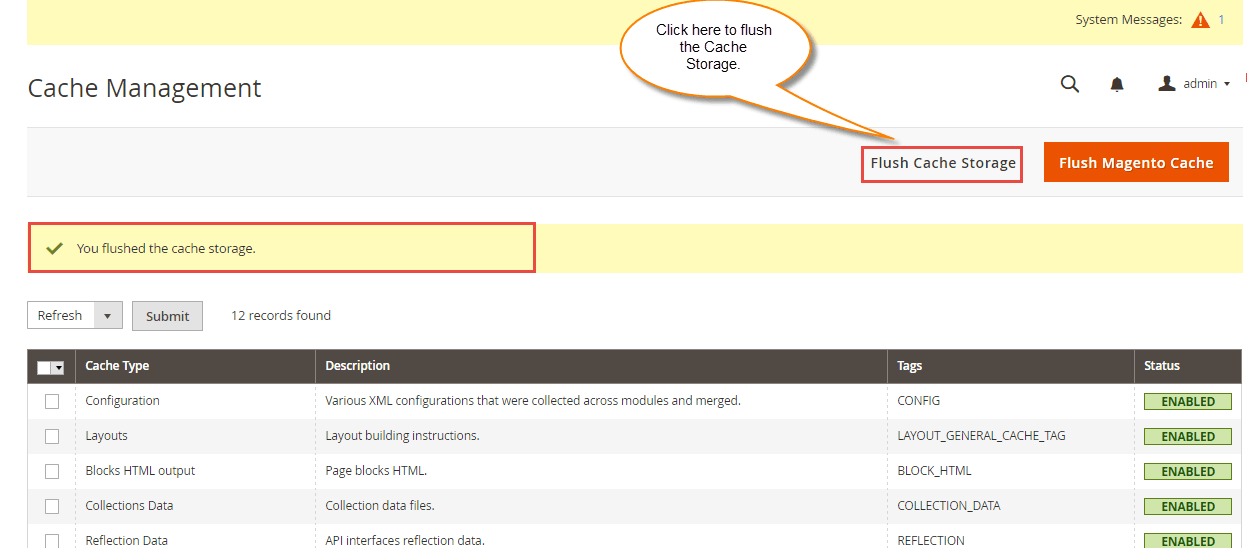
Step 3: Flush Cache Storage via Admin Panel
After executing the terminal commands:
- Log in to the Magento 2 Admin Panel.
- Navigate to System → Cache Management.
- Click Flush Cache Storage / Flush Magento Cache.